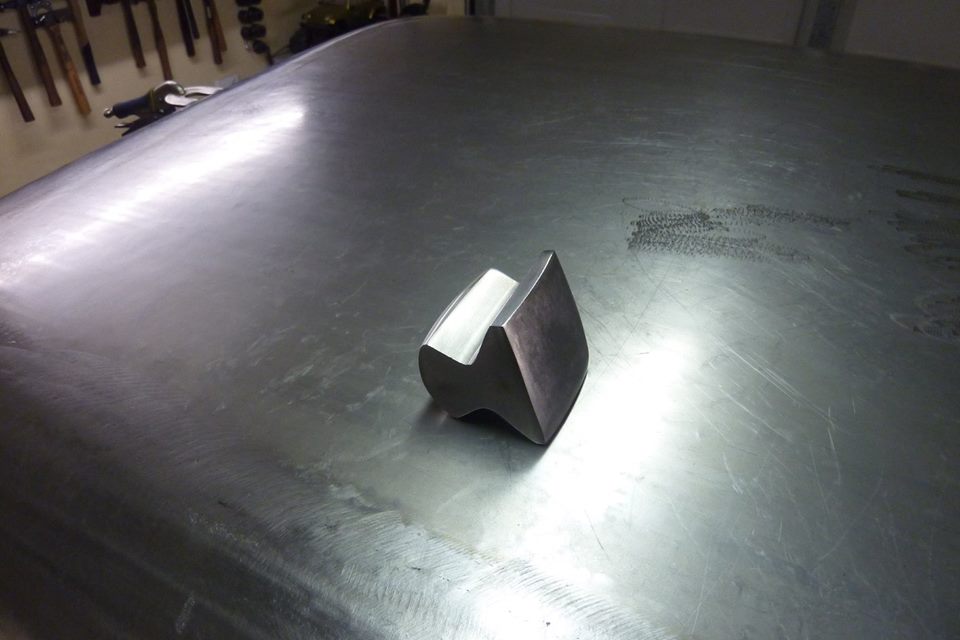
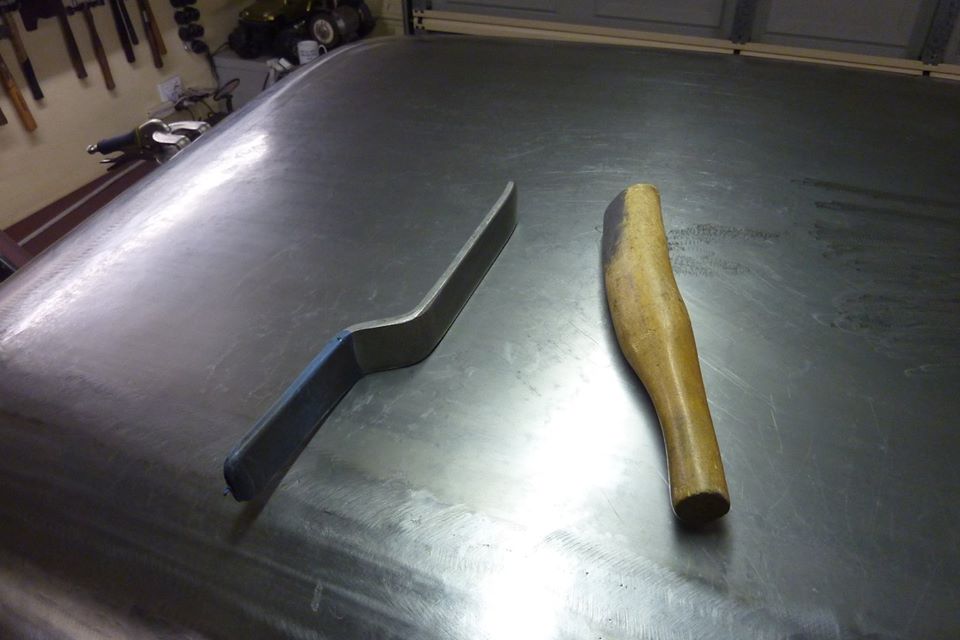
I don't have any weld distortion left but some of the infill panel shape still needs correcting from wheeling. I found just hitting up with this compound dolly with glancing blows from underneath really worked well. I directed the blows away from the high spots towards lows. It kept the panel nice and tight with no oil canning. Works well on a low crown panel. Also did refinement using the flipper as a dolly above while hitting up with the lead beater bat. Would sometimes have the heel or toe of the flipper on the high spot with a little pressure while hitting up on the rest of the flipper from below with the bat. I found the weight of a full dolly above too much.

With one side exactly how I wanted I checked the other side at the same spot to see how it compared. Look at the ends and they are 6-8mm, (1/4"-5/16"), too high. This is still what is left from what was wheeled too much at this end. Being a low crown panel I used a 5" shrinking disc over the high area making sure it never got more than honey in colour. Did not use any air or water to cool it as don't want it to harden. But look at the size of the oil can that sucked down within a minute! Gives you the overall size of what will need to be shrunk.
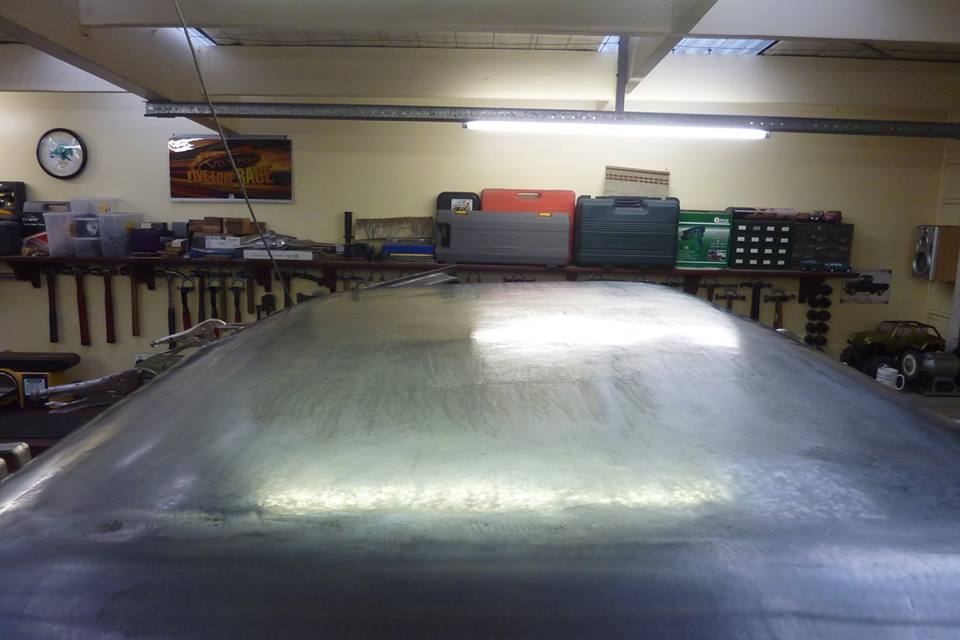
What I do is then shrink from below and it will pop the oil can back up, but not quite as high as before. So shrink the top again and it will go down and back a forth you go. If you can't get to the other side, use some pressure to keep the bulge on the side you can get to. Here I am almost there but the panel was still loose. So I keep shrinking back and forth until it feels tight all over with no loose areas and it matches the profile. Here I have done the sides but the middle still needs more work. The light is showing a high spot. I ended up using the same gauge for the profile from one side to the other. It is still a compound curve as the edges where the ends of the gauge or strip sat, had an arc from one side to the other.
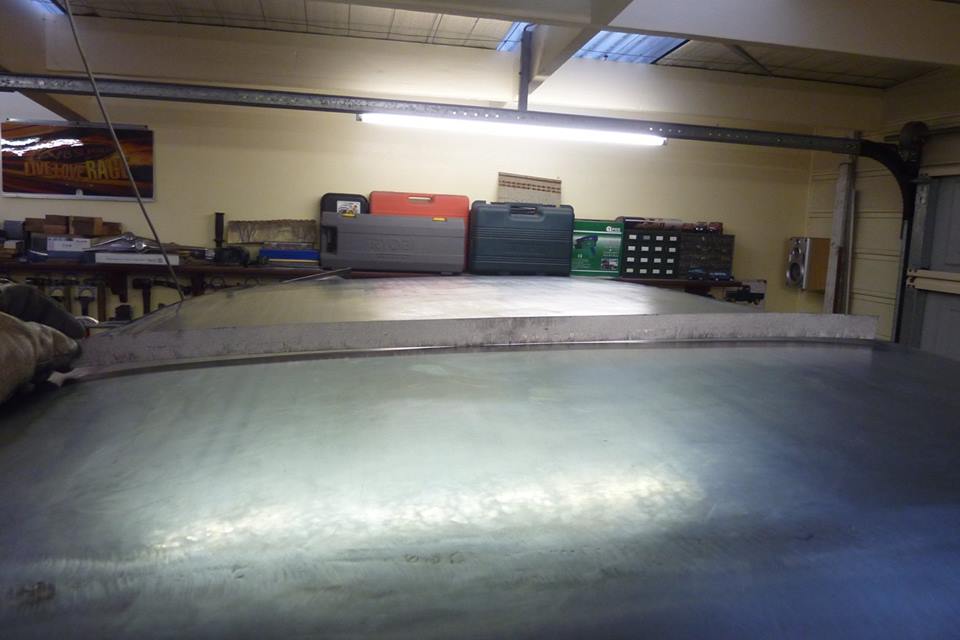
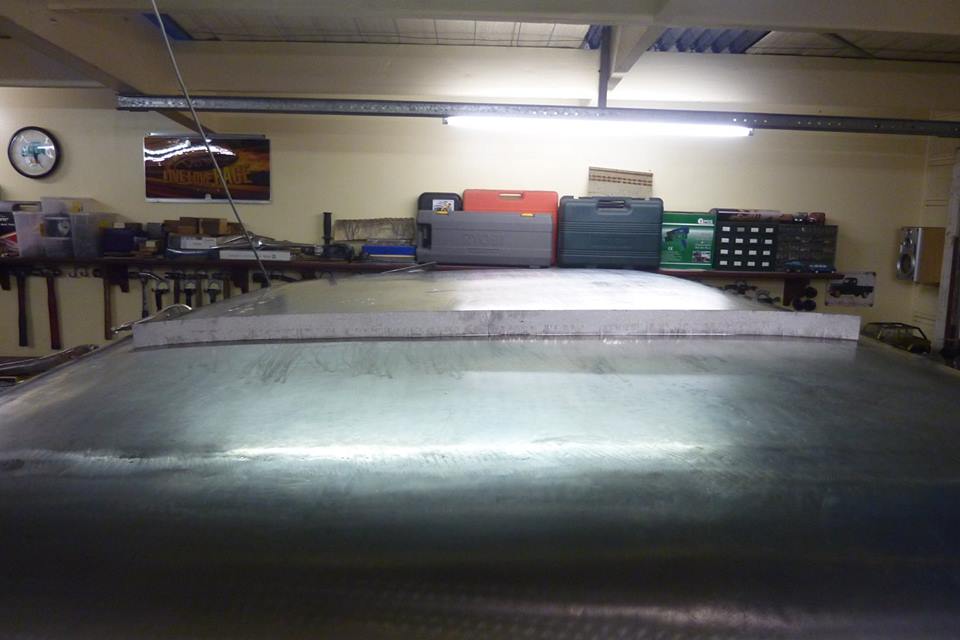
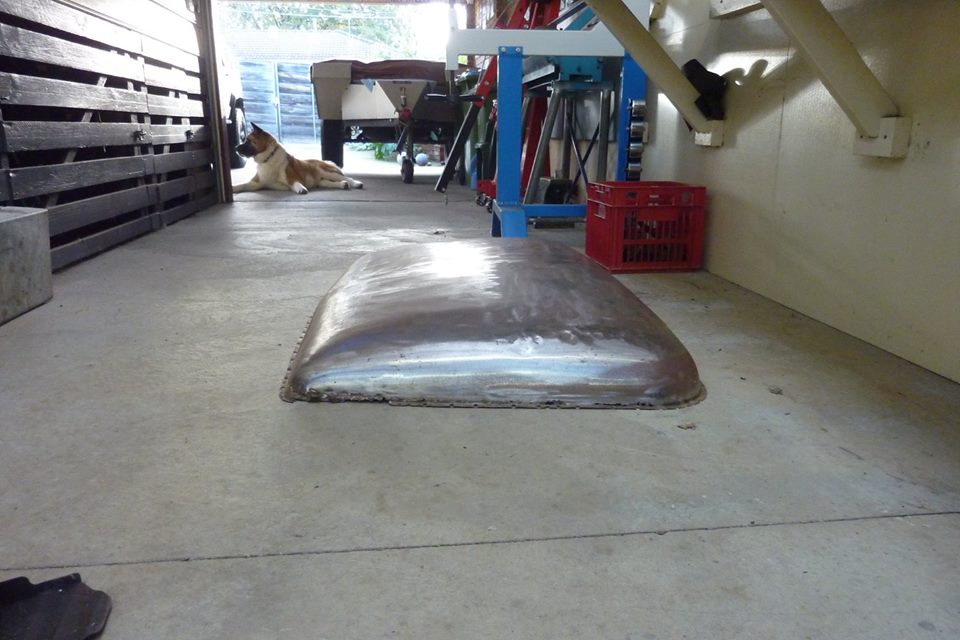
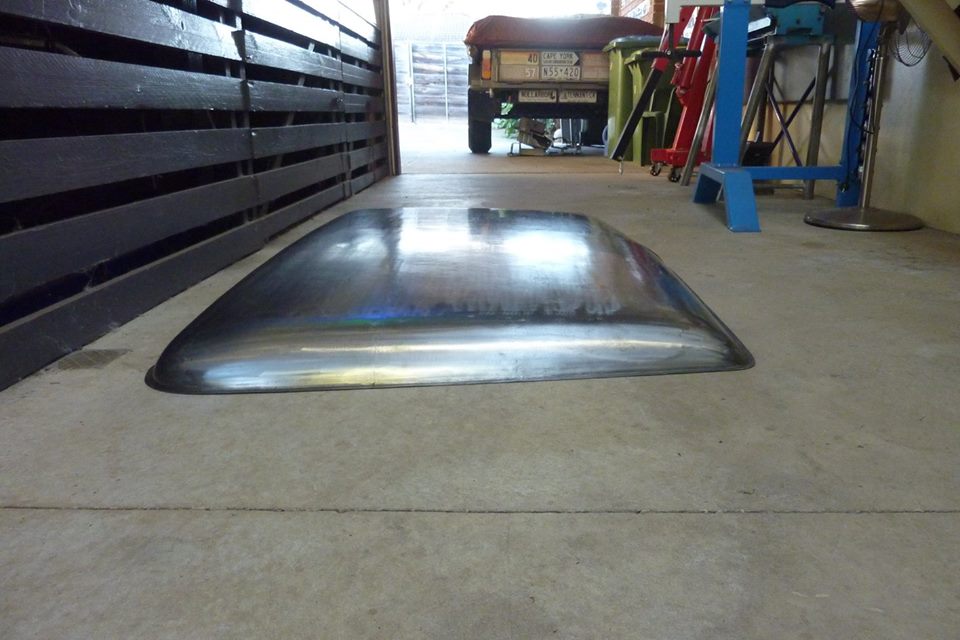
I ran the strip disc over the whole roof so I could better see how even it was. The gauge showed less than 2mm difference one side to the other so just about there.
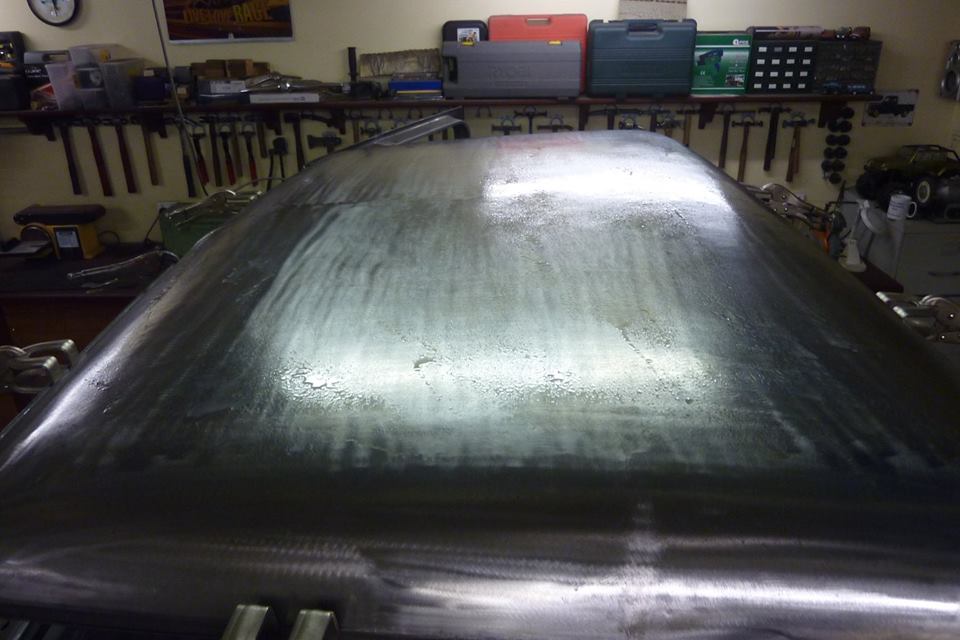
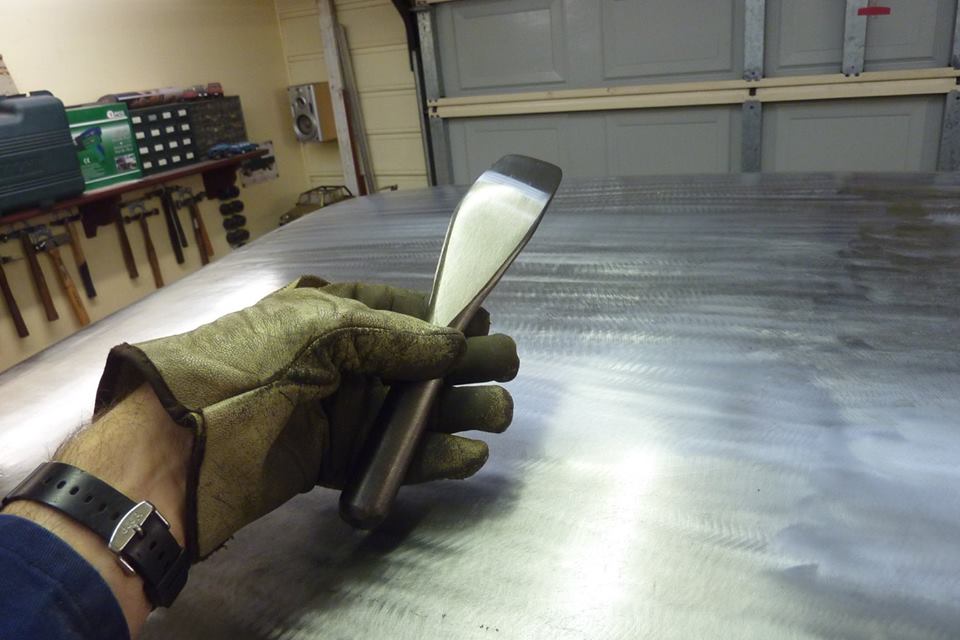
At the end of the night I gave it a good squirt of lanolin oil so it wouldn't flash rust as a lot of moisture in the air at the moment. I rub all over it with the same old hand towel for this and then remove any excess with another one. Bought a spoon to use for final planishing. Hitting from underneath with either a flat dolly or my flipper above.
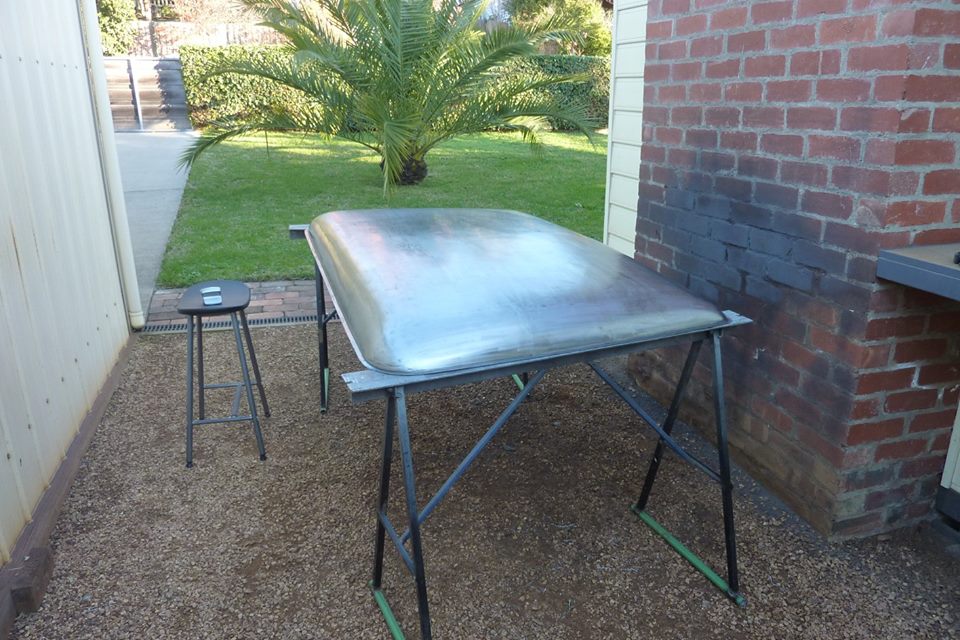
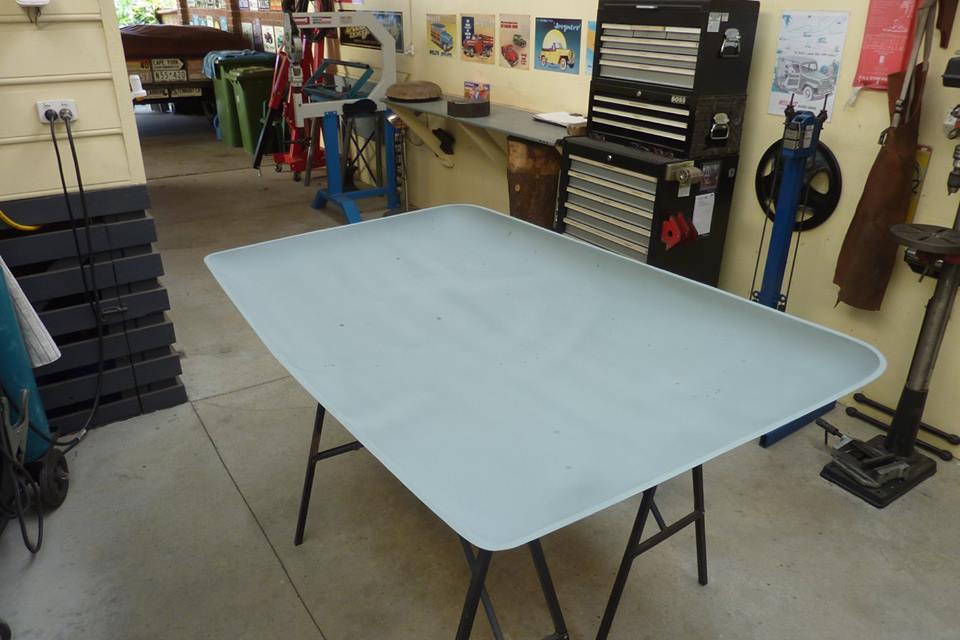
Getting there. Just thought I would show the difference between this stock one and the new roof panel.

Ended up exactly 40mm-1.5" lower than the stock one. View from the other side. Overall it is about 10" wider and 8" longer than stock to take in the cab stretch and widening, but also the 2" roof chop.
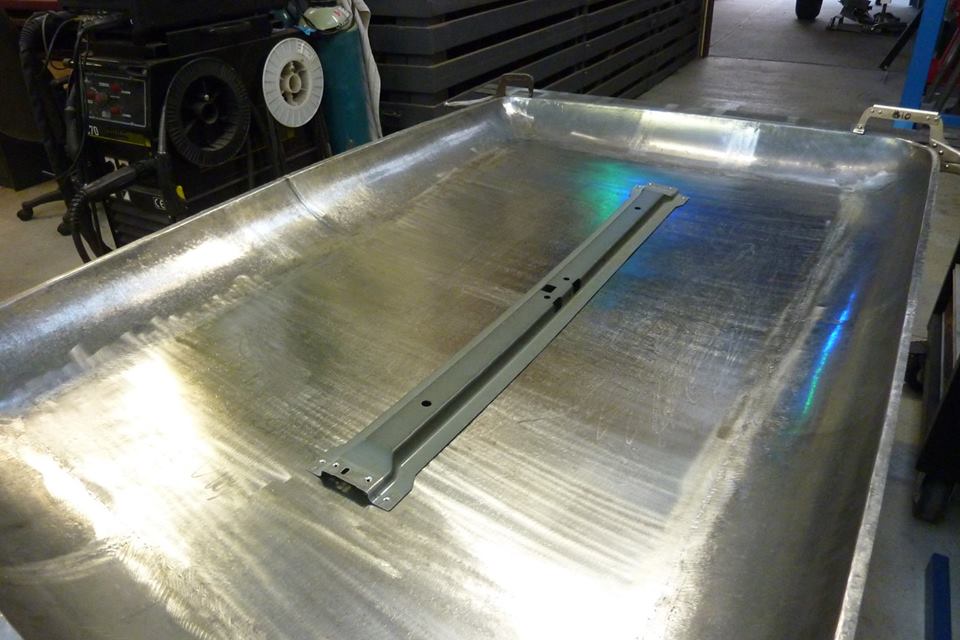
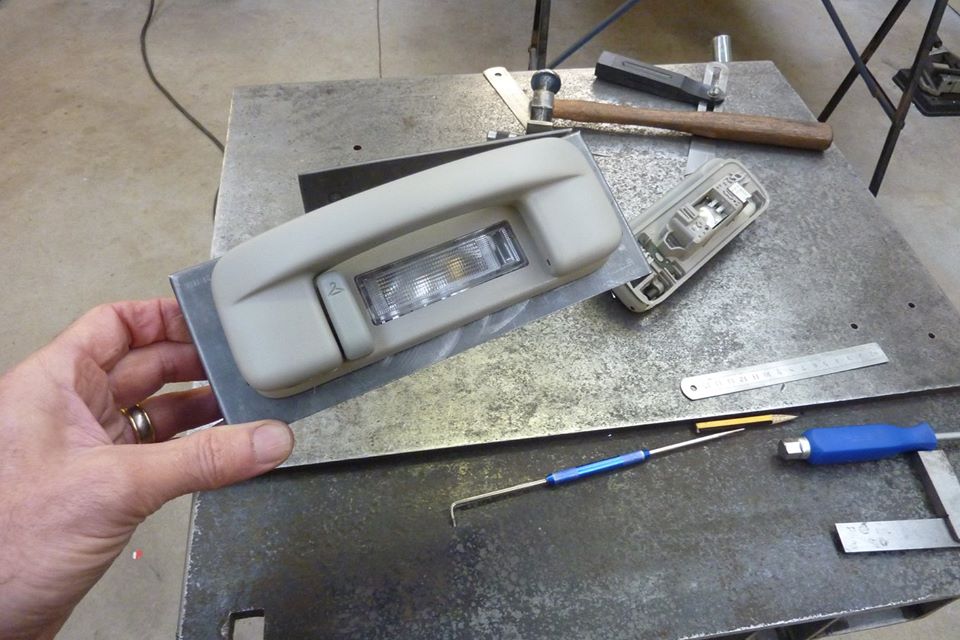
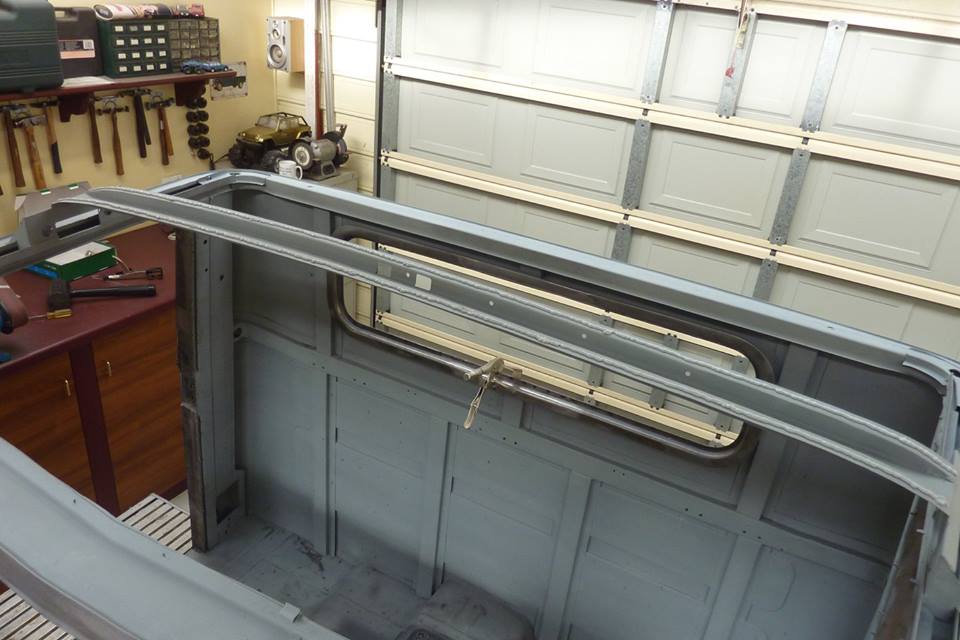
I decided to fit a centre roof support even though it didn't have one before. The panel was nice and tight all over but it is a much wider, longer and flatter profile than stock. I started with the roof support from the 2008 Jeep donor roof and altered the profile to match. Surprising how much extra I will have to add to the length of it. Another reason for the support was to act as a brace between these flip down grab handles from the donor that have inbuilt lights. I folded up these supports with cut outs in them to mount them into.
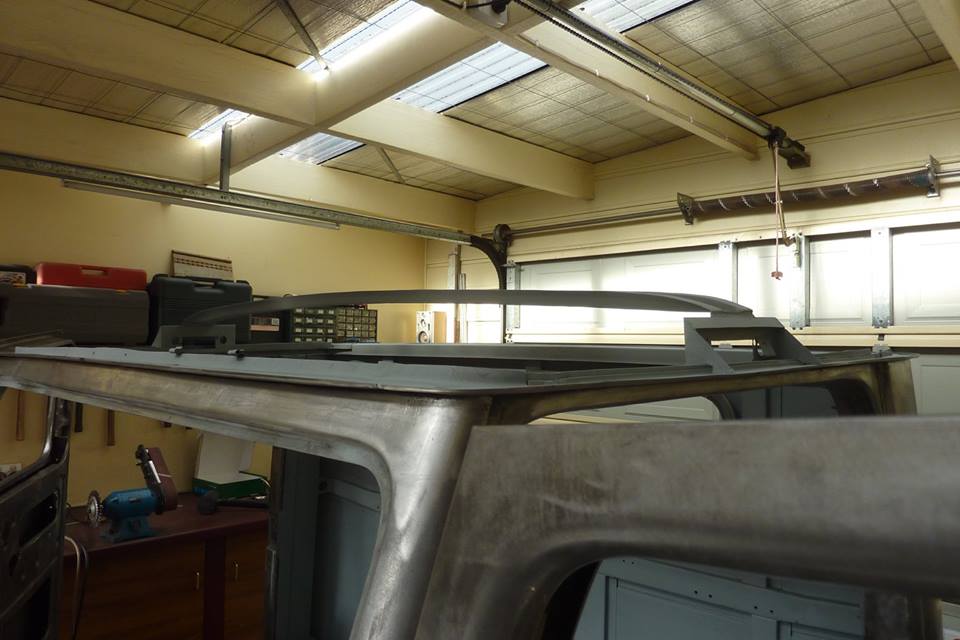
The handle brackets brace back across the roof frame all the way to the gutter line. Also shows just how much arch is still in the roof even though it looks flatter than this from the outside. The roof was coated with zinc, as was the roof support and frame, and left to dry overnight ready for welding into place.
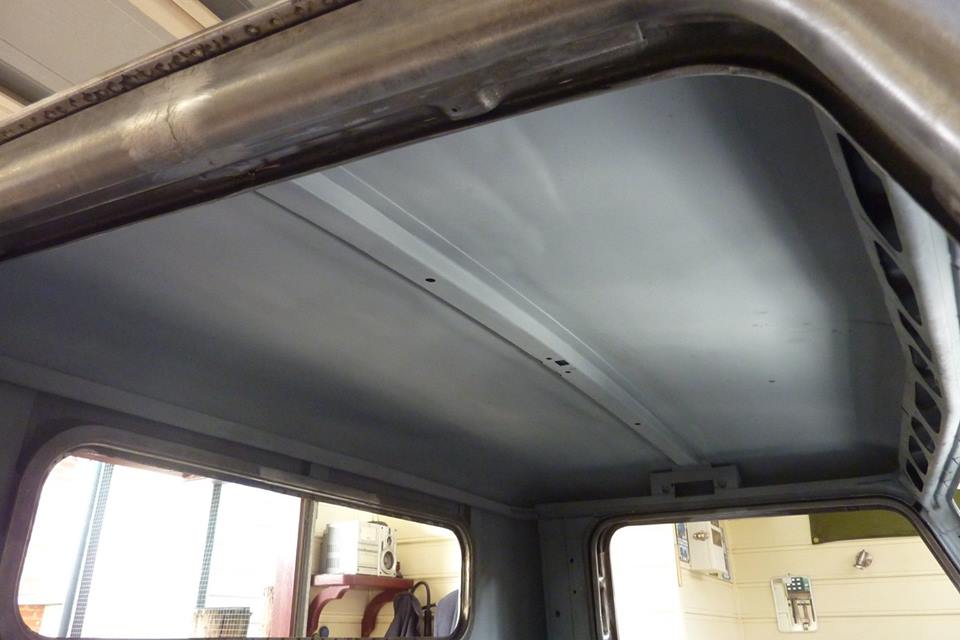
A nice thick beads of sealant was run over the support to cushion the roof and keep moisture out. It followed the roof profile nicely.
[Index]