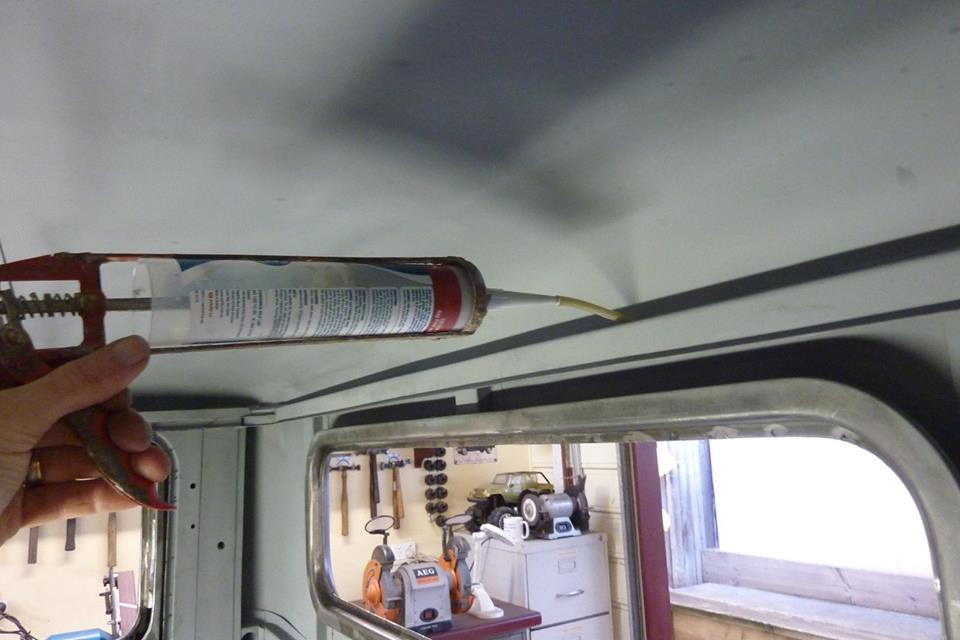

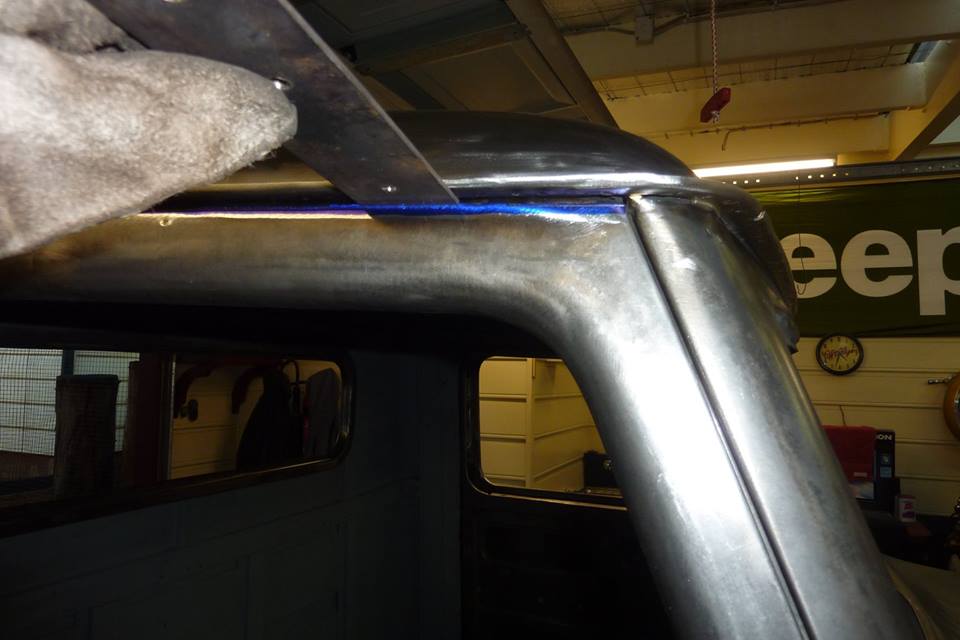
After welding zinc was sprayed into the join and left over night to dry. Fitting a bit of hose to the end of the cartridge I was able to get sealant right along the whole join. It was further pressed into it with a finger and the excess wiped off. Sprayed with zinc again the next day to seal it all off. The 1948 roof had 208 spot welds holding the roof skin in place and was still in great condition and what I used in the corners of the this roof. The 1958 skin only had 89 spot welds and was full of rust and was not worth using. Yet the opposite was true with rust in the lower cab so was not like they had different levels of exposure. So with that in mind I put in 350 spot weld into this roof!
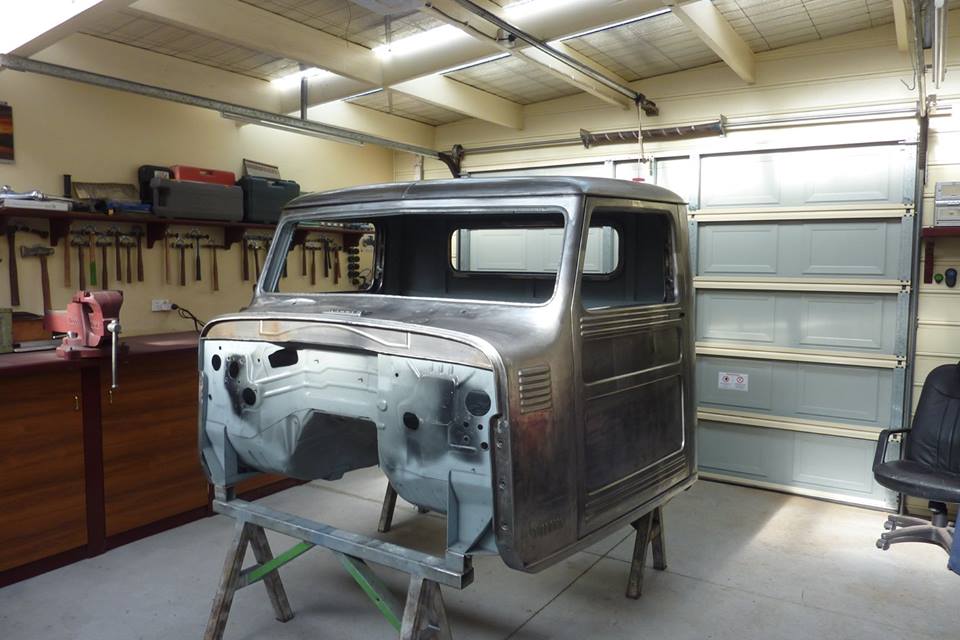
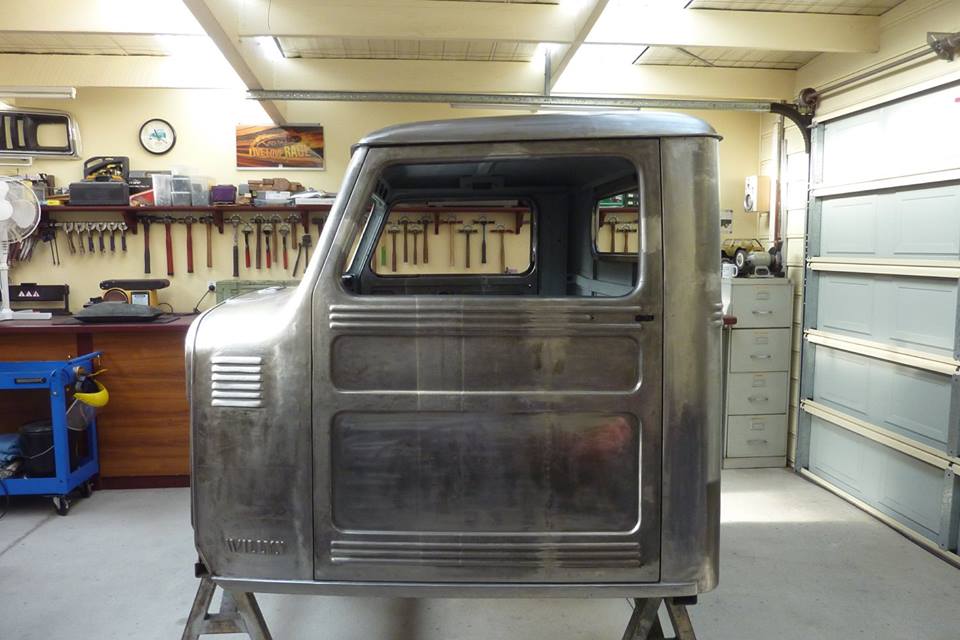
So here we have it. Last panel to go on! I'm very pleased with the outcome.

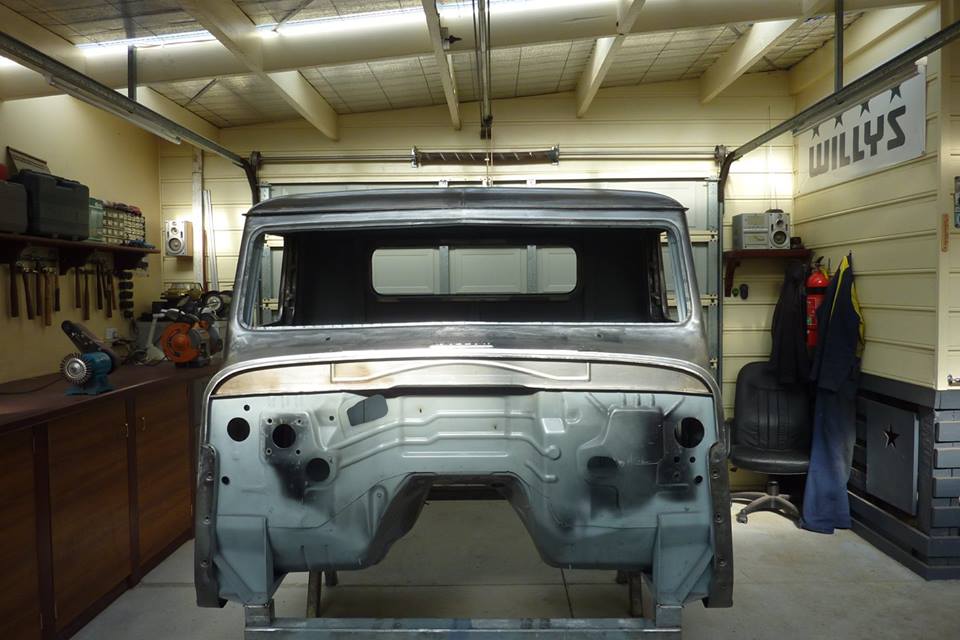
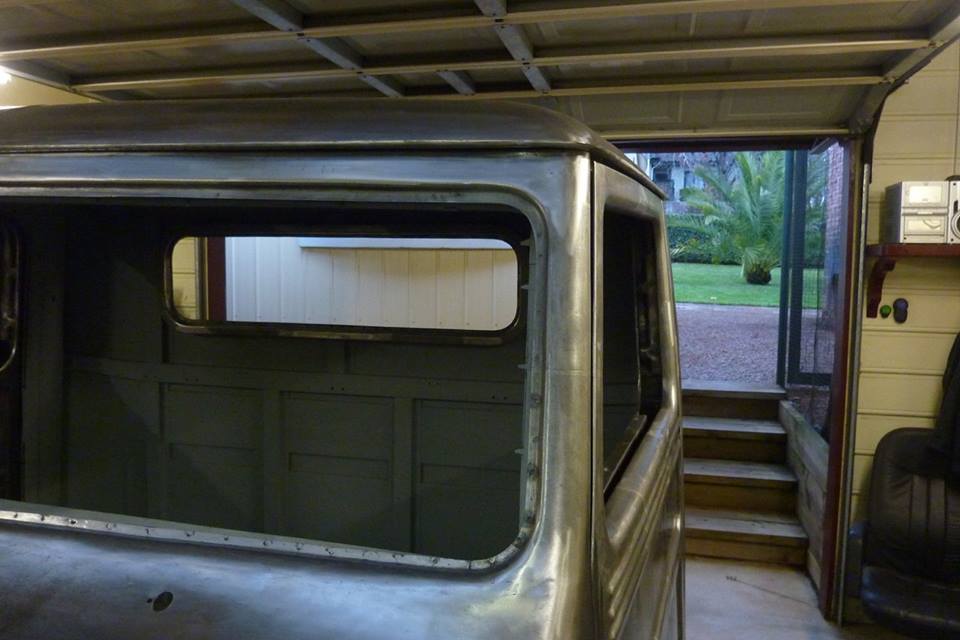
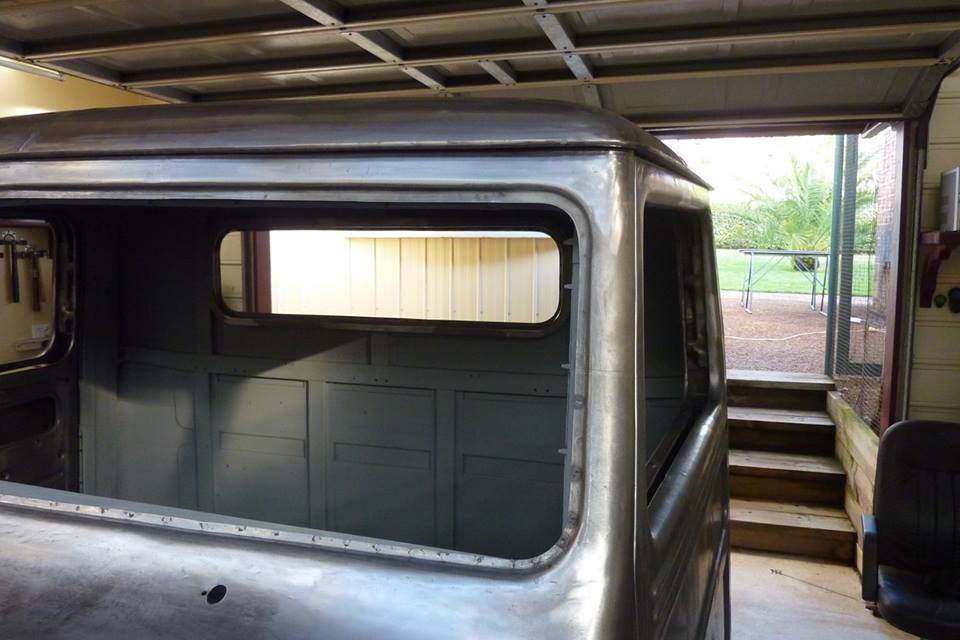
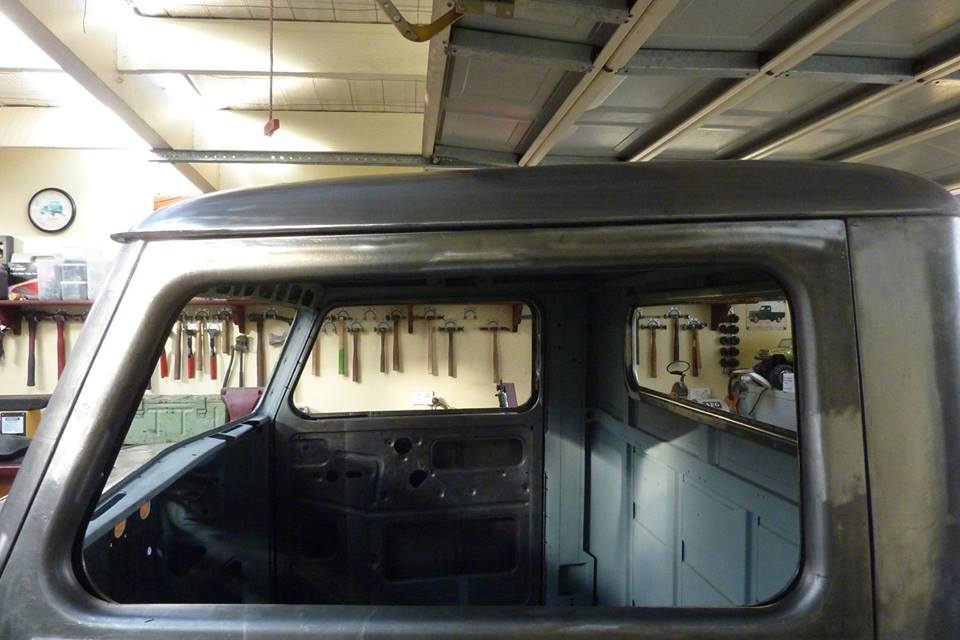
Glad I put the wedge shape back into it after the pancaking. Originally I took 1/2" more out of the back than the front, but ended up laying the front back more which dropped it back down to 1.5" all round from stock. 10.5" longer than stock rear window, but stock height, fits well too I think. Cab is actually now 3.5" lower than stock from the floor to roof. 2" in the walls and 1.5" out of the roof.
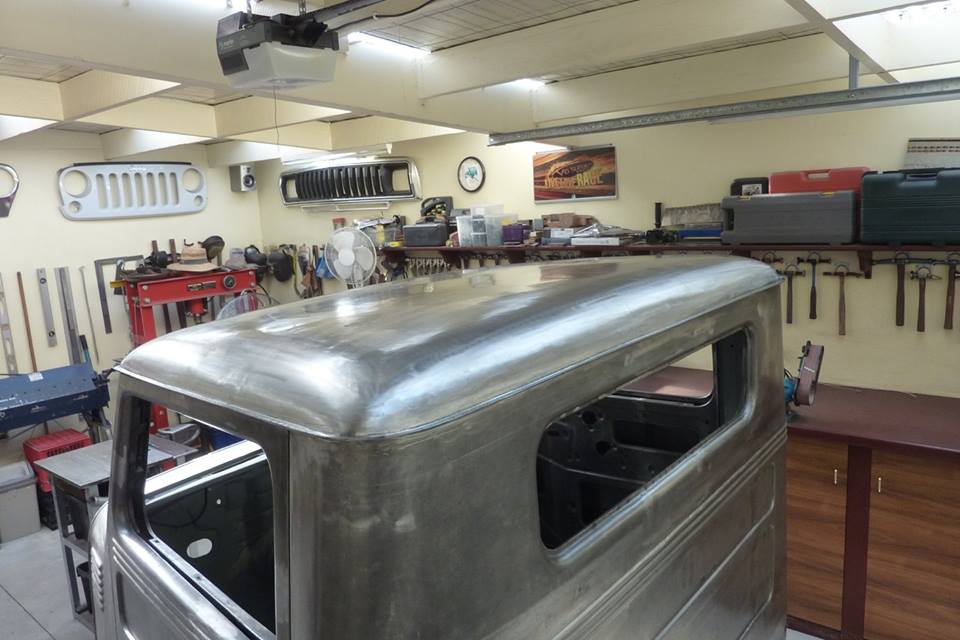

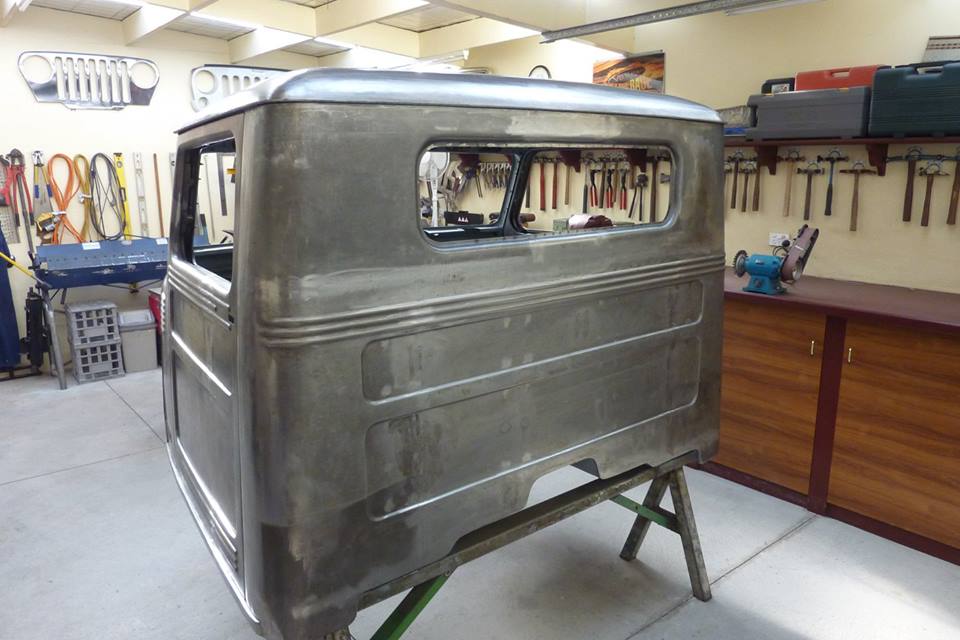
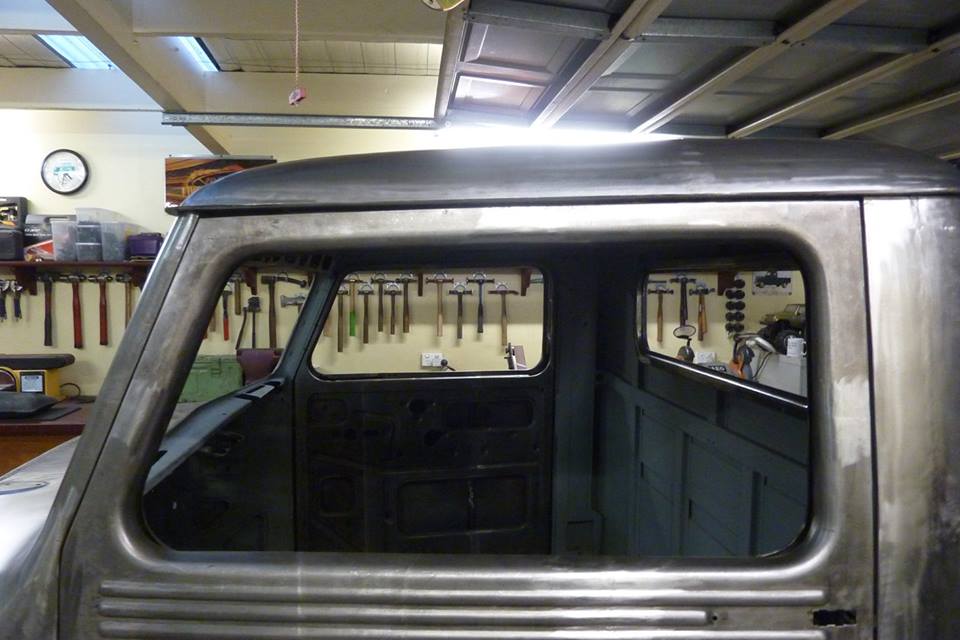
Last shot of the roof I promise! Not perfect but the shape is consistent from one side to the other without any high spots. Some surface imperfections but rather that than over work the metal or thin it from filing it. Remember I only started with this plus the donor floor and firewall and made anything else!
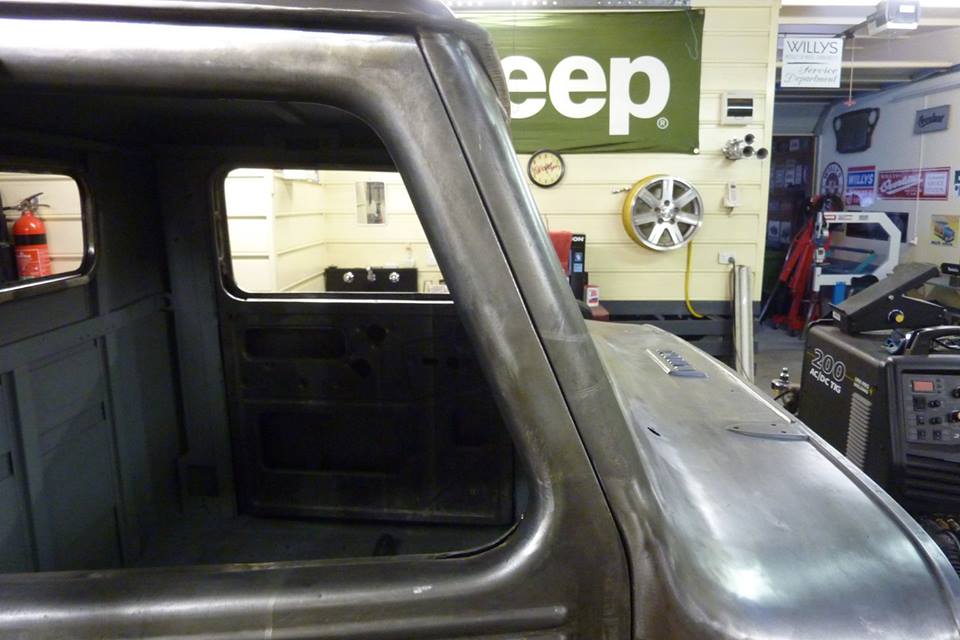
Setting the final gaps on the door now that everything is welded in. Top is leaning out a bit but flush everywhere else. Other side is leaning out only at the top as well.
Tried forcing the top of the door inwards but would then kick out the diagonally opposite corner out and alter the gaps already set. So just cut part of the way in with a thin disc and could pull over by hand and rewelded. Both sides are nice a flush now all the way around.
I wanted to close this gap up more across the top when I chopped the window frames, but couldn't as would loose the correct gap in the inside of the frame. All the ones I have looked at are like this from the factory. Had no welding rod to weld to the top but by the time you weld both sides of that you might as well tack along the top in one go like this.
I flush grind/sand the sides and then fit the door back up leaving the top untouched at this stage. Ran a marker along the top and then scribed a line under some 1/8" flat to set the cut line. Gaps the same now all the way around. Back corner look tight in this shot but not when measured.
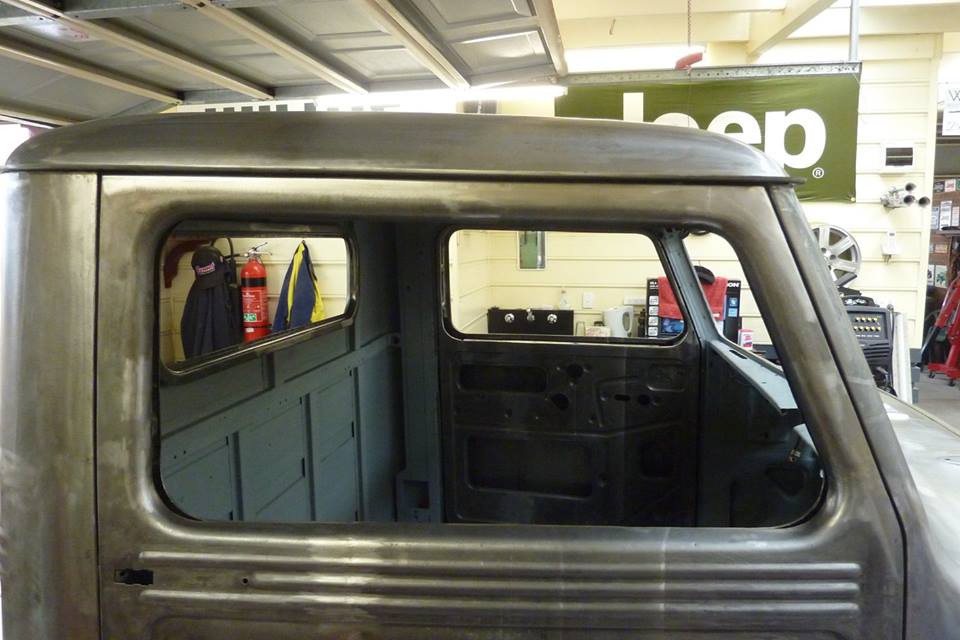
This door the front edge closed up when it was made flush. This was fixed simply by placing a block of timber on the front edge with the door open and hitting it with a mallet. That corrected the gap at the back of the door again as well to what it was before. Some filing and re welding was also needed. This door now done too. Shadow makes the top gap look bigger though.
This door now done too. Shadow makes the top gap look bigger though.
[Index]