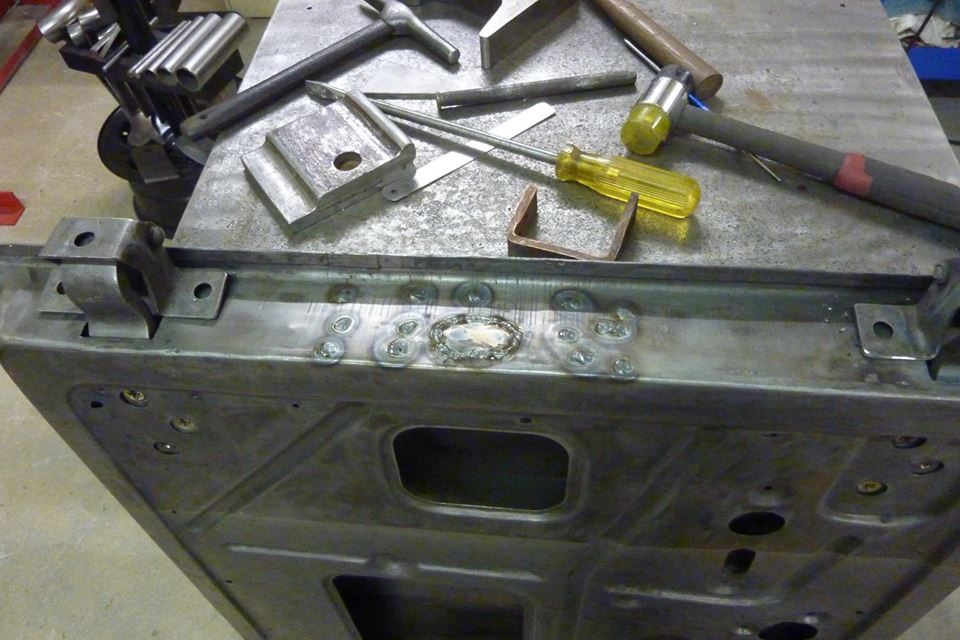
All the holes gone. Will grind them down to a razor blade thickness above the parent metal. Then flap disc to flush followed by a strip disc. Hammer dollied the weld area flat and all done.
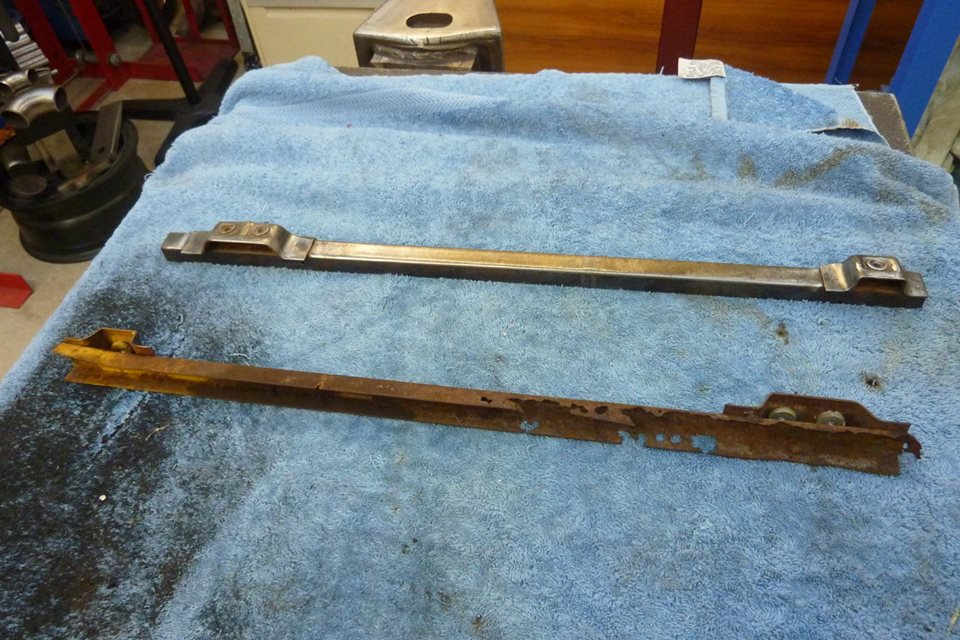
Out of the four doors I had, only one of the window channels needs replacing. I'll be using the same channels that ran down the latch end of the doors at both ends now. They are left and right so need one of each in each door. Fortunately I only had to fold up the channel and the mounts were still alright.
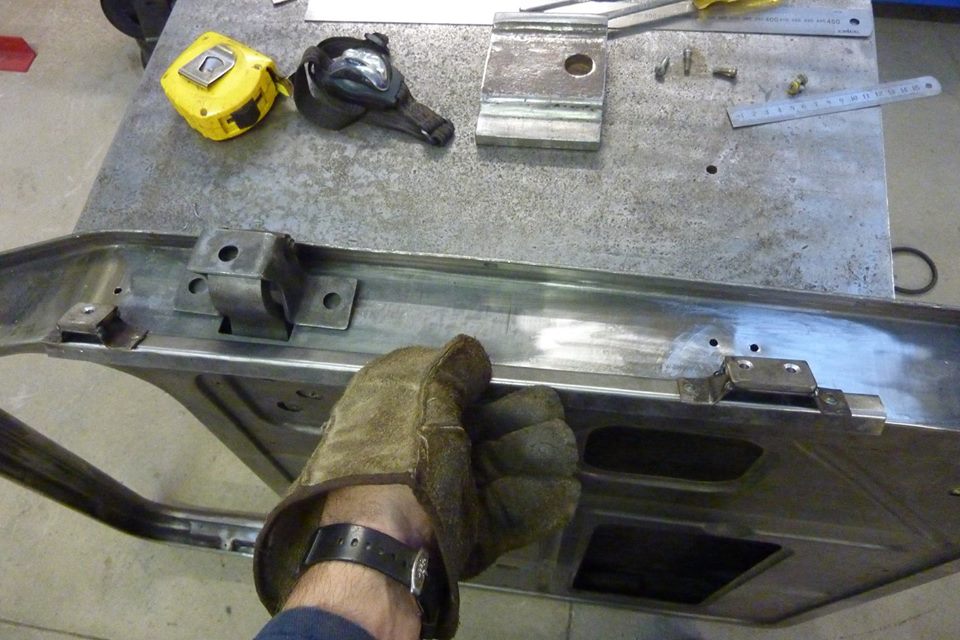

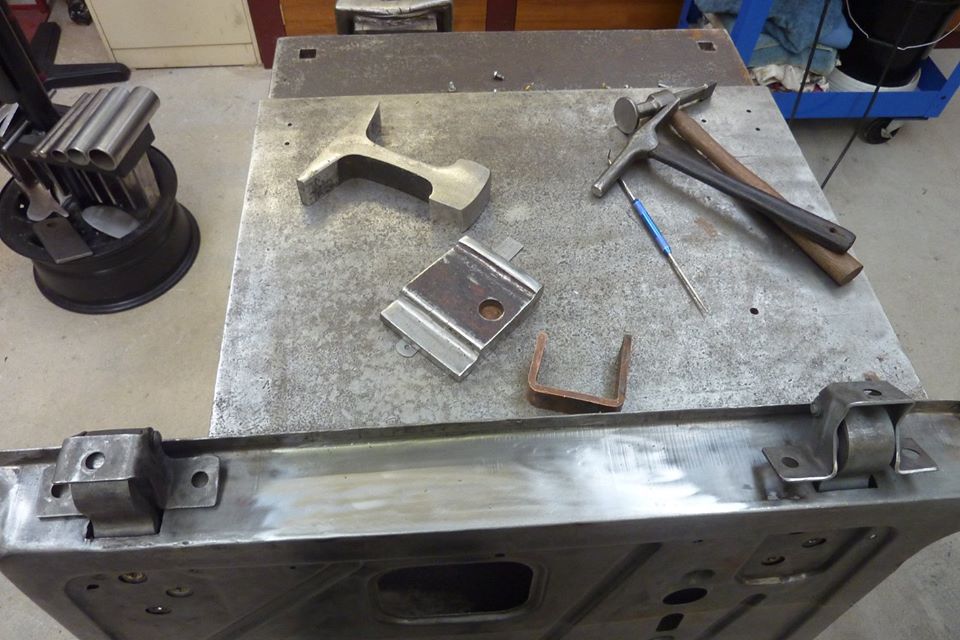
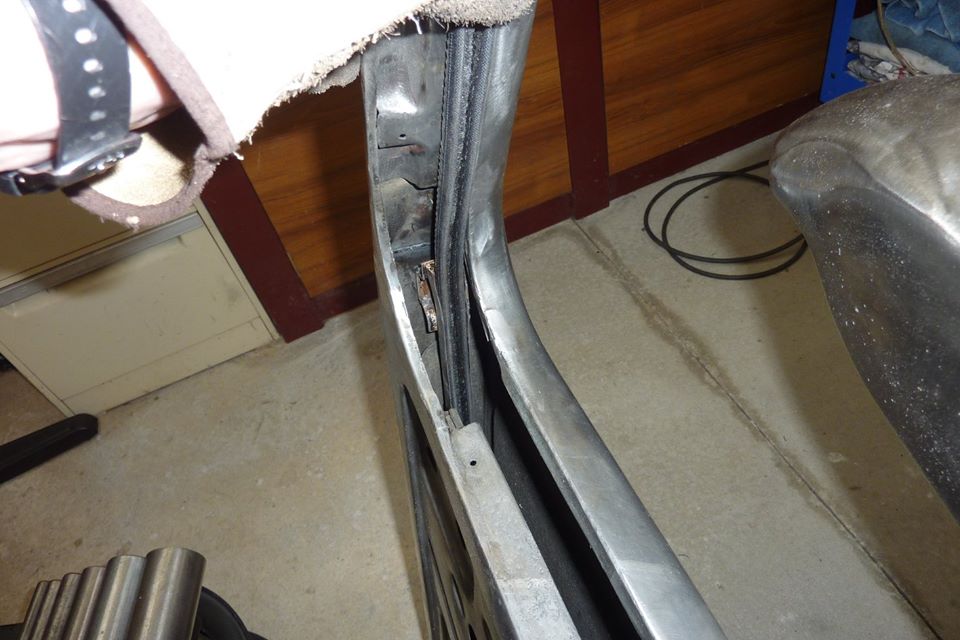
The channel will sit inside the door where shown by the holes drilled. It will sit at the same height as the latch end of the door. Also note that 5mm-3/16" spacer was added to the mounts to space it out to line up under the window frame correctly and not interfere with the hinge reinforcements. Just showing on a scrap door the curved piece in the corner, as well as the piece holding the inner and outsides together, that has to be removed.
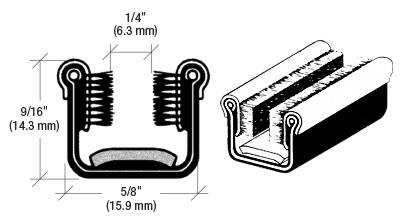
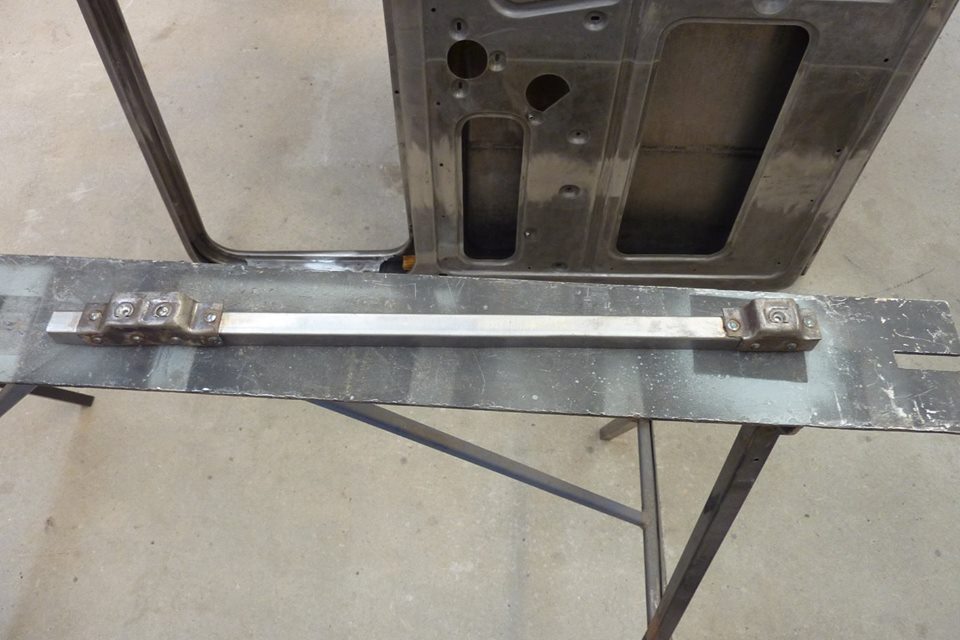
The latch end of the door channel alignment was first checked to make sure it was a straight line from the window frame down all the way inside the door channel. Used the old 1/4 vent channel inside the other one to check, but also found a string line worked well. Glass does not bend so needs to be inline. The factory holes were a bit off so I welded them shut and moved them over and then copied that over to the hinge side of the door. I bought two 2400mm-96" lengths of flexible window channel the same as stock. They are cloth covered with the bristles on the sides.
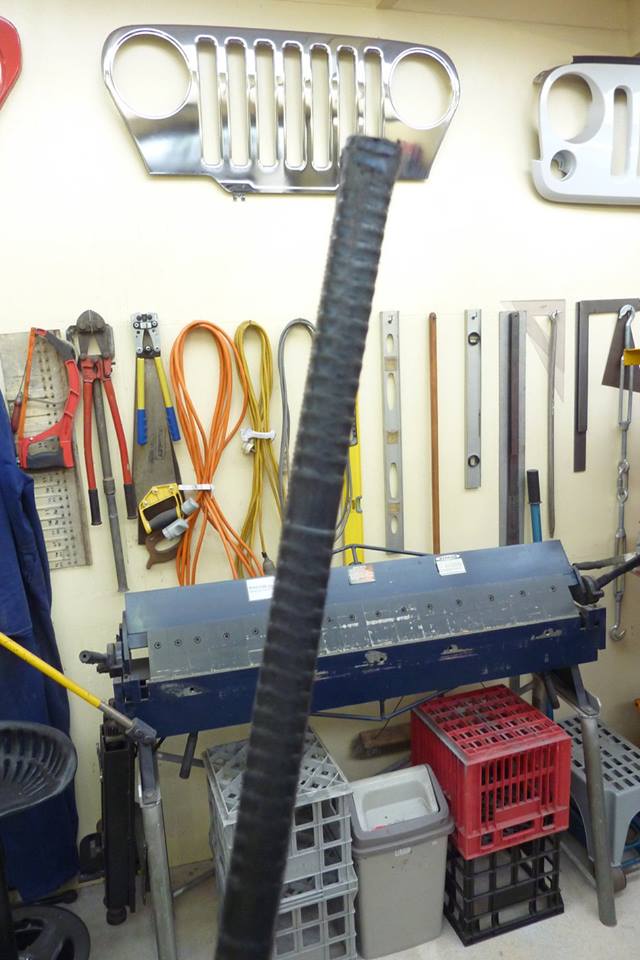
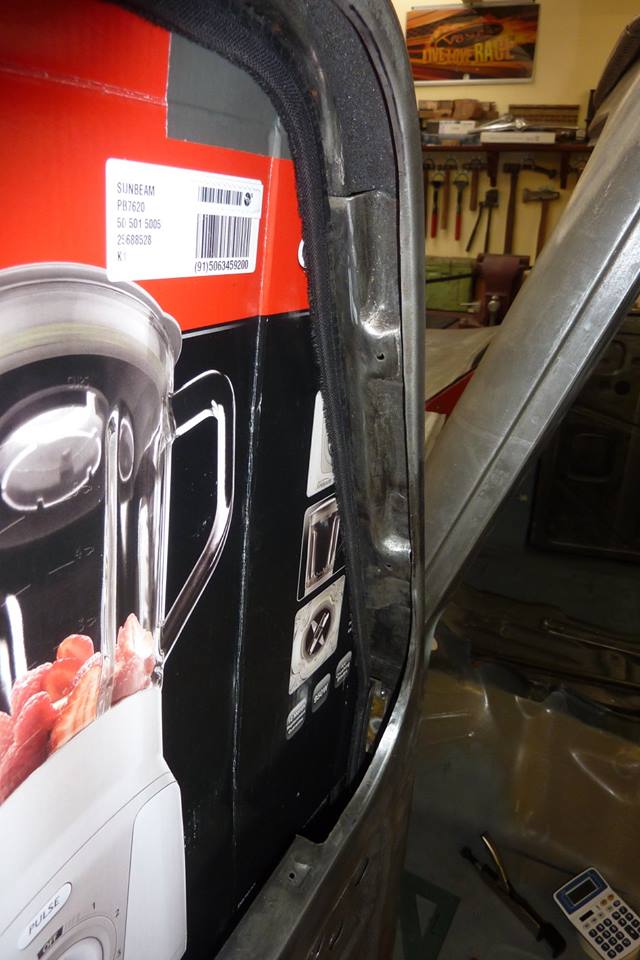
Can see the back of the channel is segmented allowing you to bend it around the corners. The channel inside is made from aluminium.

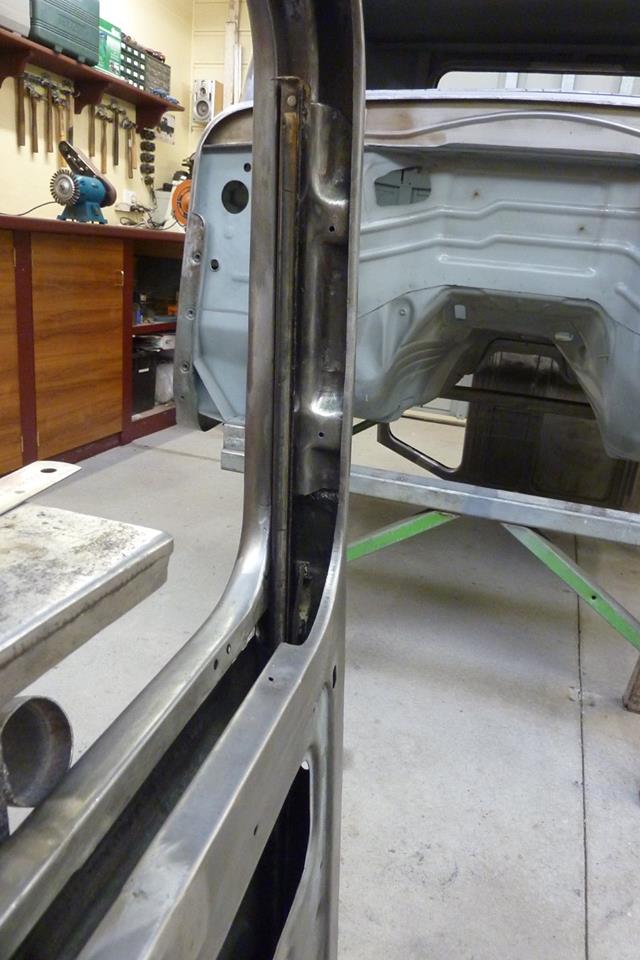
Can see how it will come up out of the new position at the front of the door. To help it bend around the corners I found a carpenters pencil worked well. I secured the channel the same as stock with some small counter sink screws.
I cut some cardboard roughly into shape and then marked around the inside edge of the window channel. The added the depth of the channel, 10mm-3/8", to that mark with some dividers. Can see how it sits inside the channel. I made it go inside the door to add some stability to the front edge when down.

The bottom of the template is level with the top of the door card recess. I was happy to see that it cleared the door handle linkages. I will make templates from MDF next using the cardboard one to scribe around.
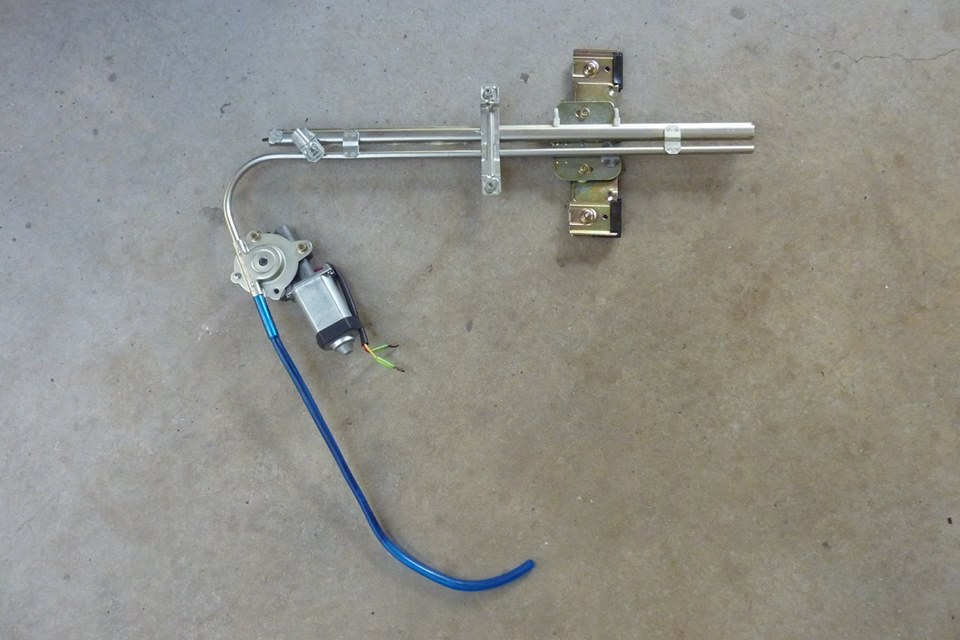
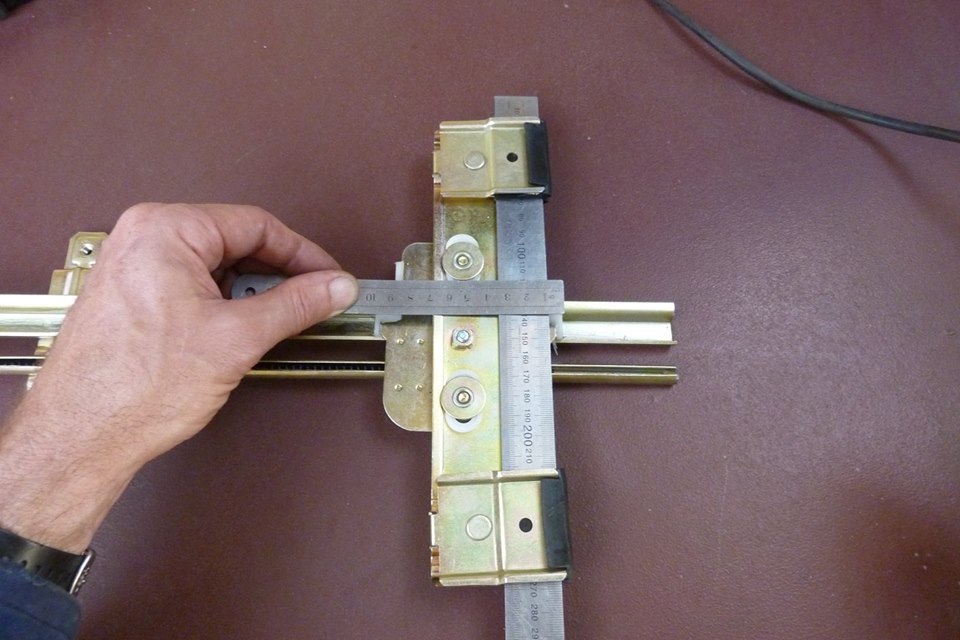
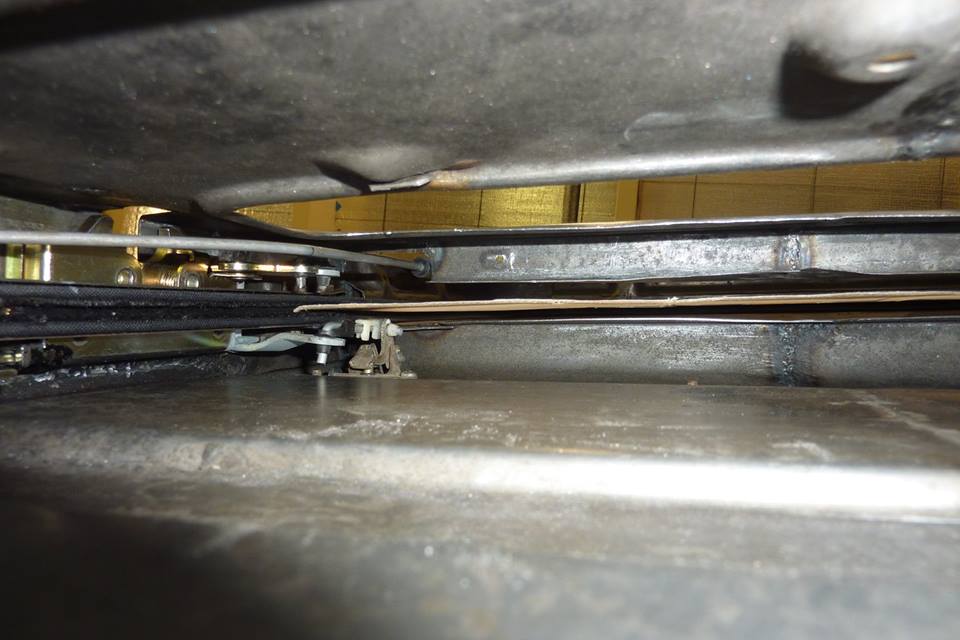
Bought a universal electric window kit. I went with the motor off around the side rather than fitted directly to the bottom of the guide rail to give me more mounting options. Before committing to cutting out my final window template, I wanted to make sure it went into the door deep enough. You need a minimum of 38mm-1.5" below the window sill to make sure it won't foul when the window is fully up. I made it 50mm-2" to give me a bit of room.
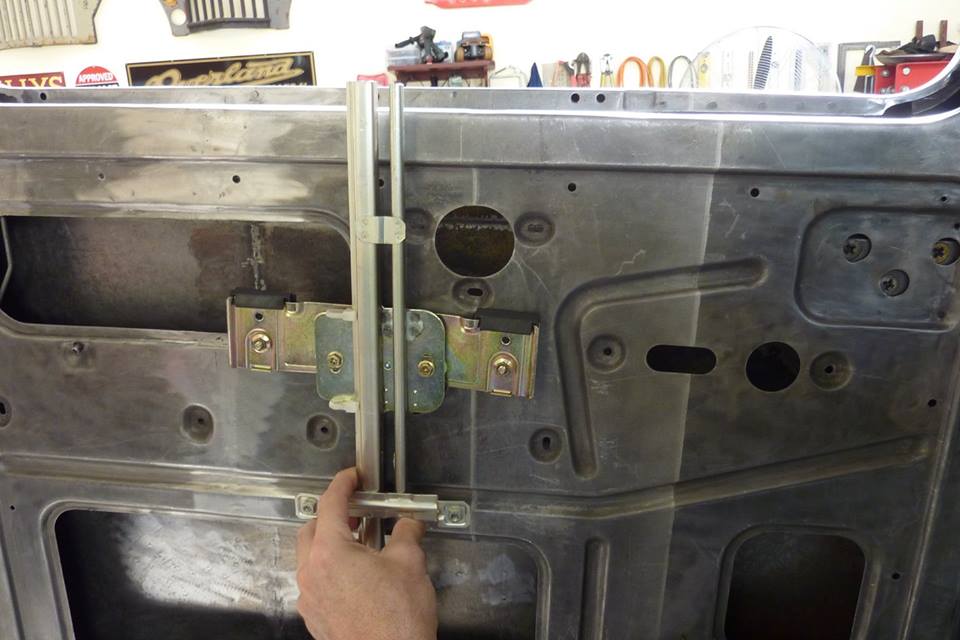
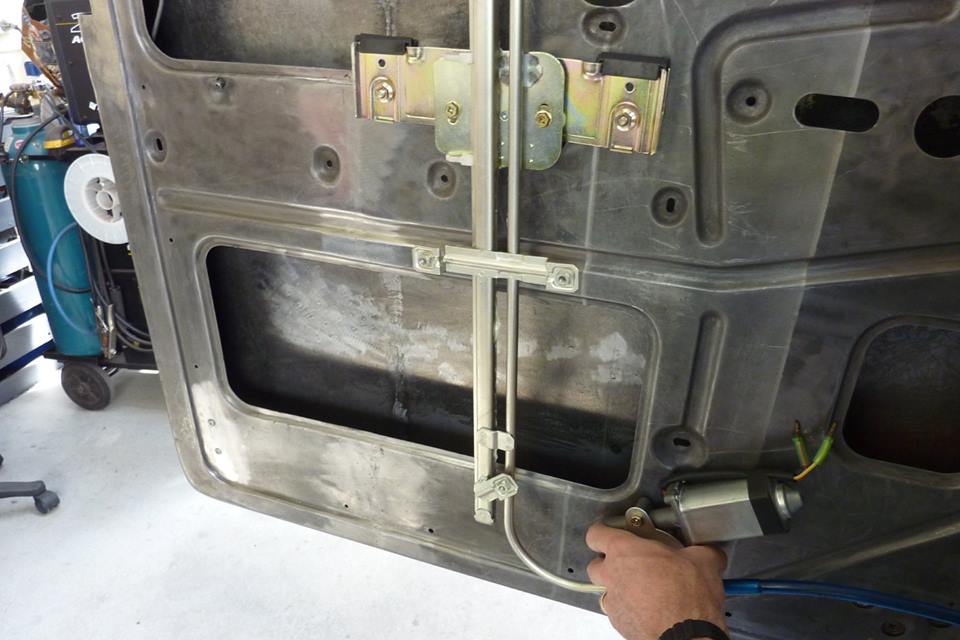
I thought the best place in height would be that the mounting bracket would sit directly over the ridge on the inner panel. Would be more strength there and the bolts heads would sit inside the ridge making them near flush so the door card would not bulge over them. Still enough room for the motor to be off the bottom of the door. The motor is normally faced toward the hinges.
[Index]