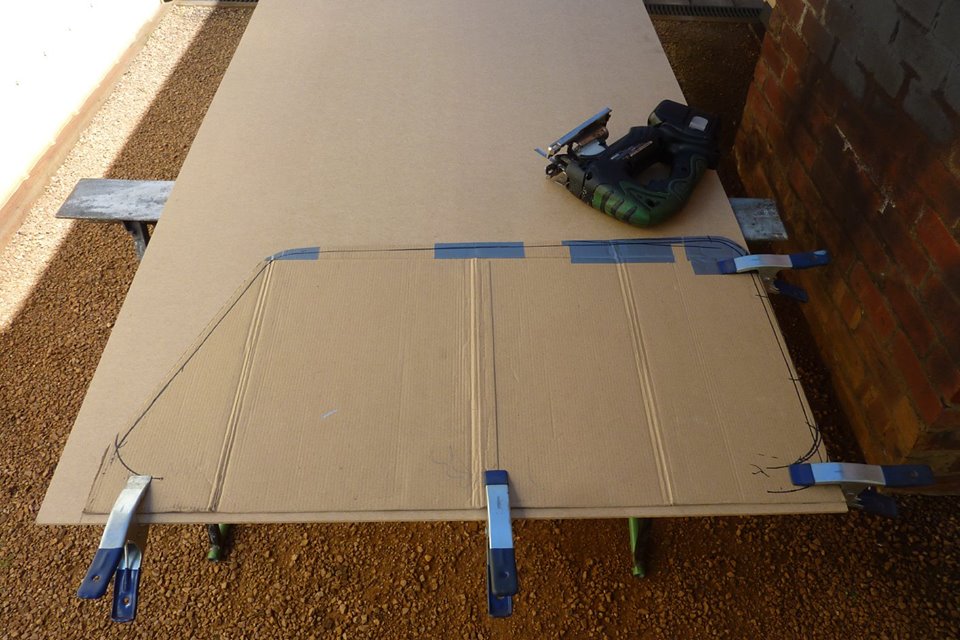
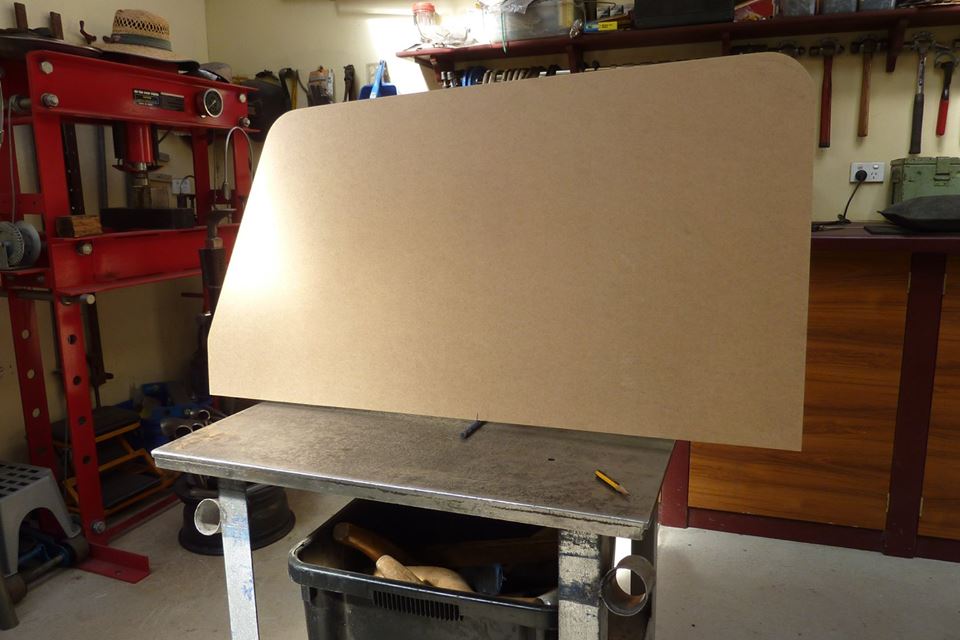
Transferring the cardboard template over to some MDF bracing board that was 5mm-3/16" thick. I choose this thickness as was the same as the stock glass that was in there. Can also see the 1/2" I added extra to the bottom. Also made sure the front and back edges were square to each other. The best place to centre the guide rail of the electric window system is at the balance point. This would be the middle if top and bottom, plus both sides were parallel to each other, but not the case with one piece windows. So I found the point by balancing it over a round pencil and marked the spot. Primitive but effective.
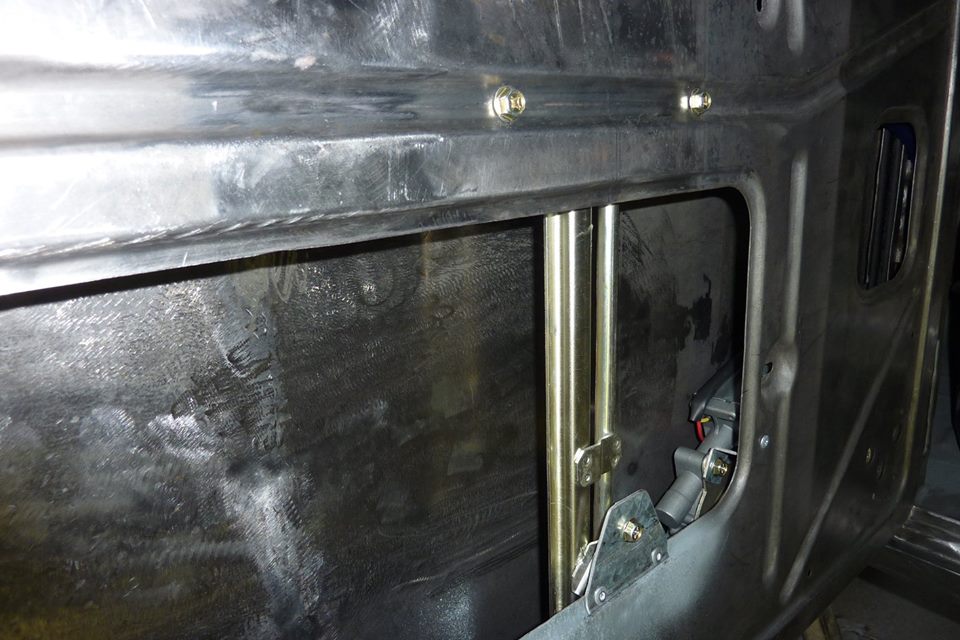
No trimming was needed and fitted first go. The balance point of the template was marked from top to bottom so I could workout where the the electric window needed to be fitted. No binding as it went down either. I could also mark the door where the balance line was at different points. It must remain exactly parallel to the window channels on each side though.
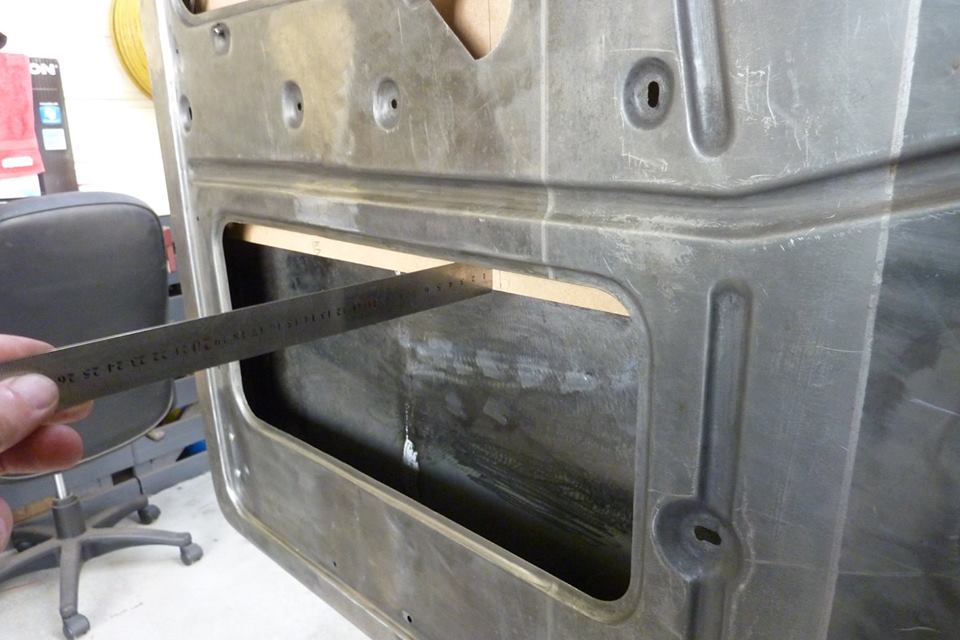
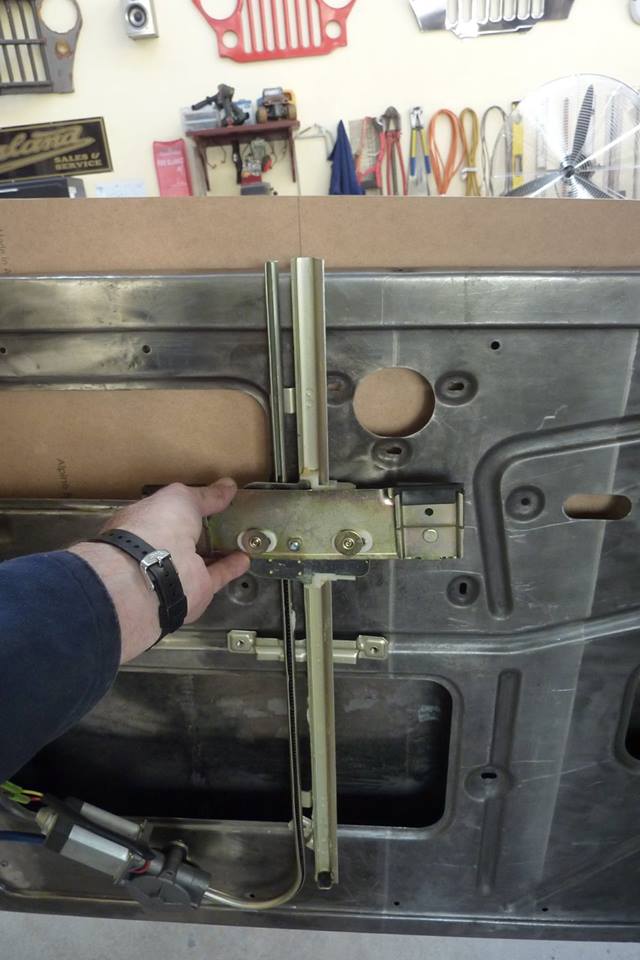
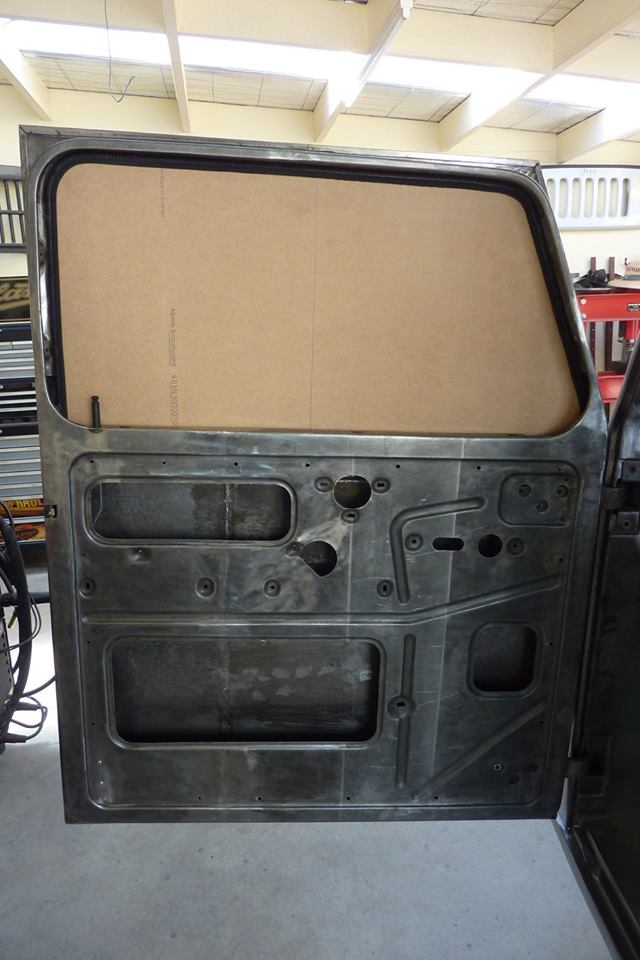
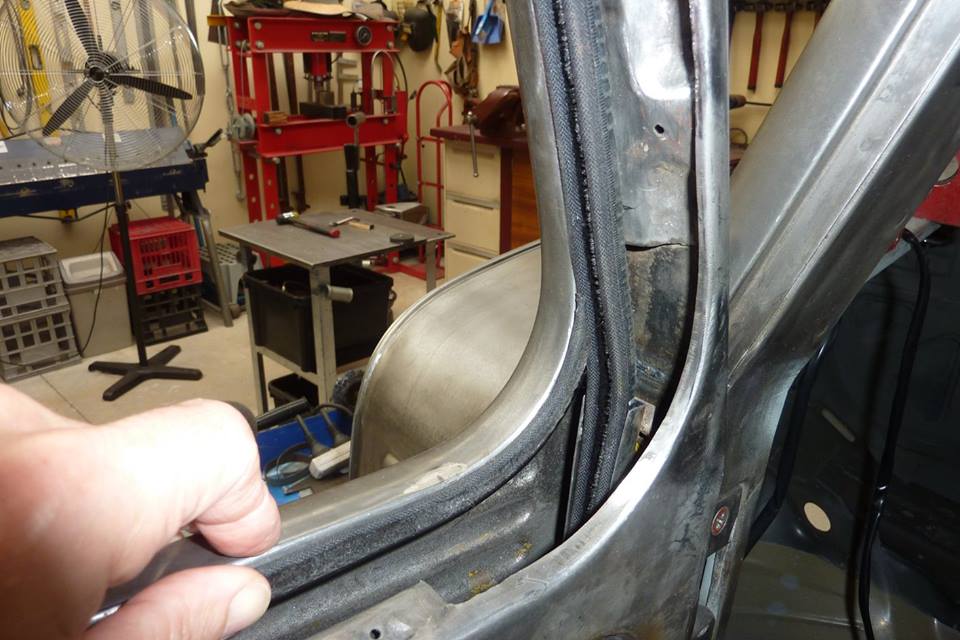
To know what the distance from the mount to the glass needed to be, I measured from inside the panel to the side of the template close to where the bolts would go. Did the same for the bottom mount. This is flipped around to show how much needs to be trimmed off the top to fit inside the door and have the mount on the ridge. Balance point line on the template tells me where to mount the guide rail left to right inside the door. I had it lined up exactly in the middle of the left and right glass clamps.
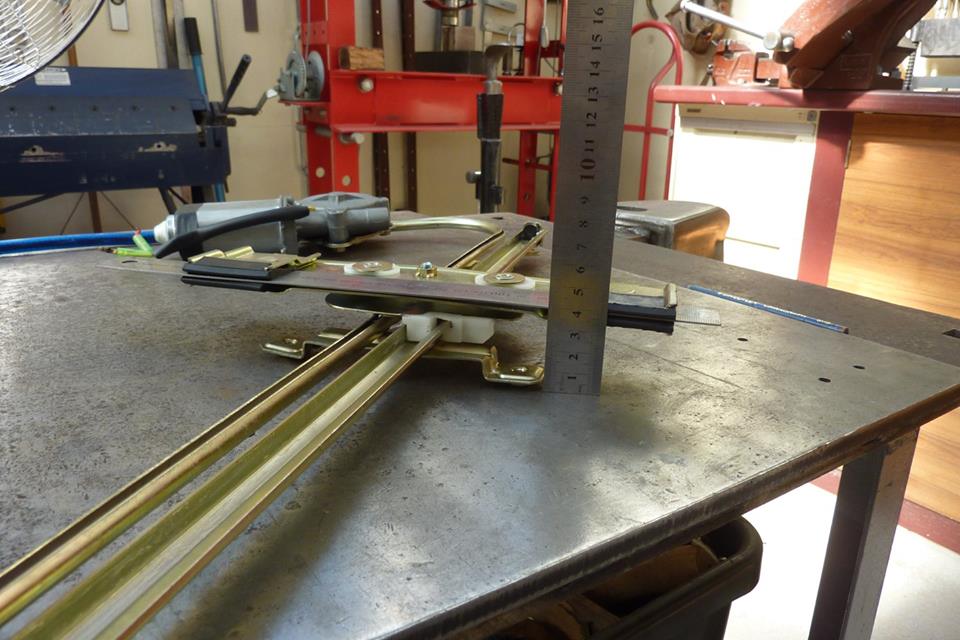
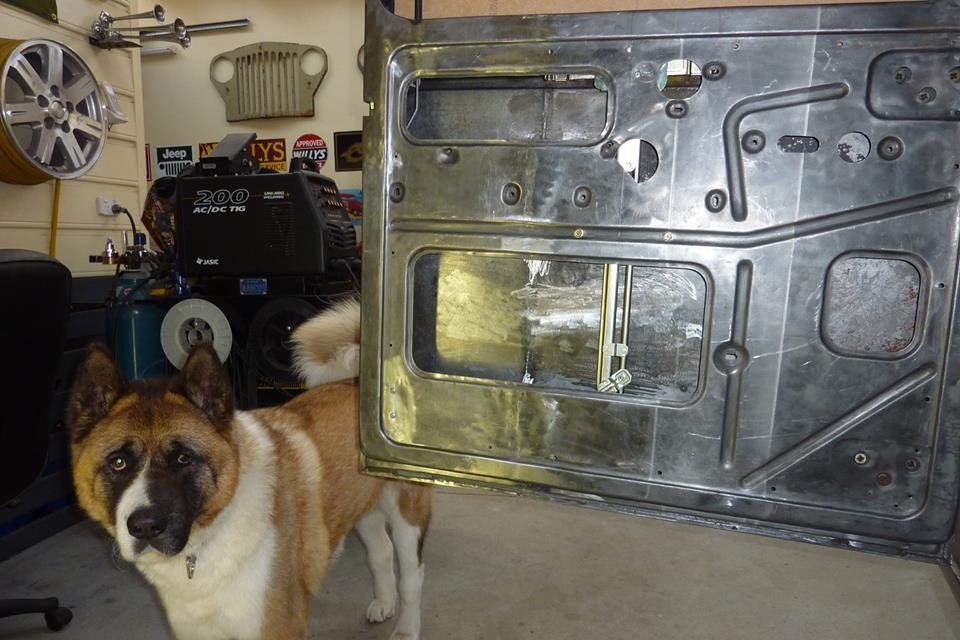
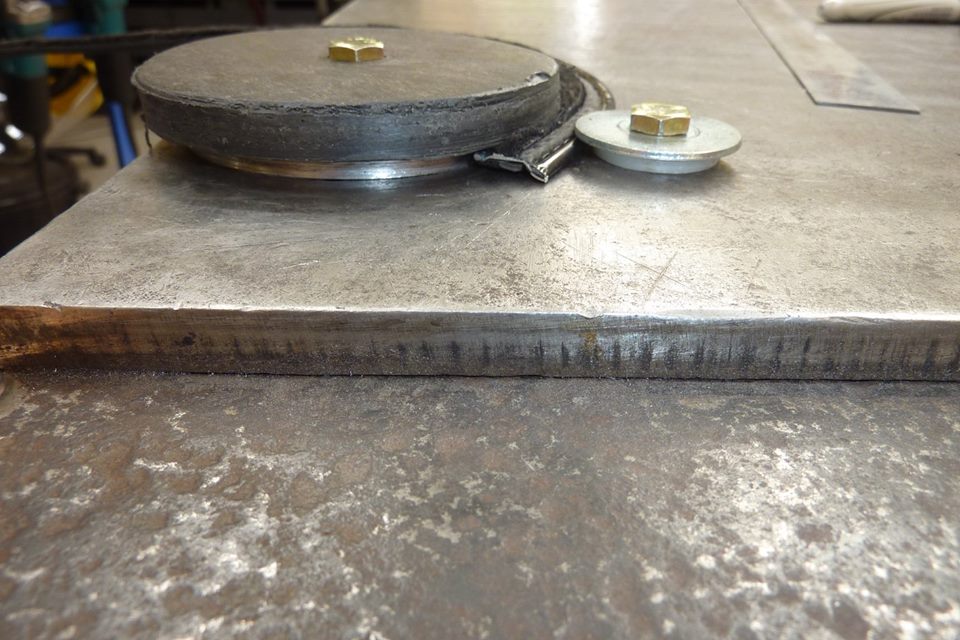
The ruler inside the clamps for the glass gives me where to measure too from the inside panel to the glass. It measured 38mm and I only needed 32mm. So I flatted the mounting bracket enough to loose the 6mm extra. The two mounting bolts are now holding it in place. I made sure the guide rail was parallel to the window channel to stop any binding. Also put a straight edge across the template to make sure it stayed flat as it went up and down to check the mounting position was right depth wise. Our American Akita doing a photo bomb!
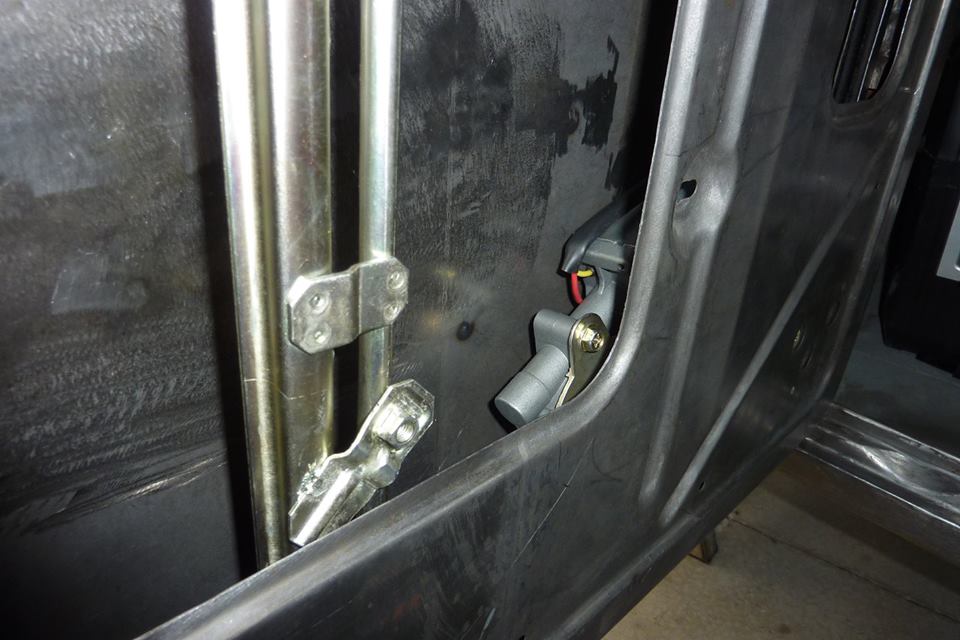
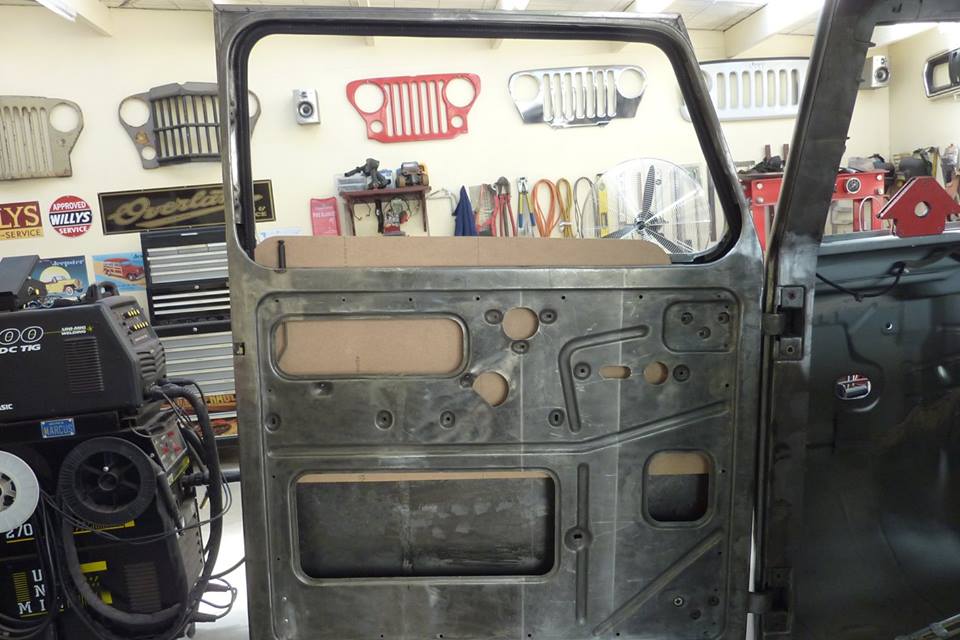
The bottom mount had to be flatten some as well as wanted it to sit back a bit from the panel face. You can make out the bolt I will use also to support the motor itself. A simple bracket with a little joggle in it secures the bottom of the guide rail. Made up a Z bracket for the motor to keep it supported and off the door skins. Could have also bolted with a spacer directly through the inner panel, but didn't want the thick bolt head to stick out.
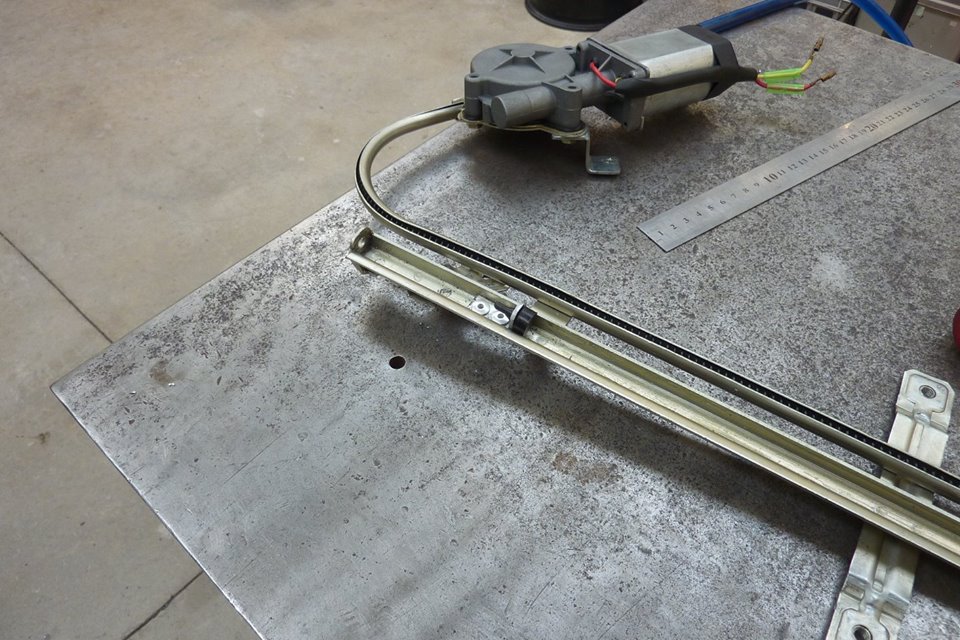

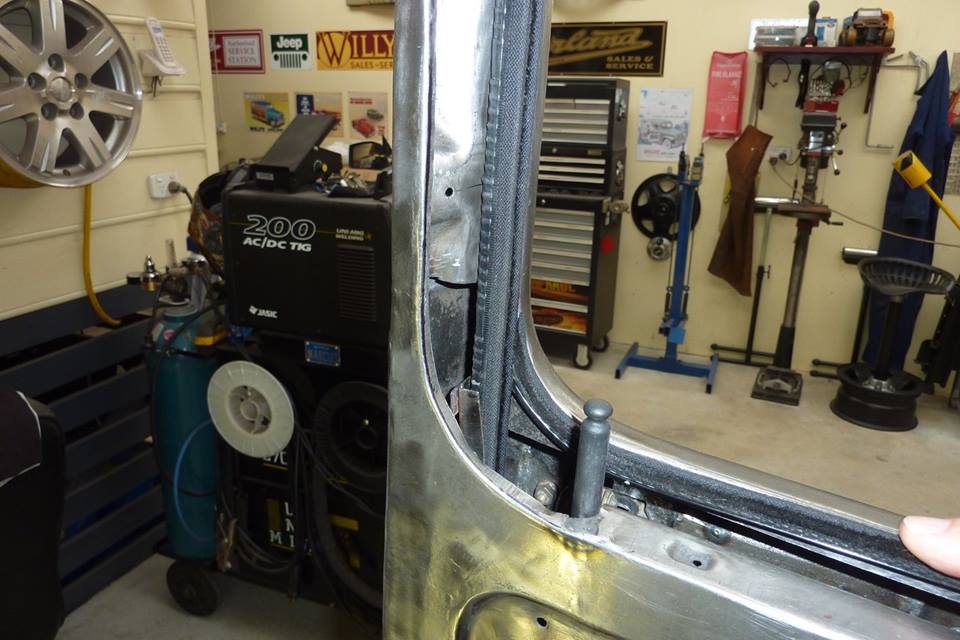
Before removing it I marked where I wanted it to stop plus a few millimetres for the rubber stop compression. I prefer this way than the common bolt as won't damage the nylon guide and is not harsh when it reaches it. Next up is the window felt that goes on the window sill for the outside of the glass. Most I see just run it straight into the corners, but thought I would try and bend it to suit the radius instead.
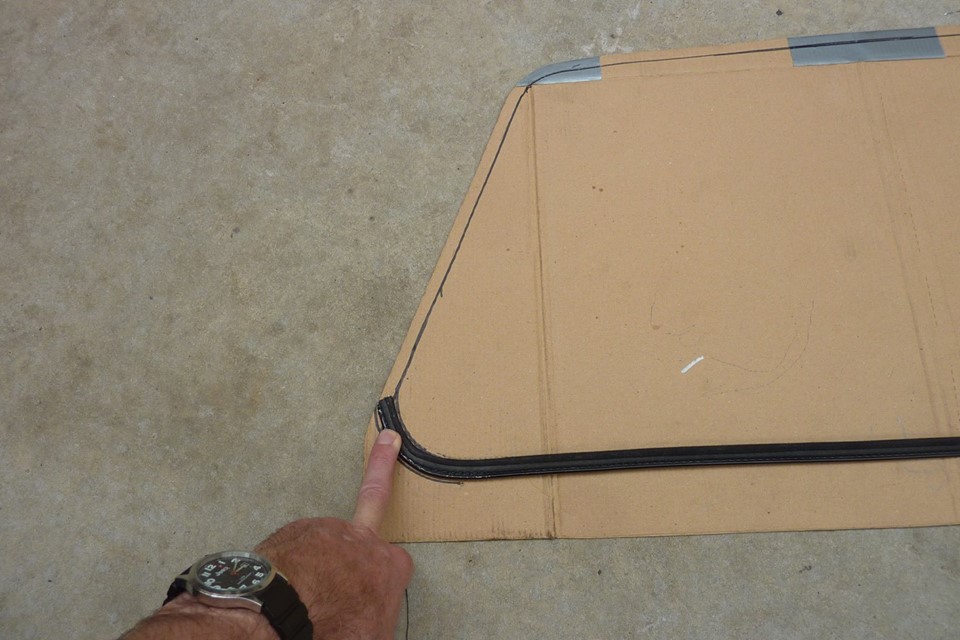
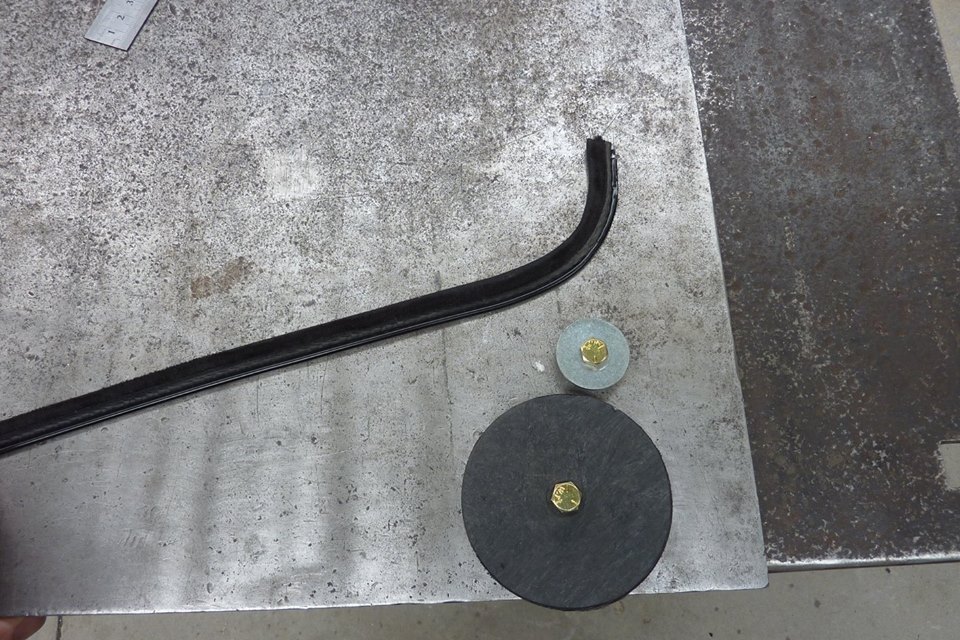
Just using things I had in the washer draw, I made up this little jig. The felt is the same as used in the window channel and is attached to cloth that is clamped into a steel backing with wire rod inside the edges. Just drew the window sill outline onto the cardboard template I had used for the window.
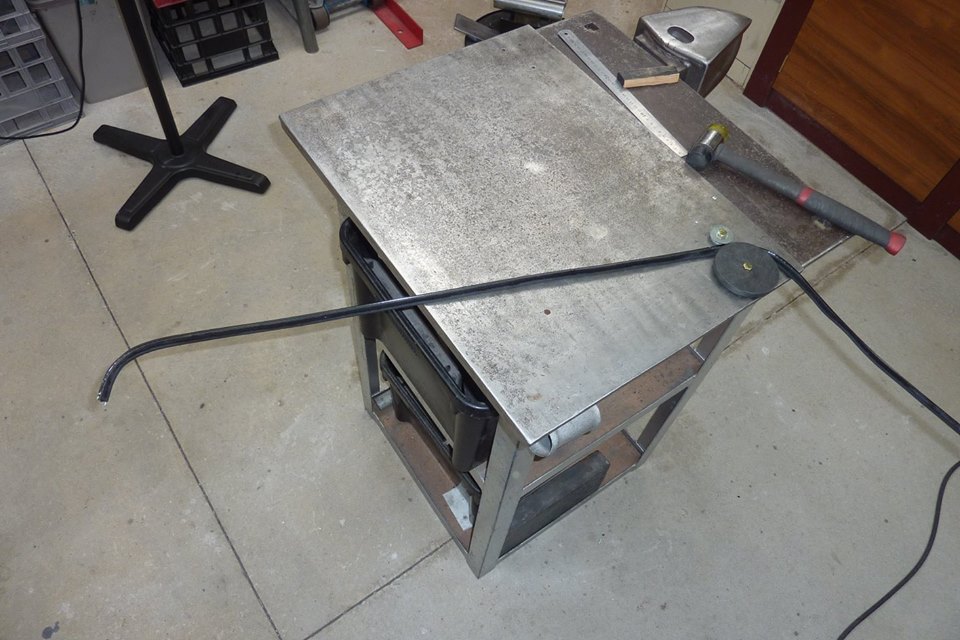
Was a bit fiddly passing it through back and forth and also had to keep straightening the rest of it. Make sure the wire can come out the end as it needs to go somewhere as you shrink the inside radius. I got most the the second bend done as well before cutting it with a little extra spare.
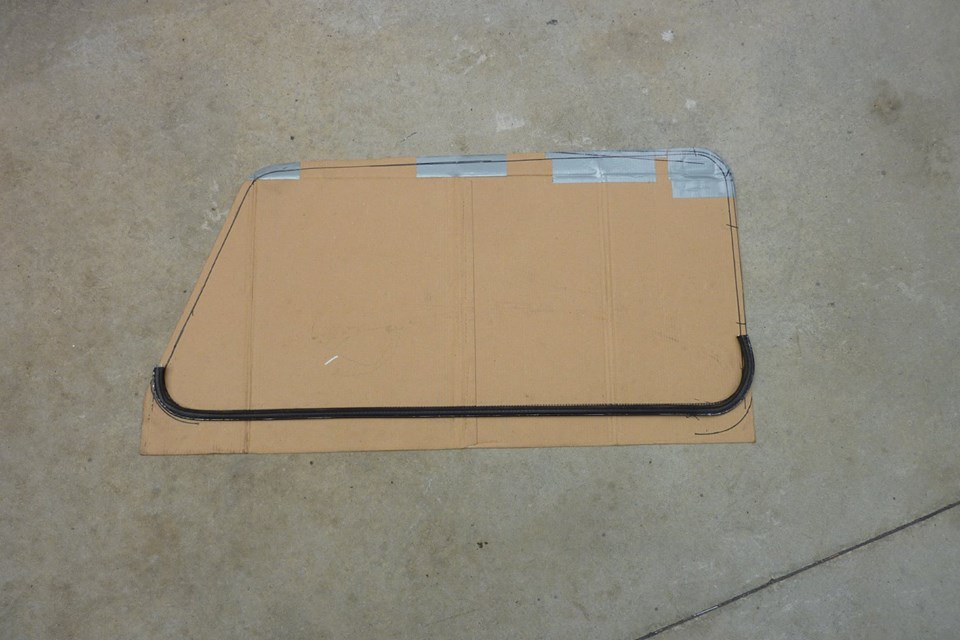
Just about there now and will cut it with tin snips after marking it on the angle it needs. Can see how it follows the radius around.
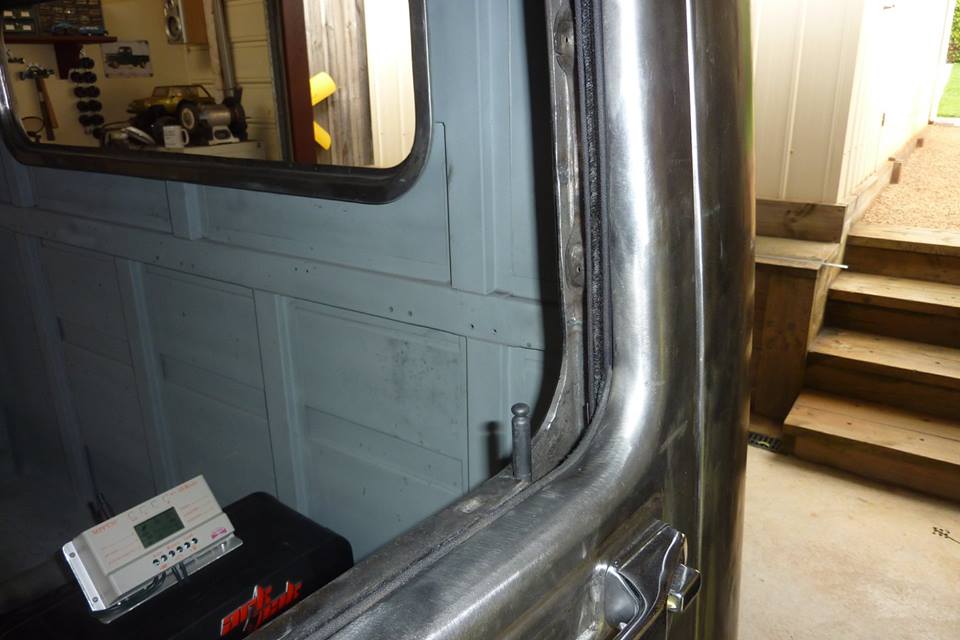
If I had just gone straight ahead you would see it disappear leaving a gap looking from the outside. I used 1/8" rivets to hold it in place. I want all the holes in place before it gets painted so why I have already installed it, even though it has to be removed again.
[Index]