It was then fully welded in. Also plug welded from behind using an existing hole in the original frame left expressly for the purpose.
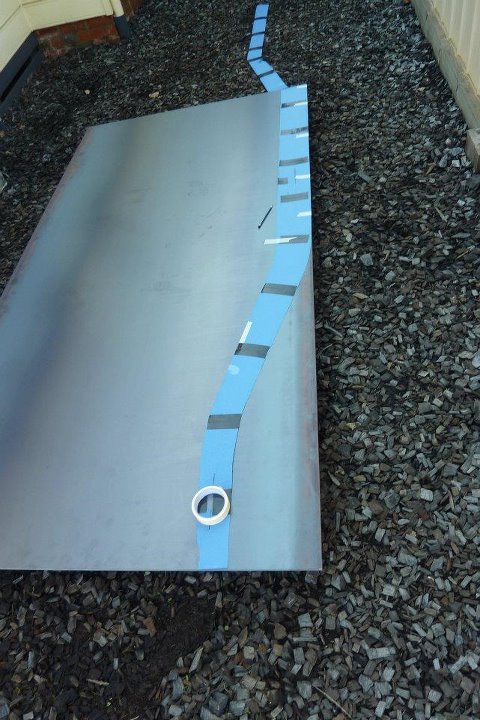
A full template was made for the boxing plates. A fresh sheet of 1200x2400x4mm, 4'x8'x5/32", was bought to cut the plates from. The is the same thickness as the frame rails so tension when flexing is even on both sides. All was cut just using a 9" grinder with a cut off wheel.
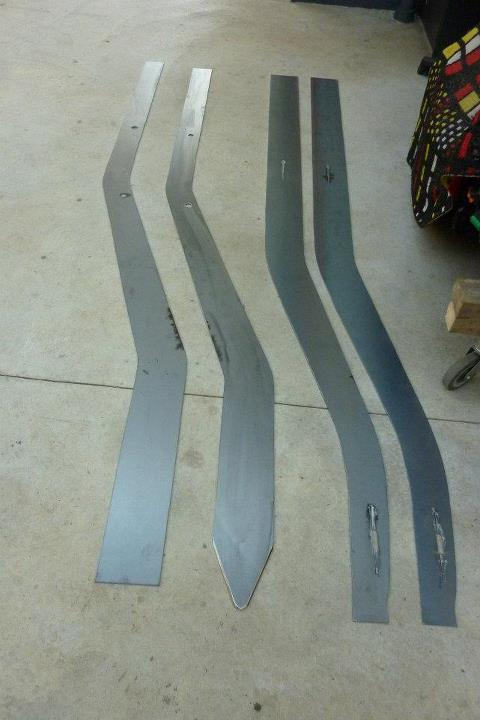
The plates were made the same for left and right and one side will simply be turned over. You can also notice the slots cut where the different mounts will penetrate the boxing plates to get their support on both sides. The right photo also shows that the plates were cut narrower by the thickness on the rails on each side so a corner to corner weld can be made with full penetration. Also shown is the swaybar bush coming though to be fully welded.
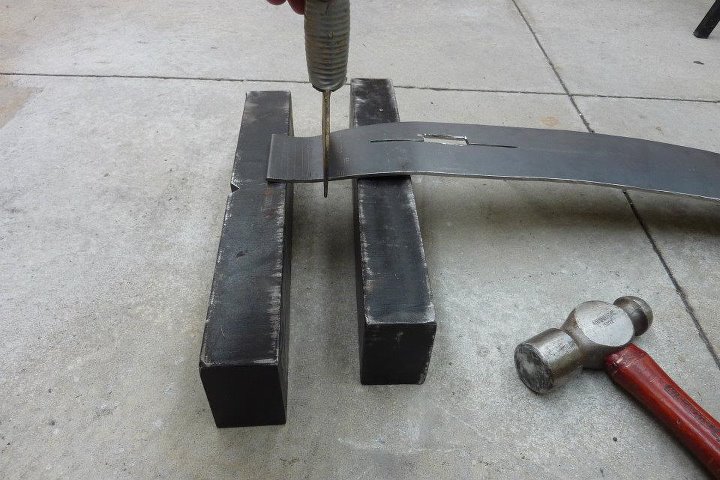

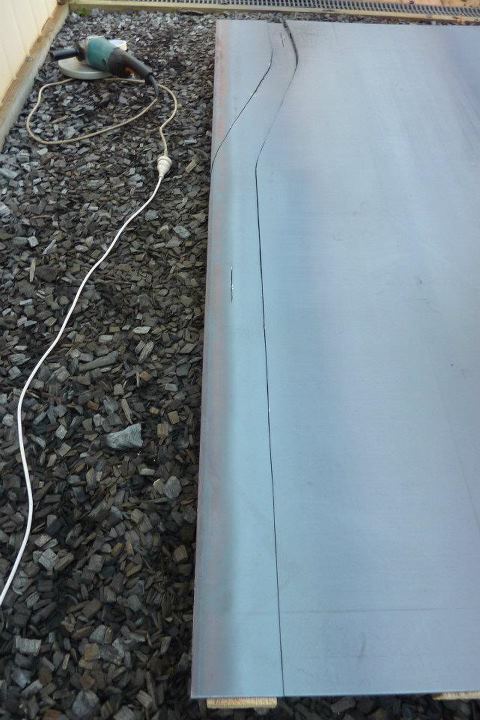
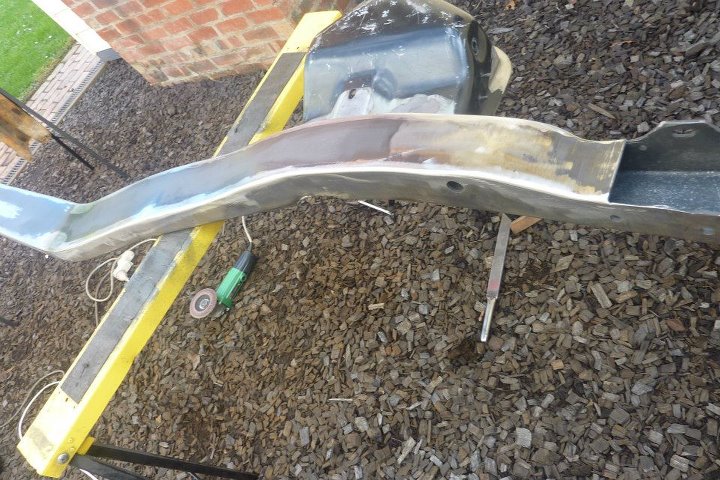
The back 2/3rds was flat so no bends were required. But the front has two plus the change in flange thickness to deal with. I simply used a brickies bolster between two lumps of metal to make the bends. Can also use a piece of upturned channel.
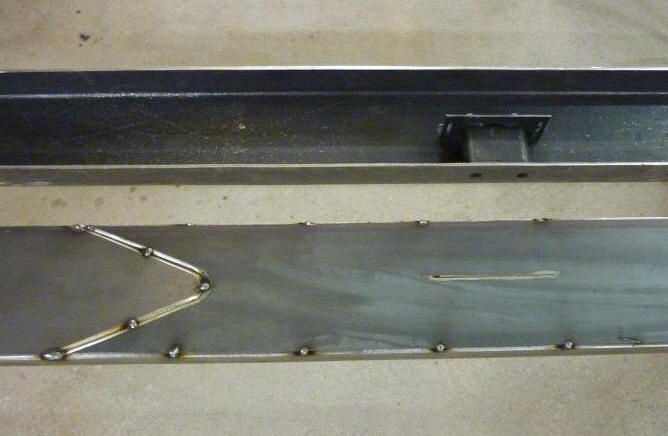
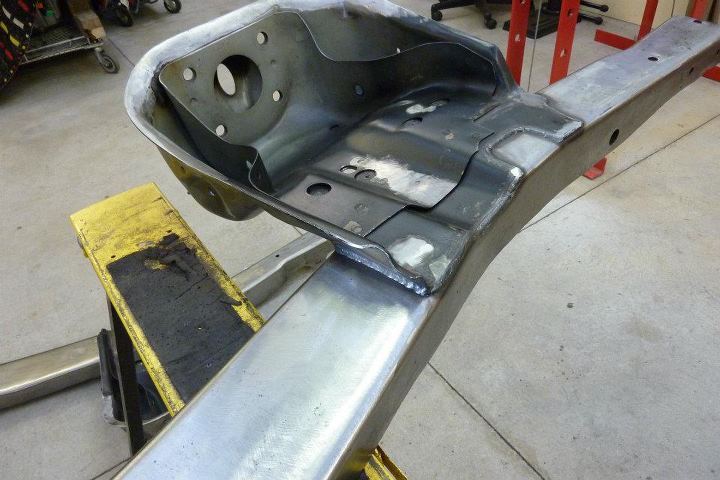
Only one join was needed for the entire boxing length which leaves it stronger. The only joint was shaped to increase the weld area and reduce stress rises as much as possible. You can also see how the cross member mount comes through the slot flush with the top of the boxing plate where it will be welded and ground smooth afterwards.
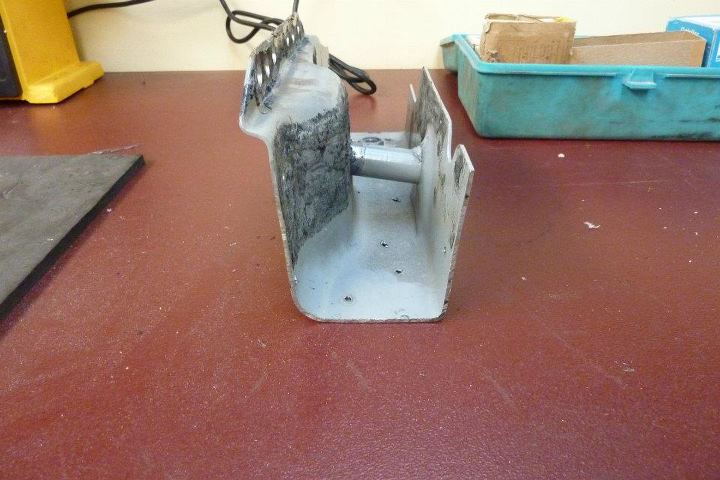

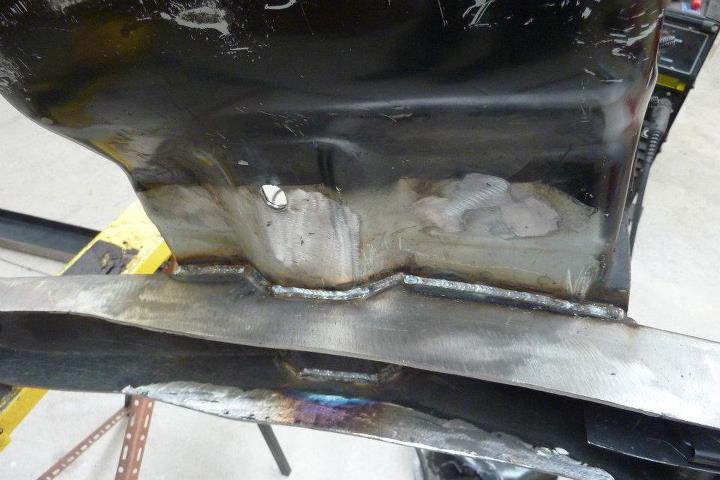
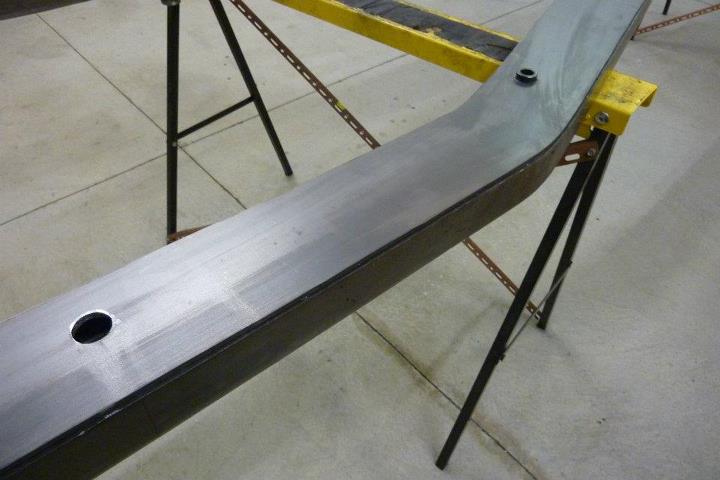
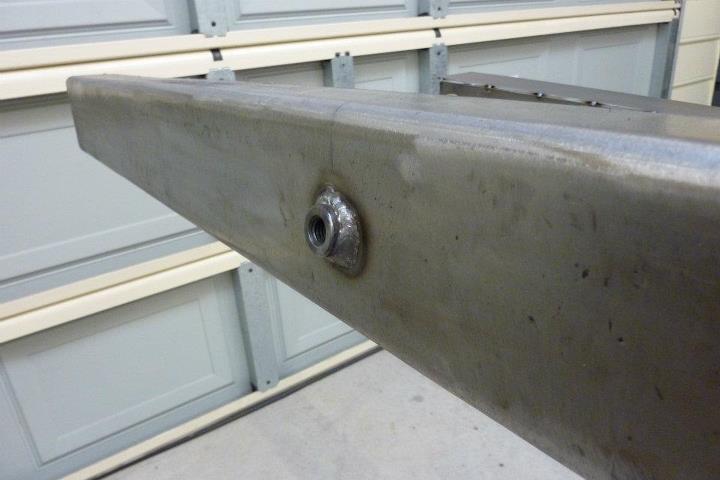
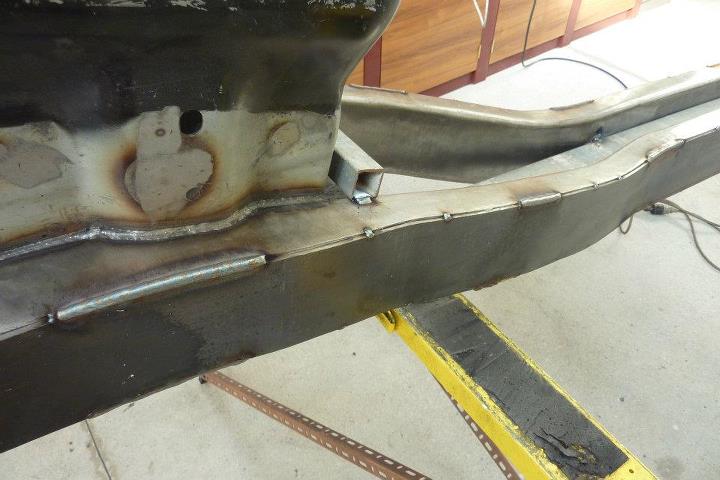
This is how the original rear shock mount was done in the Grand Cherokee. I was fortunate that the narrow section, that the threaded boss goes through, was the same width as the Willys frame. So the boss was cut out using a hole saw and holes drilled in the Willys frame on both sides. You can notice the offset so that the boss will be mounted at the same 8 degrees as it was originally.

I fully welded the boss in on both sides before final welding of the boxing plate to keep it from moving.

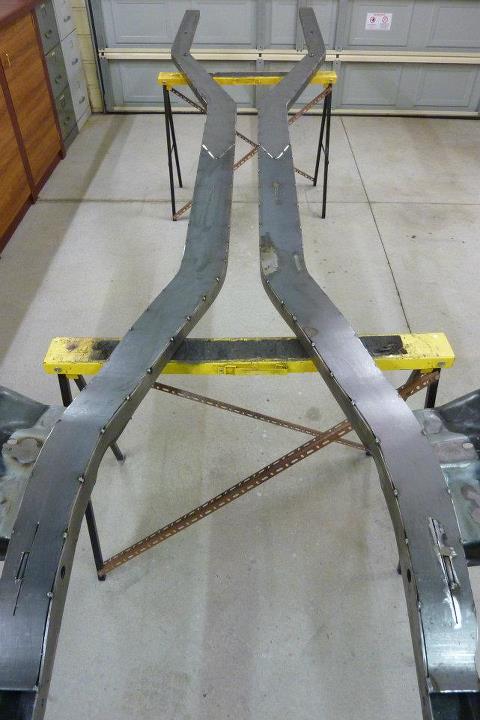
To prevent the frame from bending from all the welding on one side only, I tack welding both frames to some heavy wall RHS tubing. Additional tubes were added where the tubing was not central.
The welding was spaced out in sections so that heat was kept to a minimum. It was also kept balanced by welding both rails at the same point, both top and bottom flanges, left and right rails, so the pull while cooling would counter act each other.

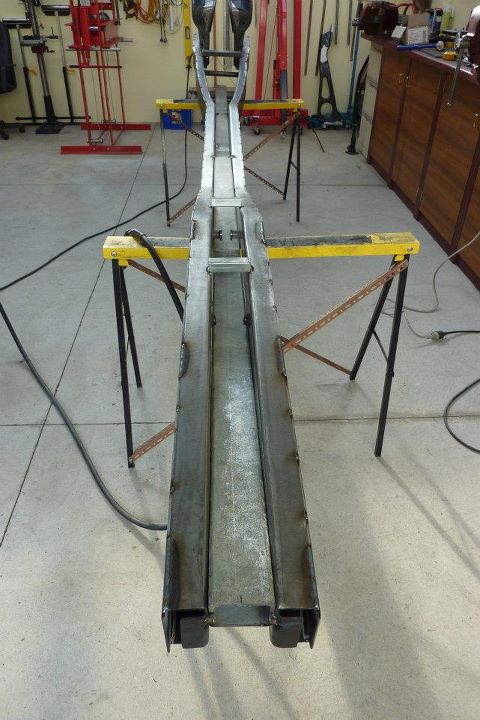
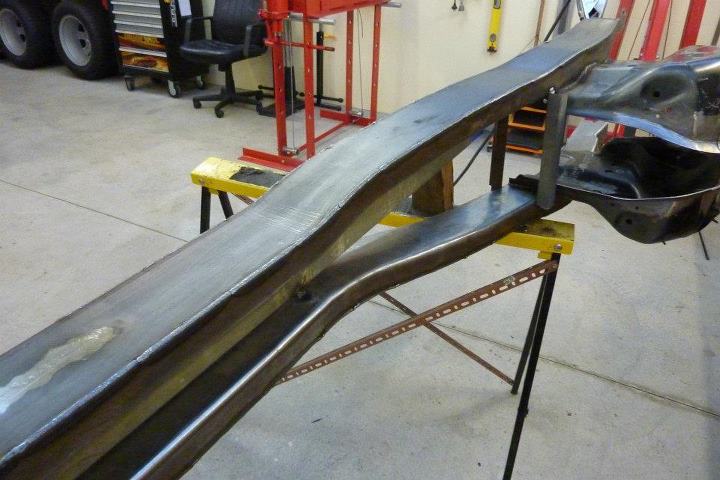
The rails are now fully welded from one end to the other, 18 metres or 59', of weld! The weld was then dressed and sanded smooth. The edge has a sharper radius than the folded side as removed as little weld as possible to keep strength.
[Index]