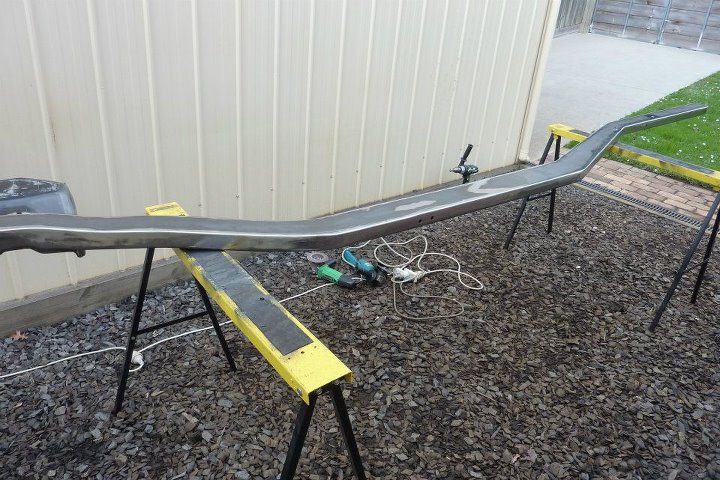
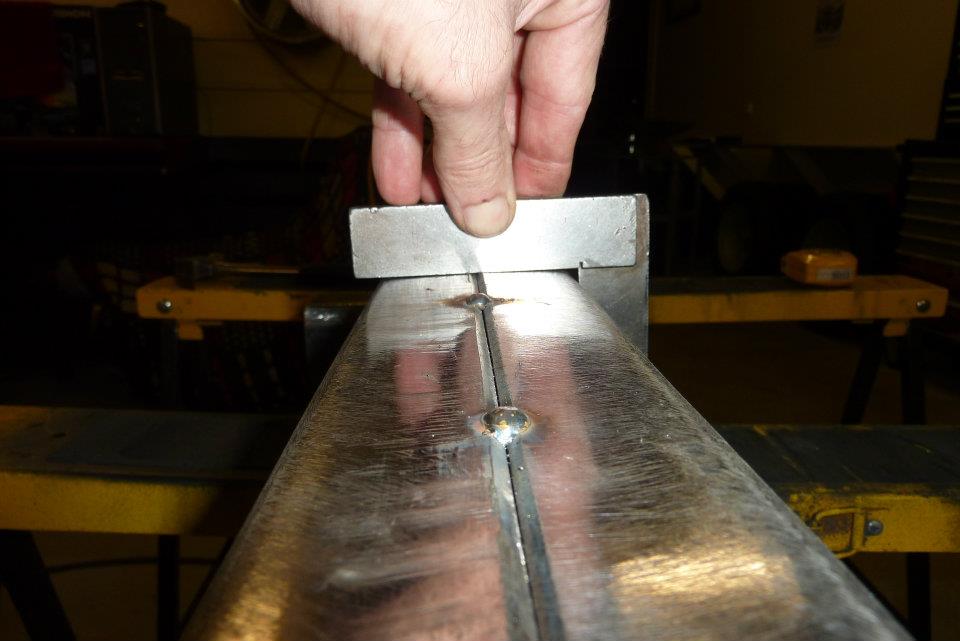
You can see above how the penetration has come all the way through the join without being excessive either. Too much just adds to un-necessary distortion without strength gain. I even ground and sanded the welds while still attached to the heavy wall tubing to keep it straight. In the end the straight rear 2/3rds of the frame only ended up with a 1/2" dip in it. I gently pressed that out until straight again.

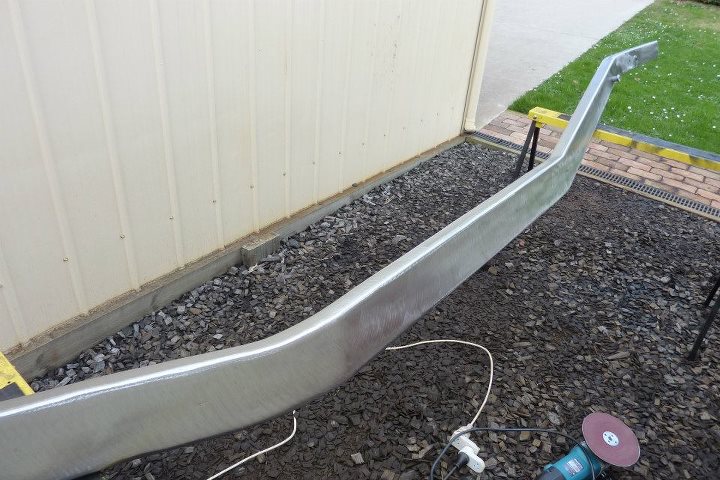
The rails were completely sanded with a 7" disc sander to get it as flat as possible. Started at 16 grit and worked my way down to 80 grit. Any pitting from old rust was then spot blasted with garnet to remove the last signs of rust.
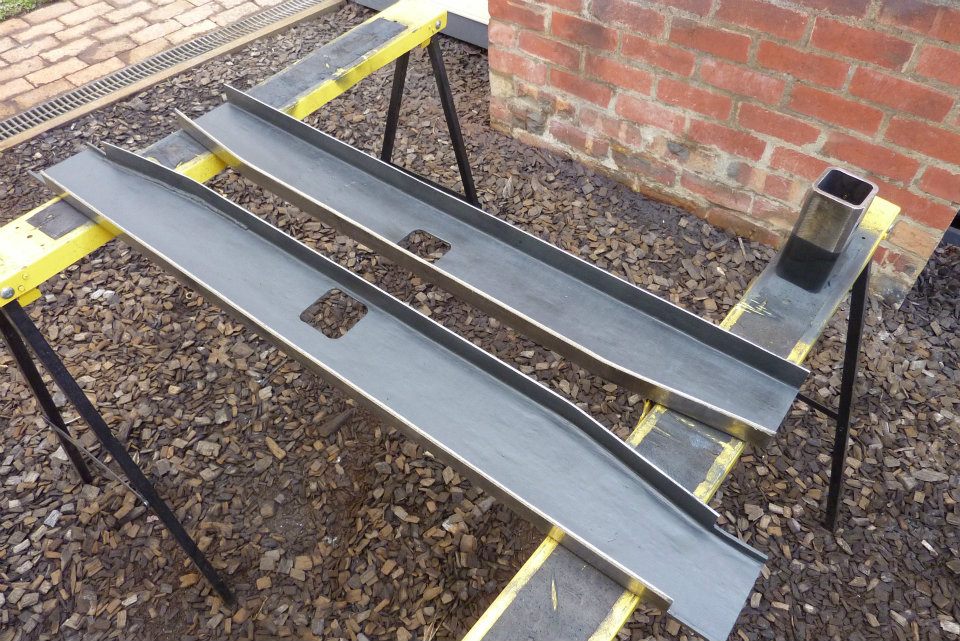
Making the rear cross member. The stock one was 52mm-2" wide x 3mm-1/8" wall. As I wanted to use it as a towbar as well, I increased the width to 76mm-3" by using two cross members both trimmed evenly to make that width. The edges were all bevelled and a gap left to get full penetration. Can see also that it was set slightly up, so when the weld shrank, it would pull it down flat and square.

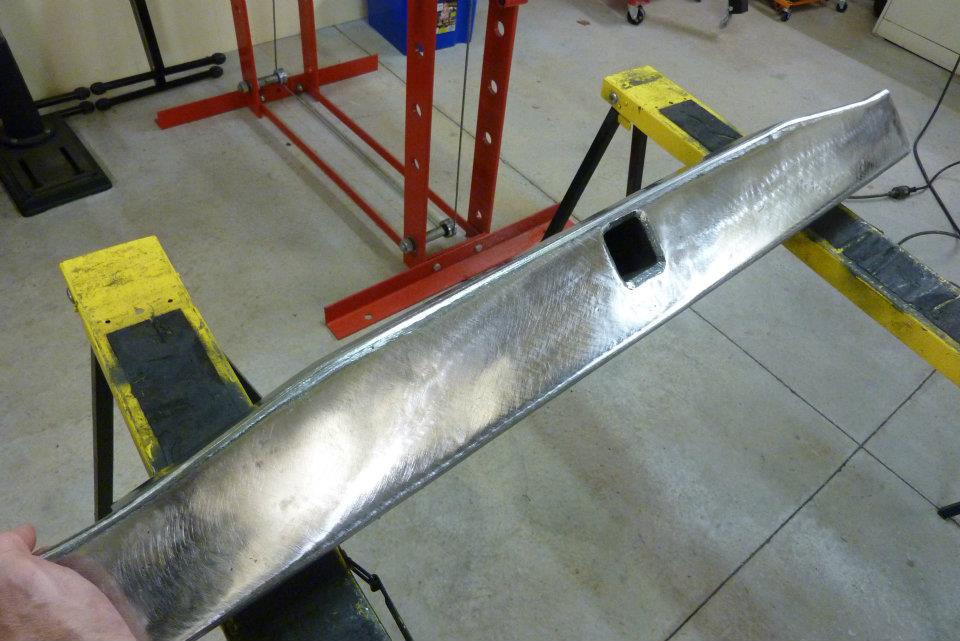
The receiver was fully welded in as well. The part protruding will be the back of it with the front face left flush for licence plate mounting. The receiver tube was flush with the inside of the cross member so a fillet weld could be used to give the greatest strength.

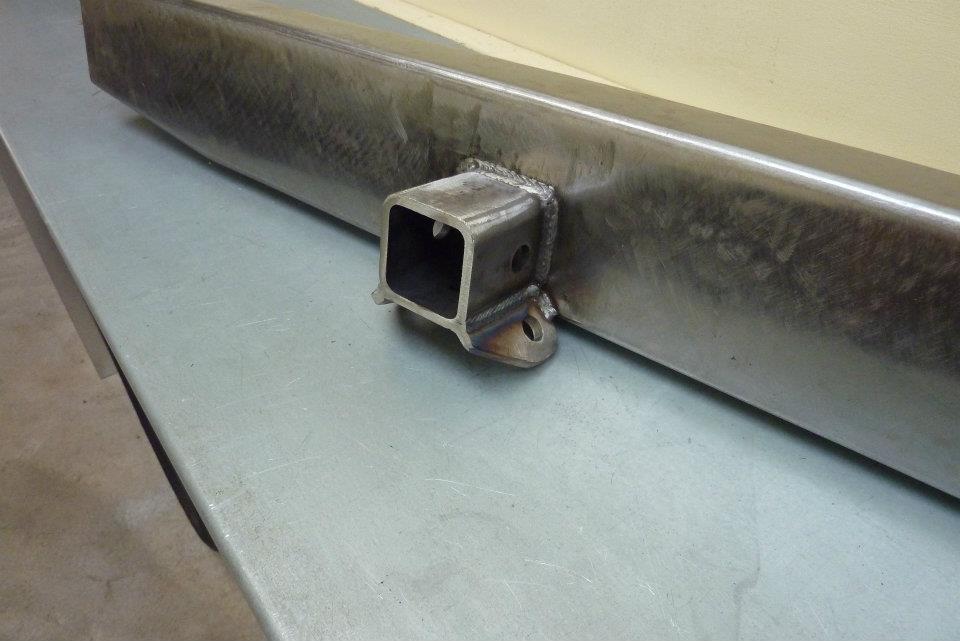
As you can see the weld pulled down the join so it was nice and flat. It was welded in sections to balance the heat between the top and the bottom seam to prevent any bending. Tabs for the safety chains were also added.
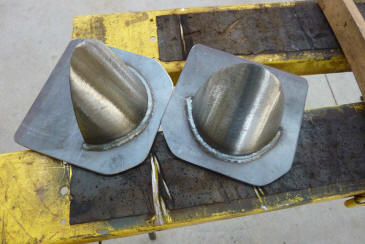
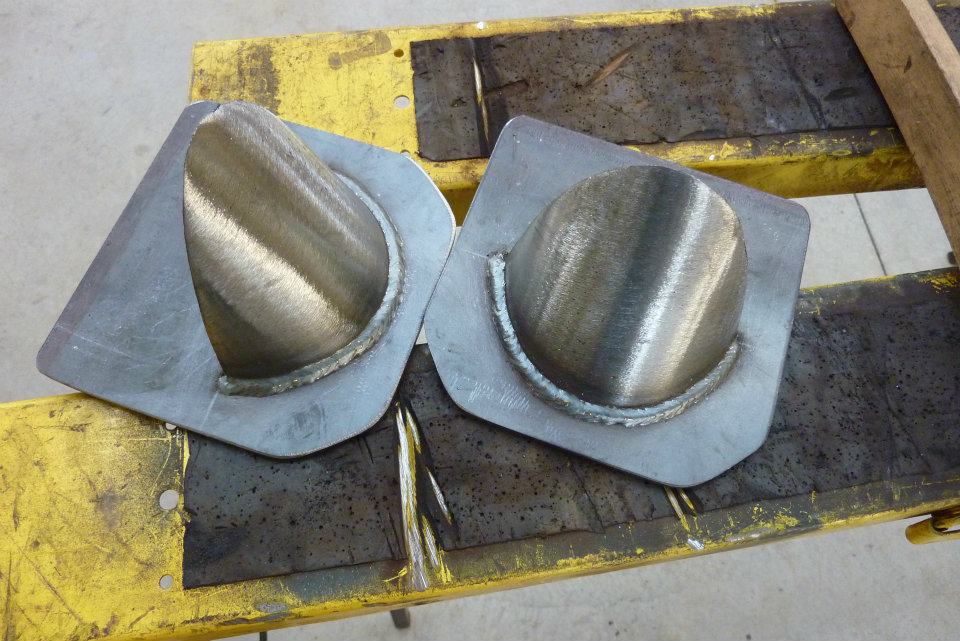
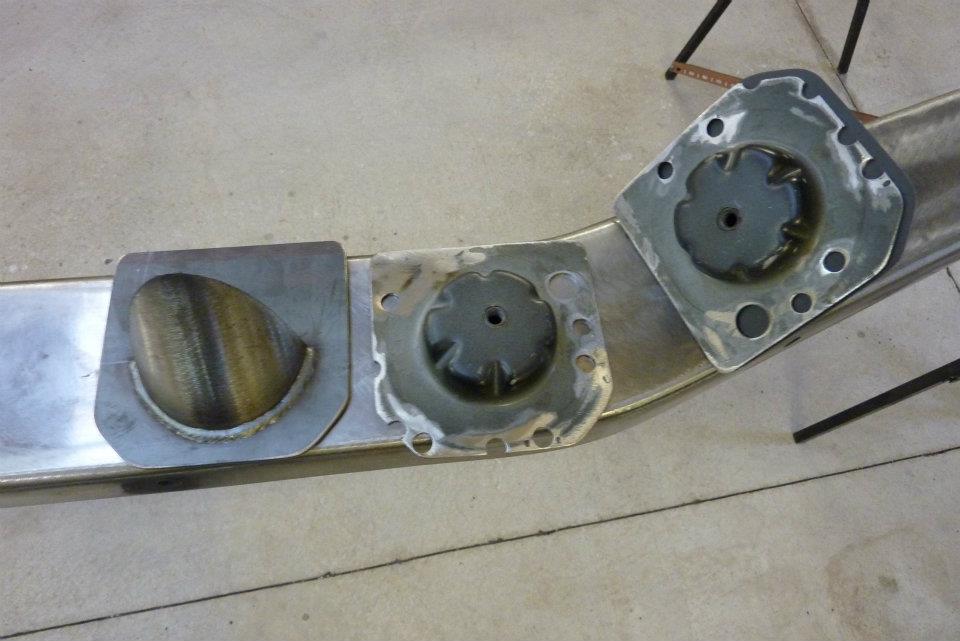
The upper coil mounts were fabricated from 100mm-4" x 5mm-3/16" wall pipe and 4mm-5/32" plate. Also the original coil mounts with the threaded hole for the bump stops were added to this.
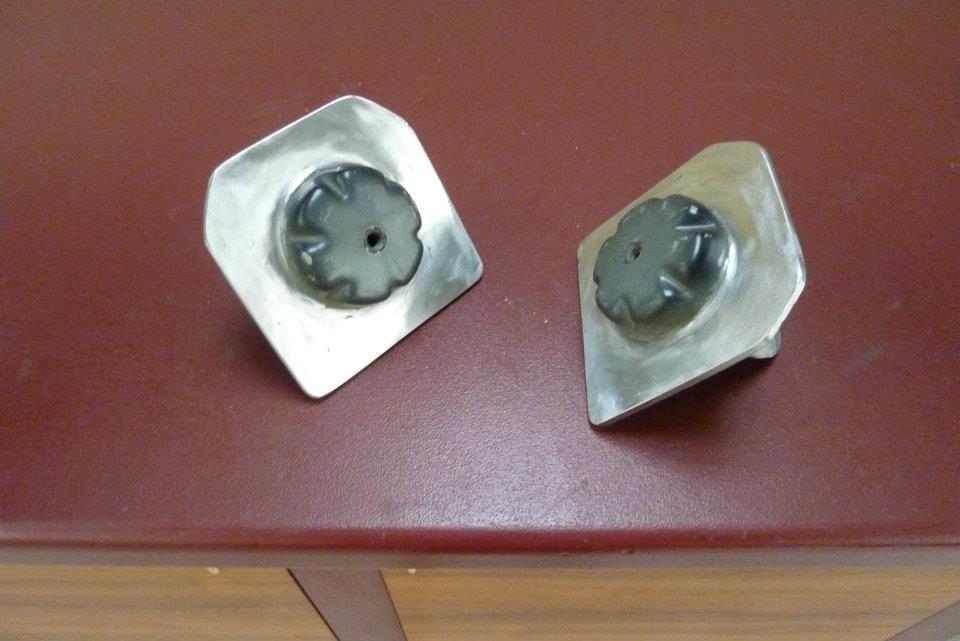
The plate were cut the thickness of the coil mounts larger so that strength in the join was left after grinding smooth. Also all the holes from the old spot welds were used as plug welds. The mount is just sitting to show how it will be positioned later.
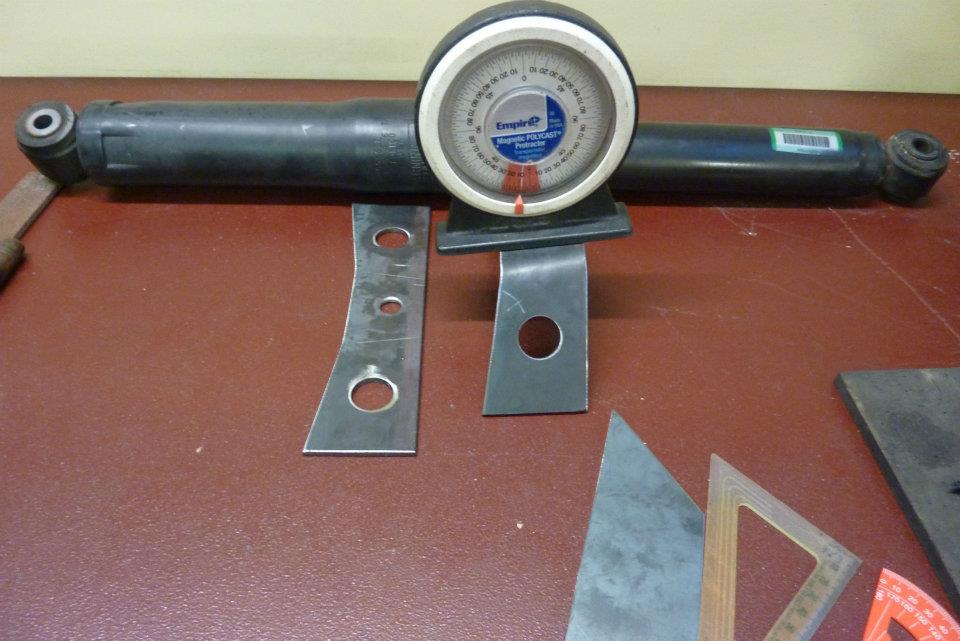
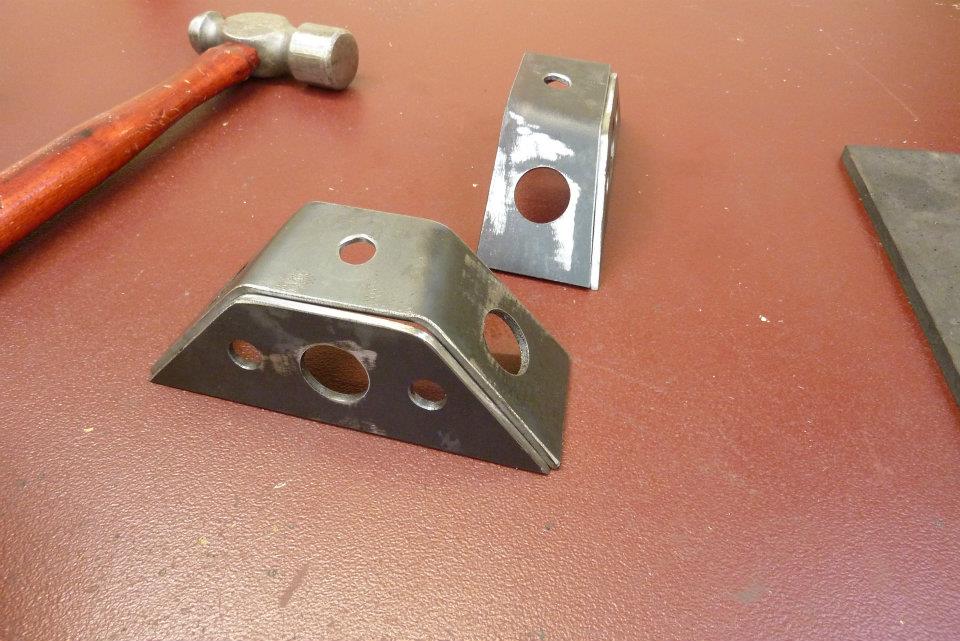
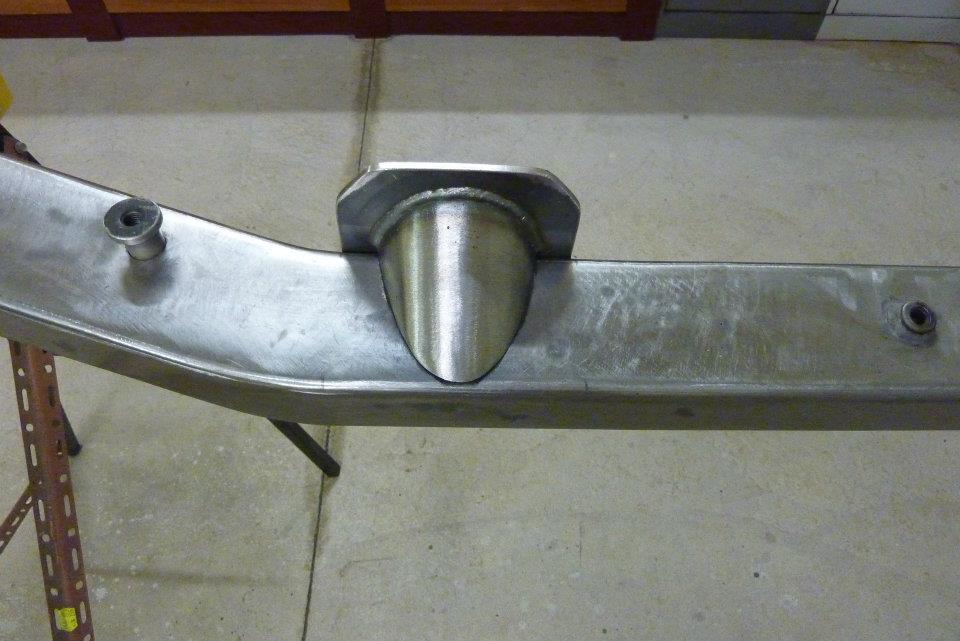
The rear shock mount already has a threaded bush that passes though both sides of the rail and welded in. But another part is being made to further support the shock in a double shear situation. It was made to suit the 8* angle the threaded bush is welded at and the shock needs to match the stock angle as the mounts on the axle are further apart than the frame width.

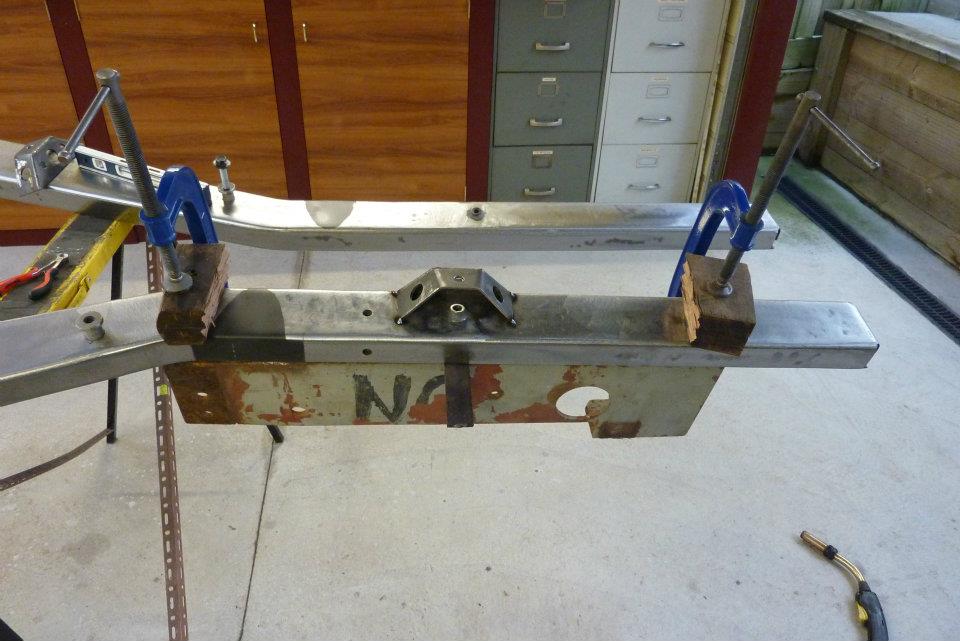
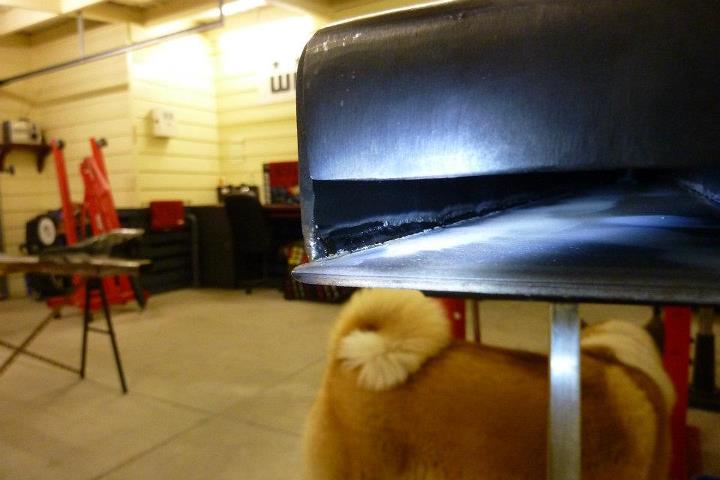
Fully welded and ready to add to the frame rail. The rail was braced with a piece of old channel under where the welding will take place. A piece of flat bar is placed directly under the shock mount and G clamps tightened so that the force is in the opposite direction to the weld pull when it starts to cool.
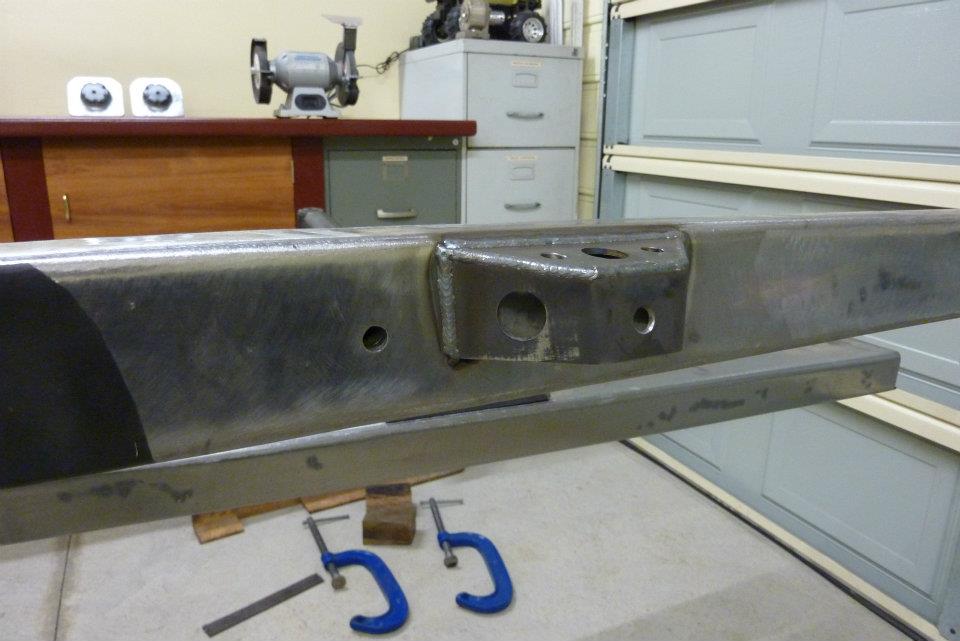
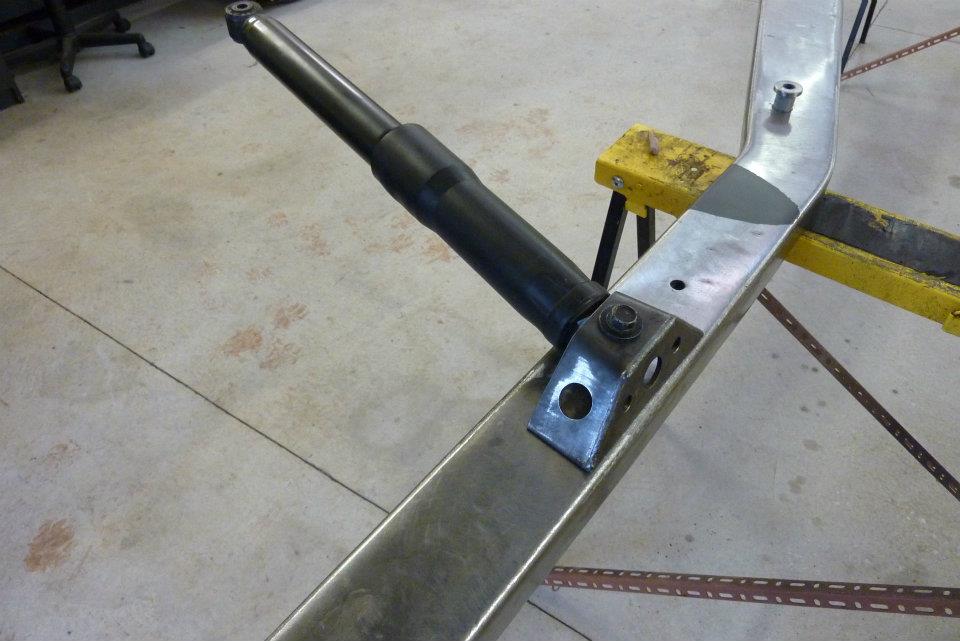
The rail stayed nice a straight using this technique and the bolt easily pushed through the mount and the shock with the required 8* angle.
[Index]