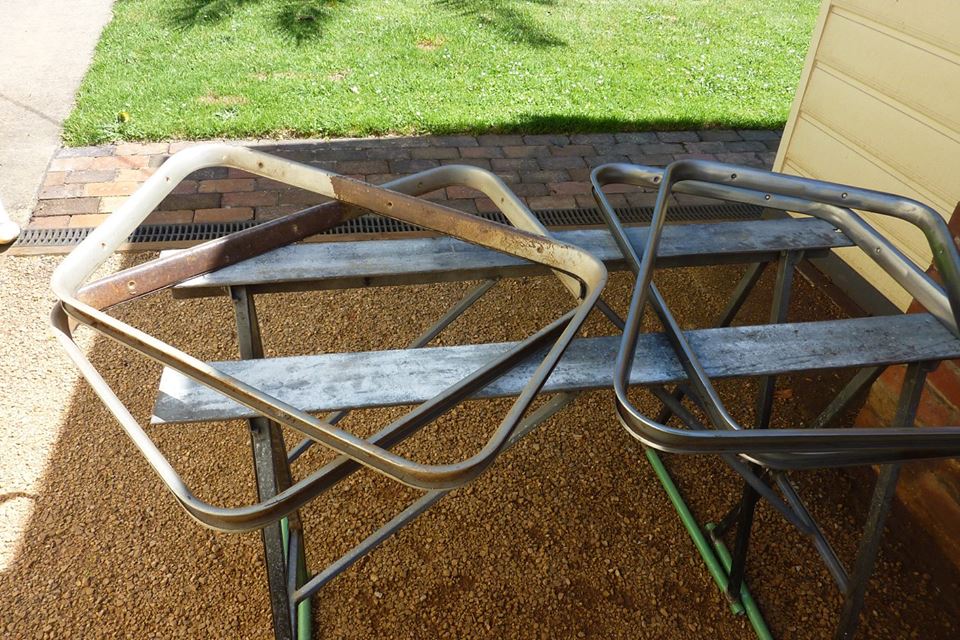
Door trims are next on the list of things to do. One set I already stripped of paint had hardly a scratch on it. The second set you can see they must have driven a lot with the window down and the elbow out the window. :) Get fined for doing that here now a days! I needed the door lock button to come through the trim so tried a few different ways. The rear most one was using the donor piece but it jammed the button as the angle was not right. Tried a grommet and raised the metal to get it flatter, but still didn't like the look. So think I will go with the closest one with the flared hole.
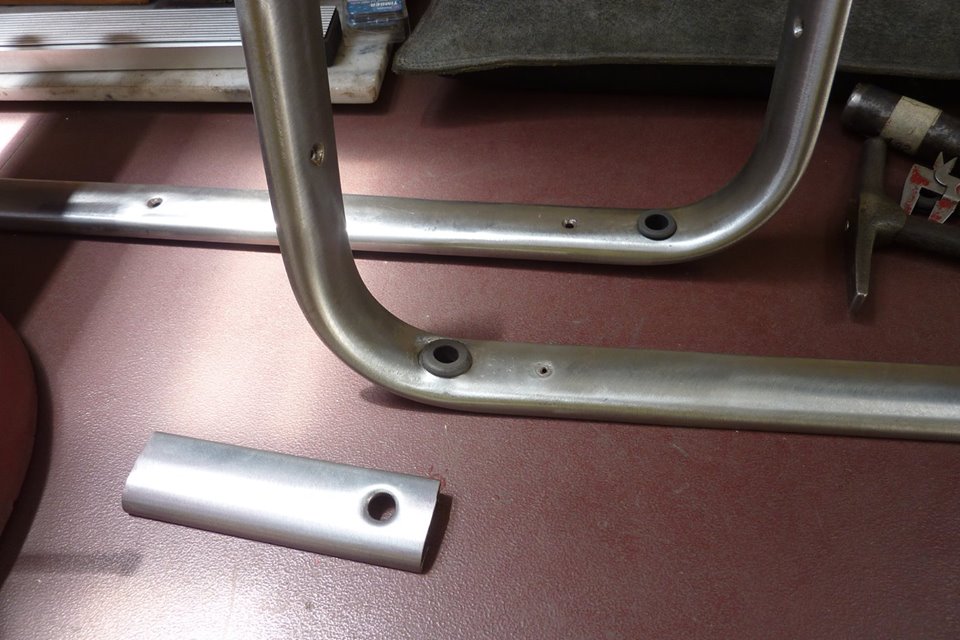
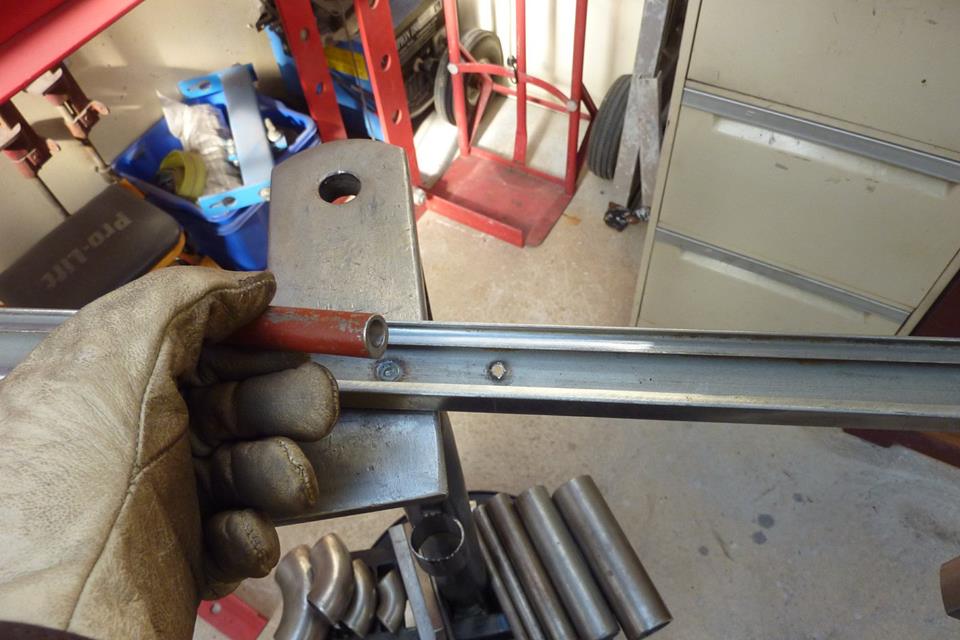
To make the flare I practised on some scrap first. Ground the top of a tube, that had the inside diameter I wanted, to match the curve of the trim. Then simply drove a rope splicing spike through the hole. Would be 35 years since I learnt this craft when doing my farrier training! Could also use a podgy or round bar shaped to suit as well.
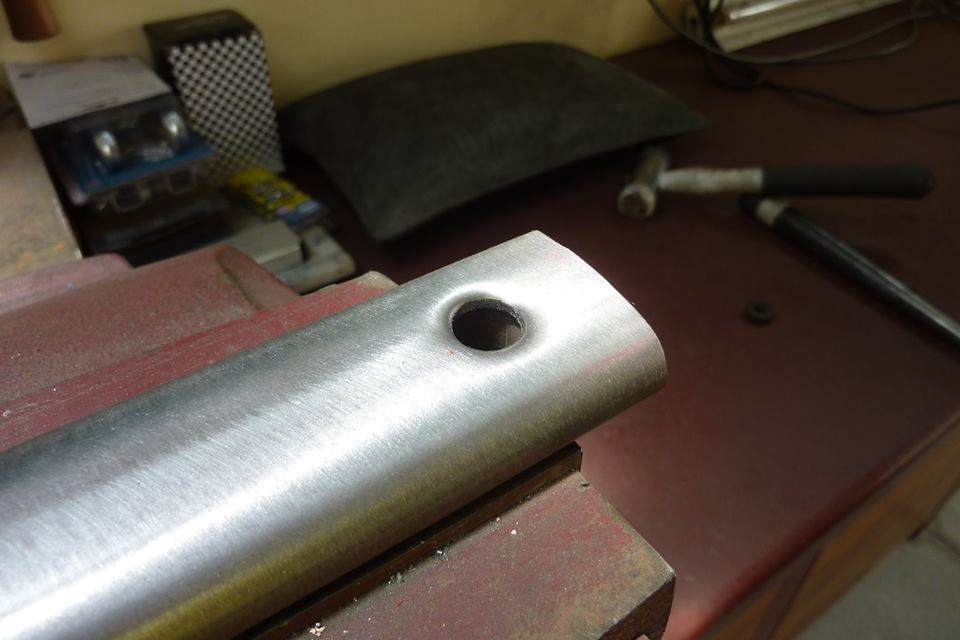
Looks better than just a hole with a sharp edge. The hole was drilled 10mm-3/8" with the final hole size of 13mm-1/2". I tapped the spike in a little from the backside as well to turn the flare outwards so an edge wouldn't dig into the button.
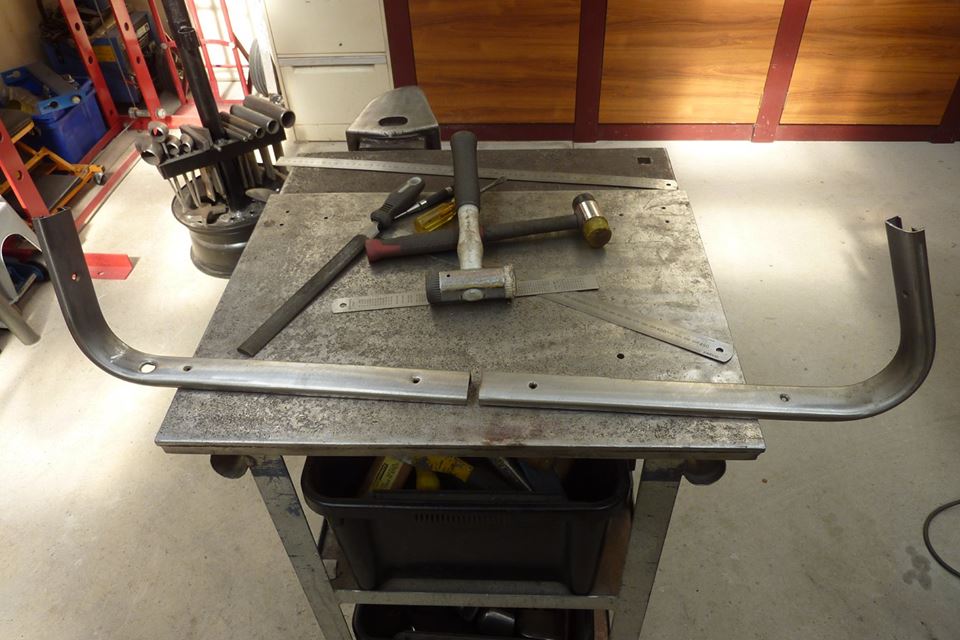
I think this gives a neater finish than the grommets. Using a different frame for the front and rear sections to make up the 115mm-4.5" longer doors, meant the mounting holes in the middle were unevenly spaced. Originally thought I could live with that when I cut them this way, but turns out I can't!
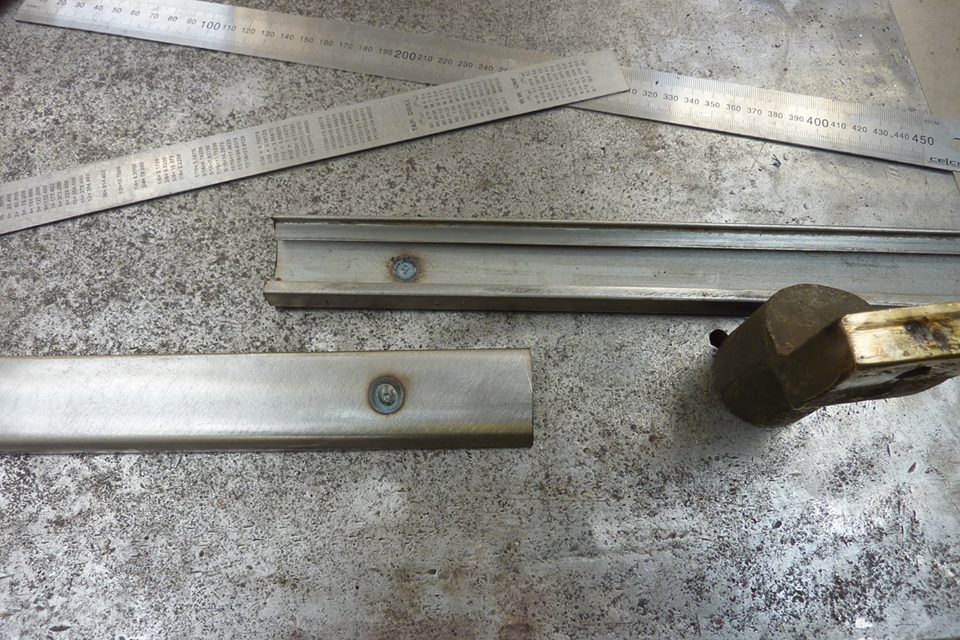
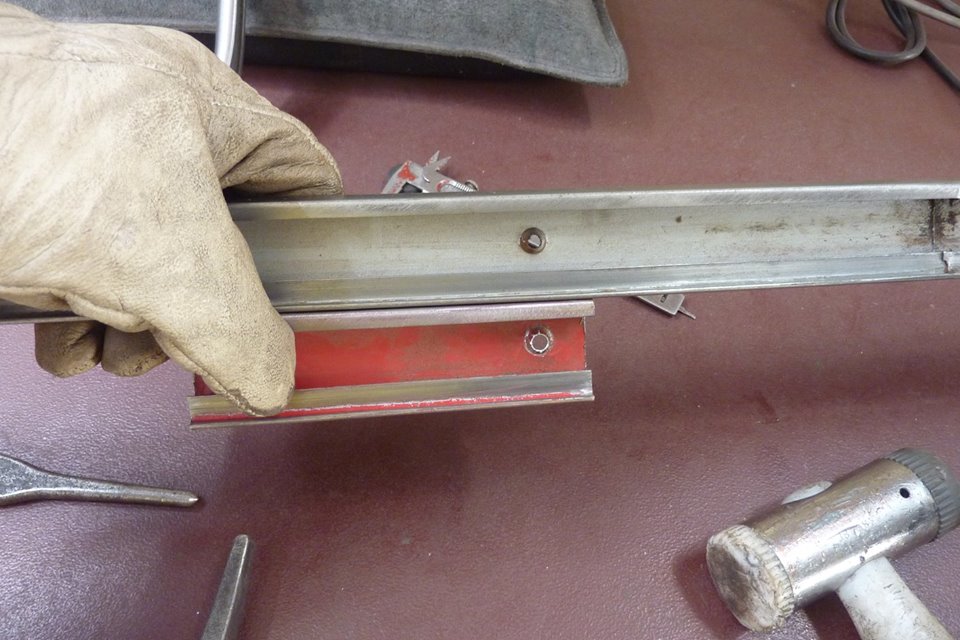
Using my trusty old cobbler's hammer, I hammered the flare flat from the inside. Also noted the now smaller hole size to help with making a new depression later. A quick tack over a big old brass cable lug fills the hole. You can see how the underside of the top piece comes out using this technique.
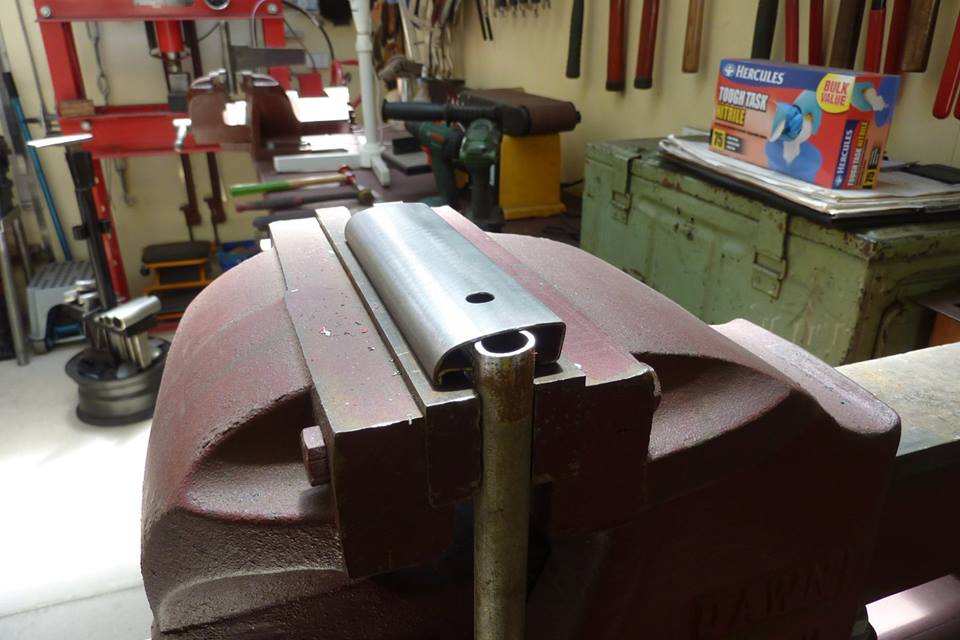
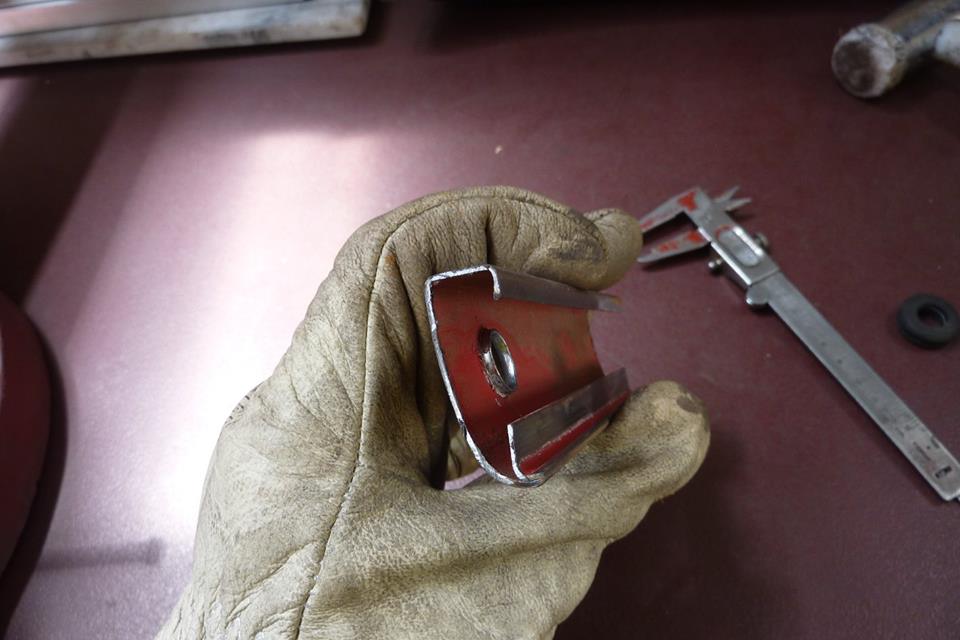
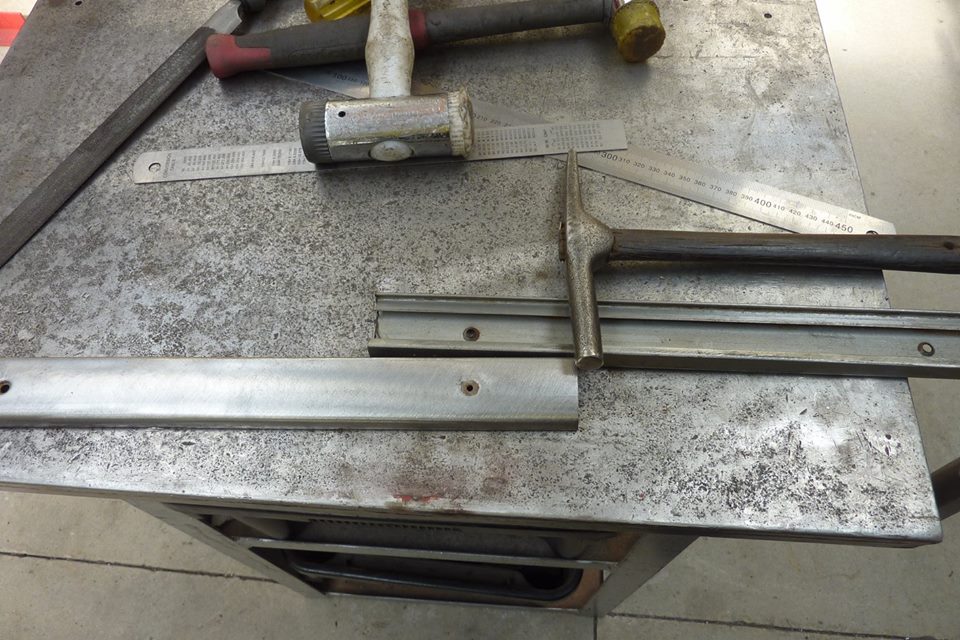
Pieces clamped down to the bench to keep it all aligned while welding. Now to make the new counter sink depression match the factory ones. I used the centre punch pictured and hammered it over a bar I drilled to match the outside diameter of the flare I wanted.
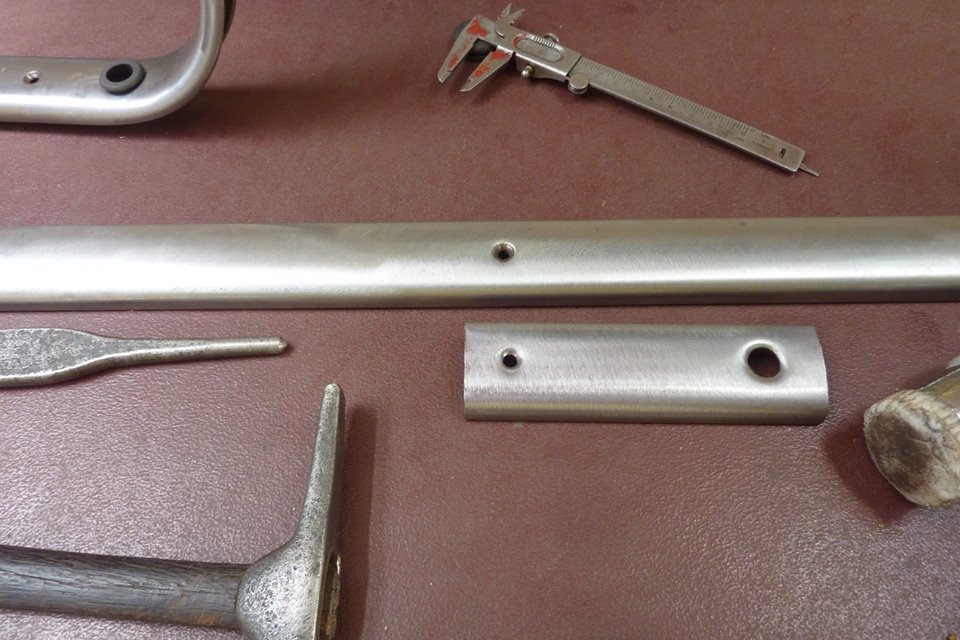
The bar was drilled offset slightly to still centre under the hole between the trim edges. Bar was ground to match the trim and held in the vice like the lock button hole. The trim was also placed face down on the bench and hammered with the drilled bar to make the flare more distinct. Factory flare above with test piece below.
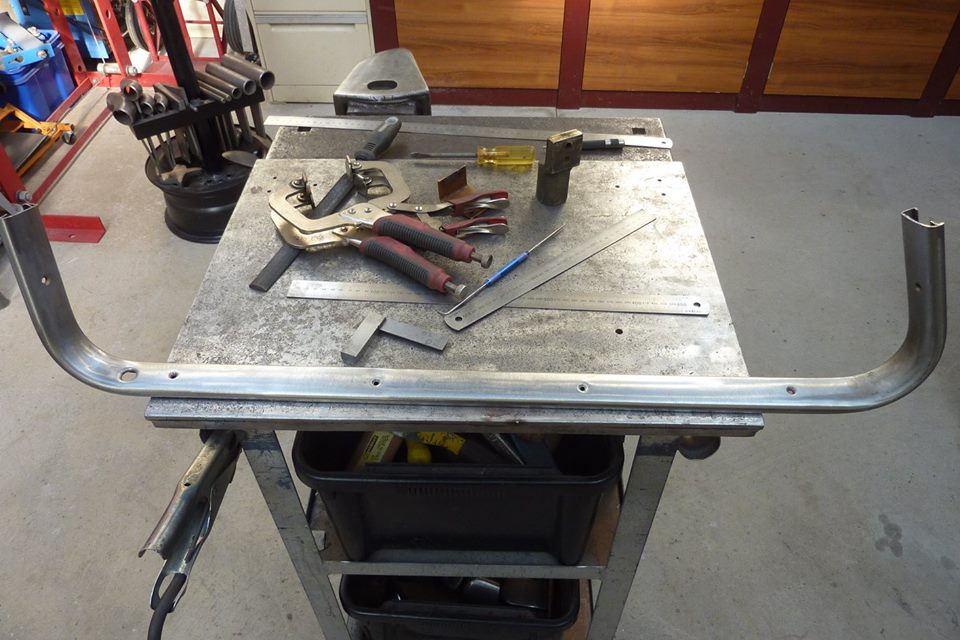
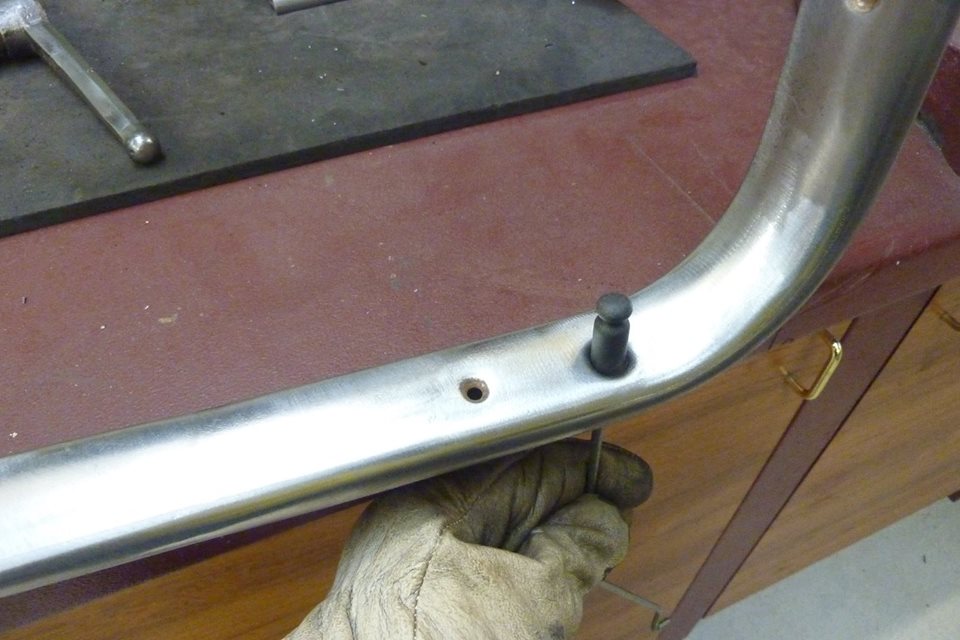
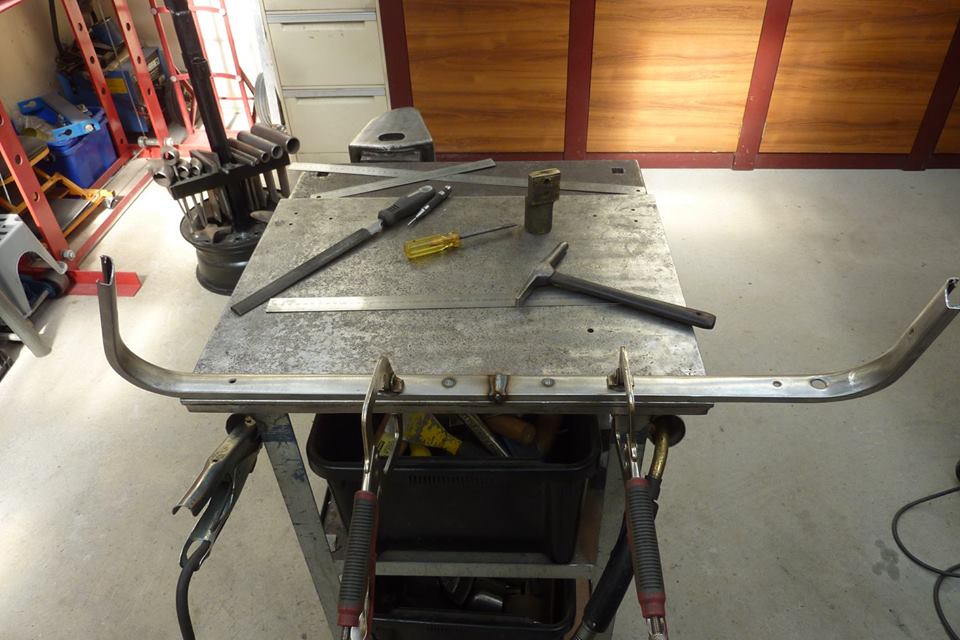
Holes now evenly spaced. :) I noticed the doors would change alignment too easily since the piece between the inner and outer sides was cut out for the one piece window conversion. I needed a way to brace the ends around the back of the window channel so I made up this piece to do it.
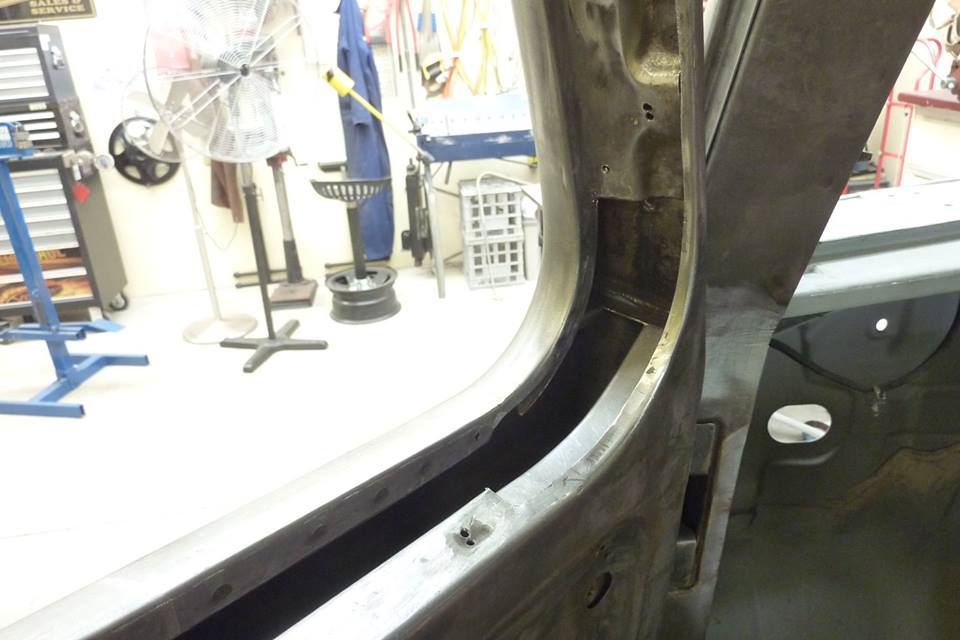
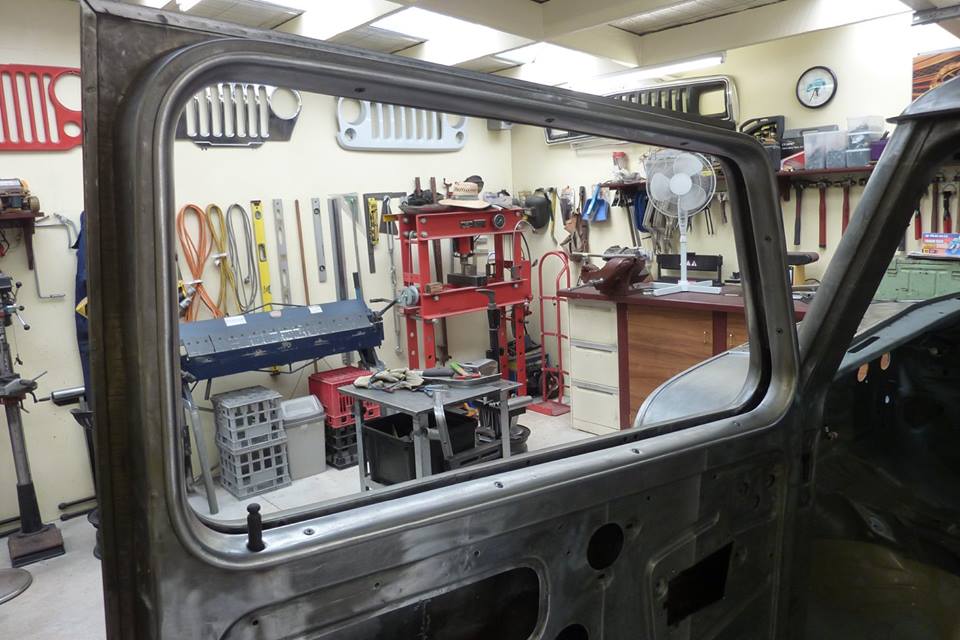
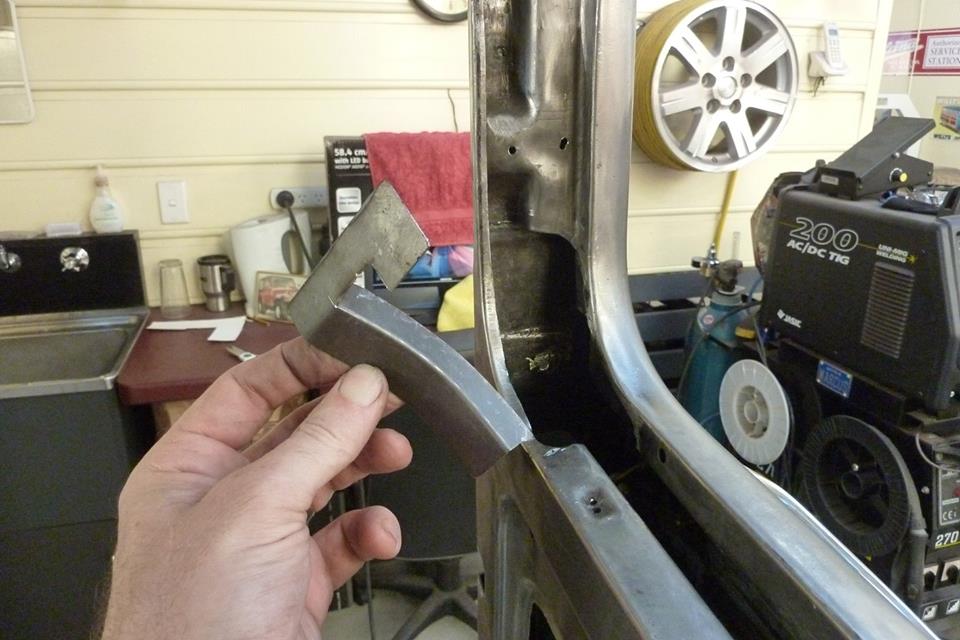
I fitted a similar piece at both ends even though it was only braced at the front before. This was welded in later and it stopped all the movement I had and the doors hold their shape now. Trim now finished. I also added an extra mounting screw along the top as well. Needed to weld in a saddle into the frame for the screw to go into, like the stock ones had, otherwise the screw would go right through to the outside!
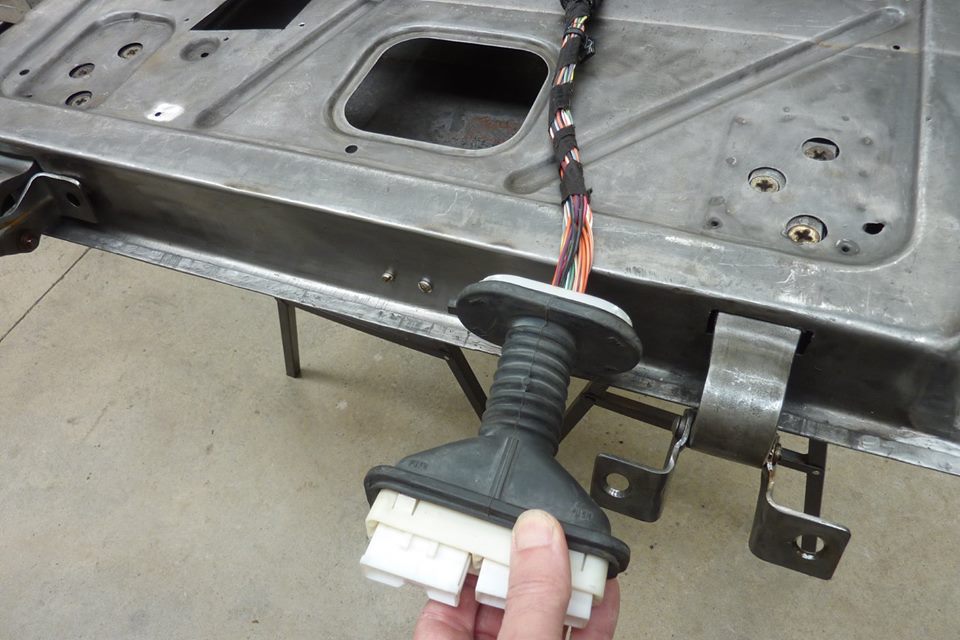
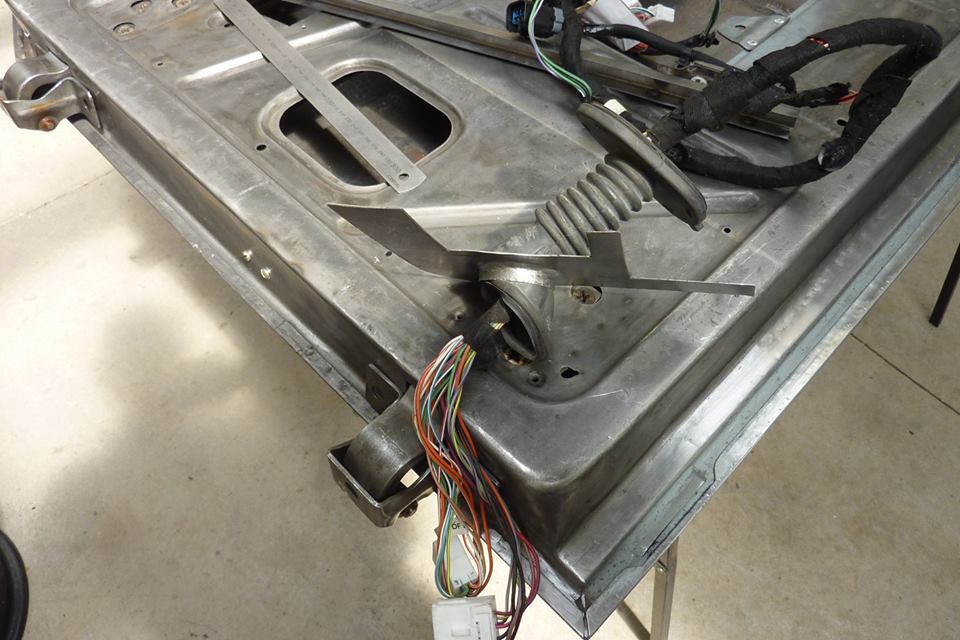
This is the harness from the donor I need to add. There is no way the rubber part will squeeze down to the 5mm gap I have between the door and the A pillar, nor do I want such big holes in either side. My idea is to have a hole only big enough for the round corrugated part to slide in and out of on the A pillar side. By removing the plastic housing the boot ends fitted on, the plugs pass through sideways and the wide part of the boot fits through once rolled up.
[Index]