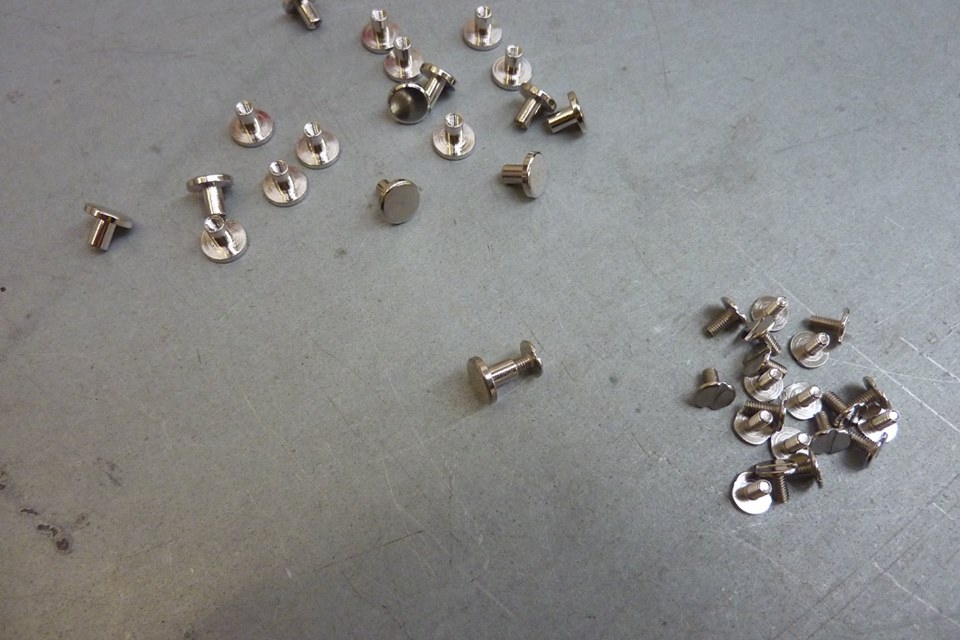
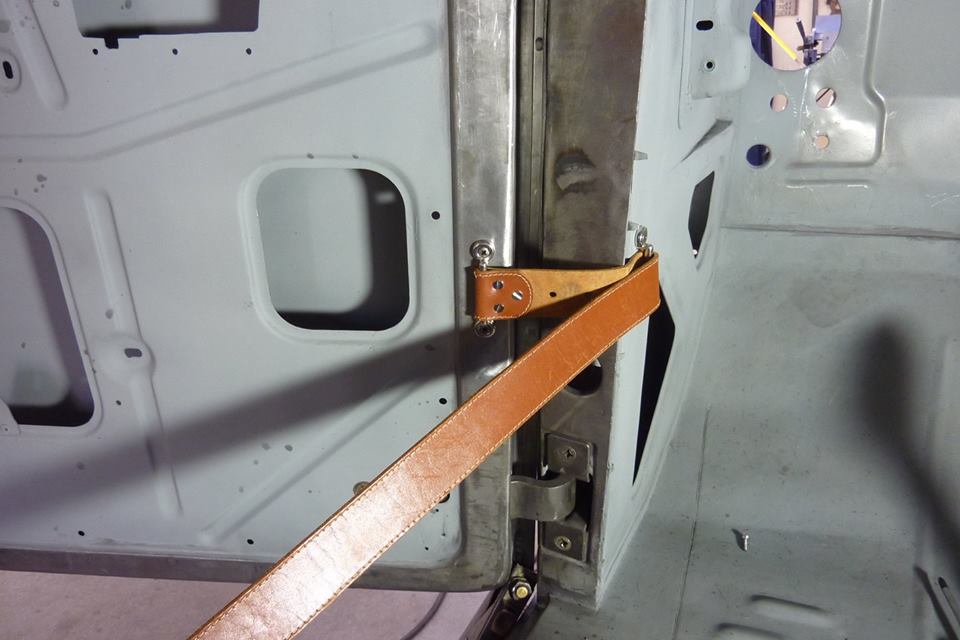
These a often called Chicago Rivets or Screw Backs. I got nickel plated brass ones with a 8mm-5/16" head diameter. They just screw into themselves making riveting leather easy. Strap can be wrapped around a bar for instance that is already welded into place. I have got it on back to front to make it easier to work out the length I need to make the strap.
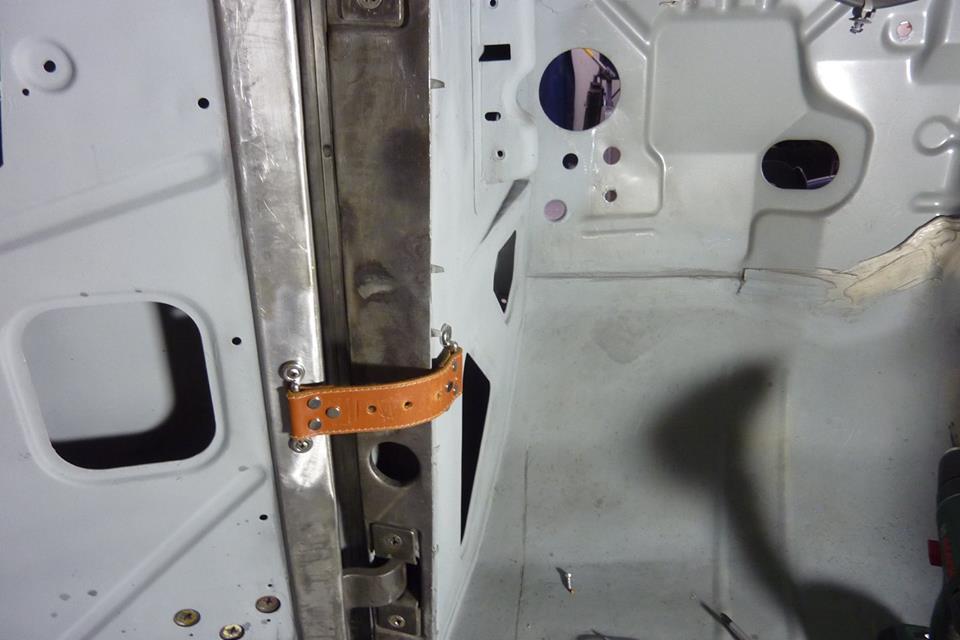
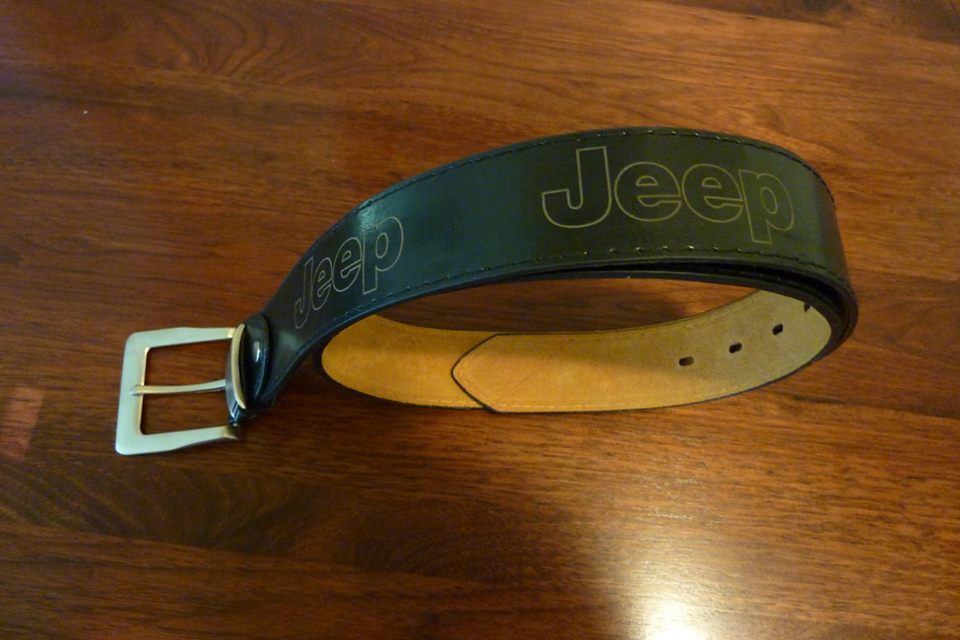
Works really well and this mock up strap will work as a template for when it is time to do upholstery. I'm actually trying to find another one of these belts that I used to have to make the strap from in the final version or will make my own as prefer to have Willys stamped on it.
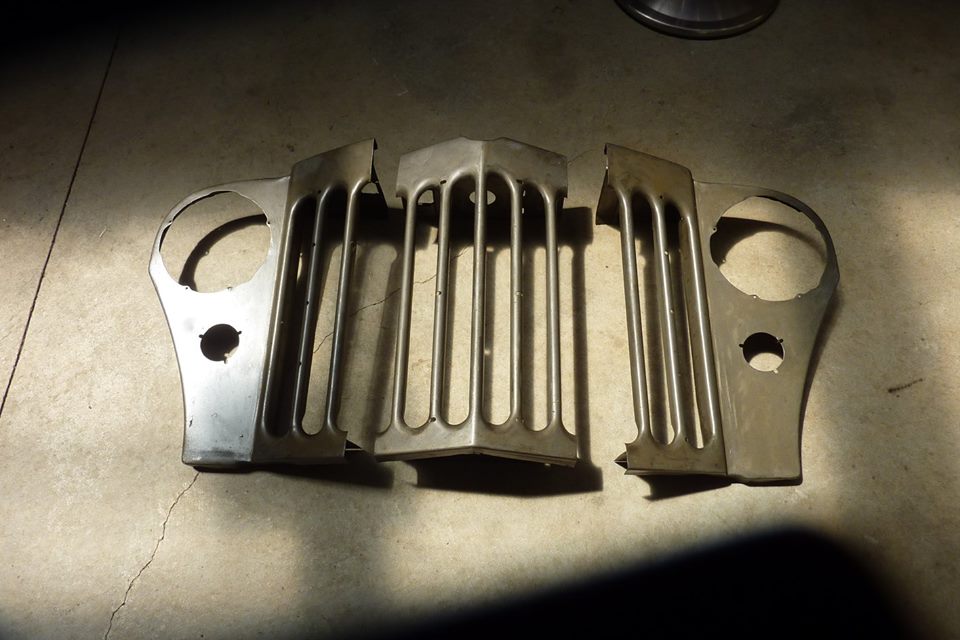
Been nearly 2 1/2 years since I stripped the paint off the grille parts and ran them through the citric acid bath to remove any rust before spraying with lanolin. Glad to see that it didn't rust sitting in the garage in all that time. I am starting by adding an extra grille slot on each side by using a bigger centre section cut from another grille to do it.
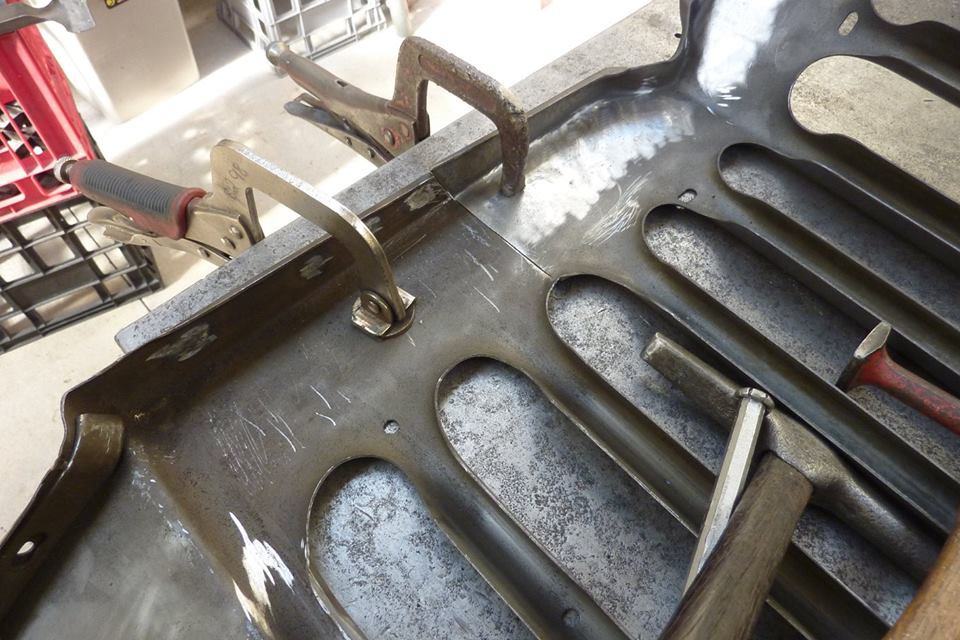
You face little problems like this with the top face not matching up due to the taper. After welding all except the turned lip on the inside, I will refold the wider part to blend in with the rest. The stake I'm forming it over is some 16mm steel from a towbar tongue and fits inside, so will hammer along its edge.
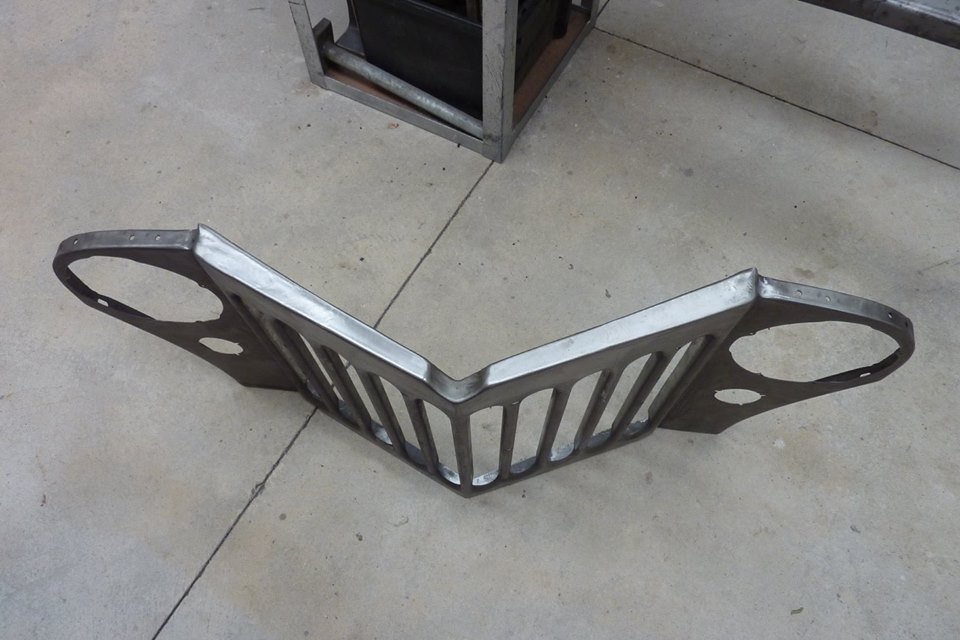
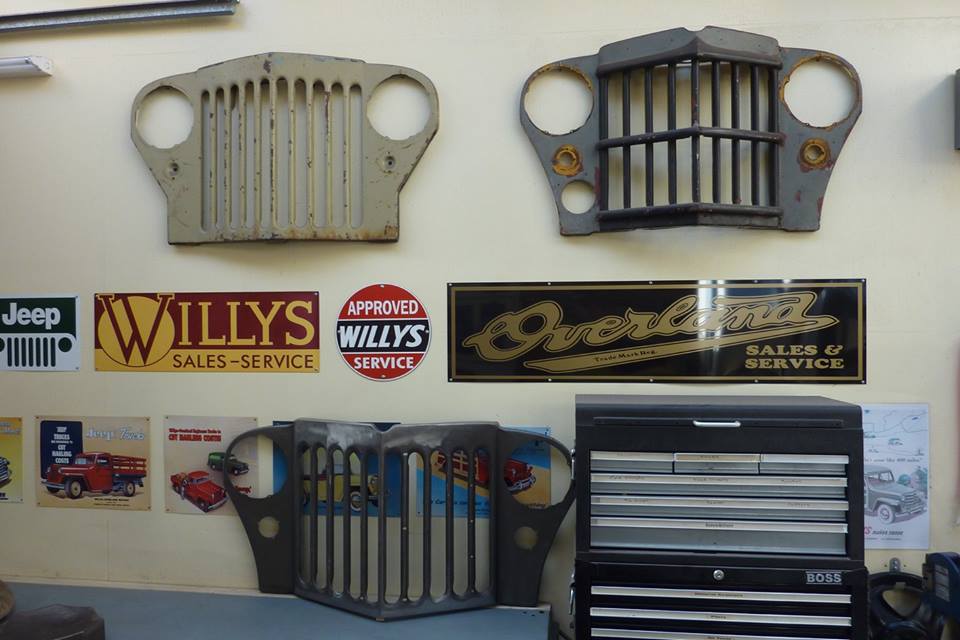
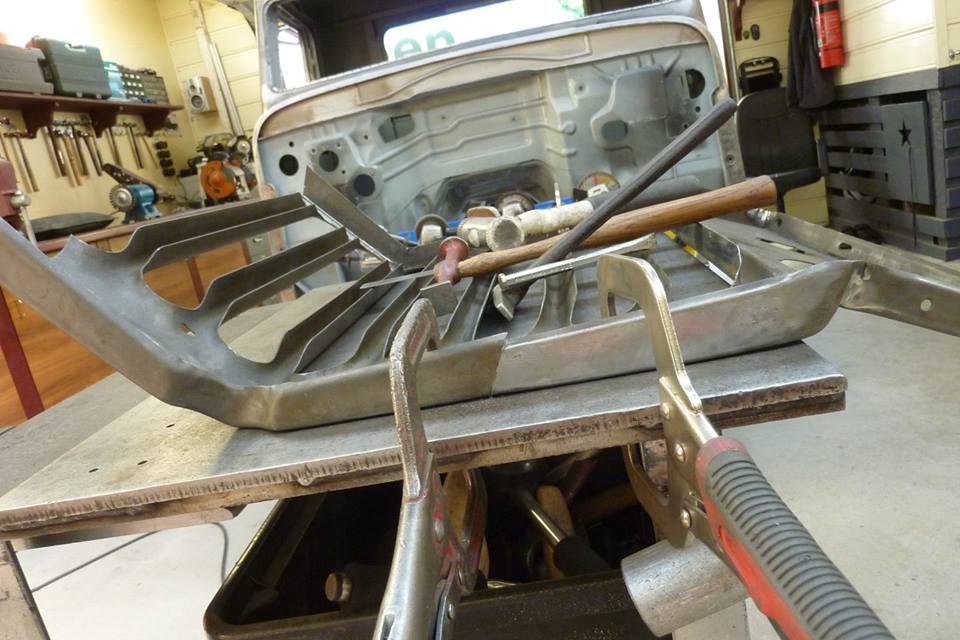
The blend worked quite well. The lip on the inside was trimmed so it all was the same length. So this is the first part of the widening as this only added 5" and need a total of 9" to match the extra width of the cab. 2" on each side will be added between the headlight hole and the side of the grille. The slotted area of the grille matches the donor Grand Cherokee radiator core width. The extra 2" each side will have the tanks behind it. On the wall above on the left is the original 1948 grille and the one on the right in the 1958 grille. I have been shooting for a blend of the two styles.
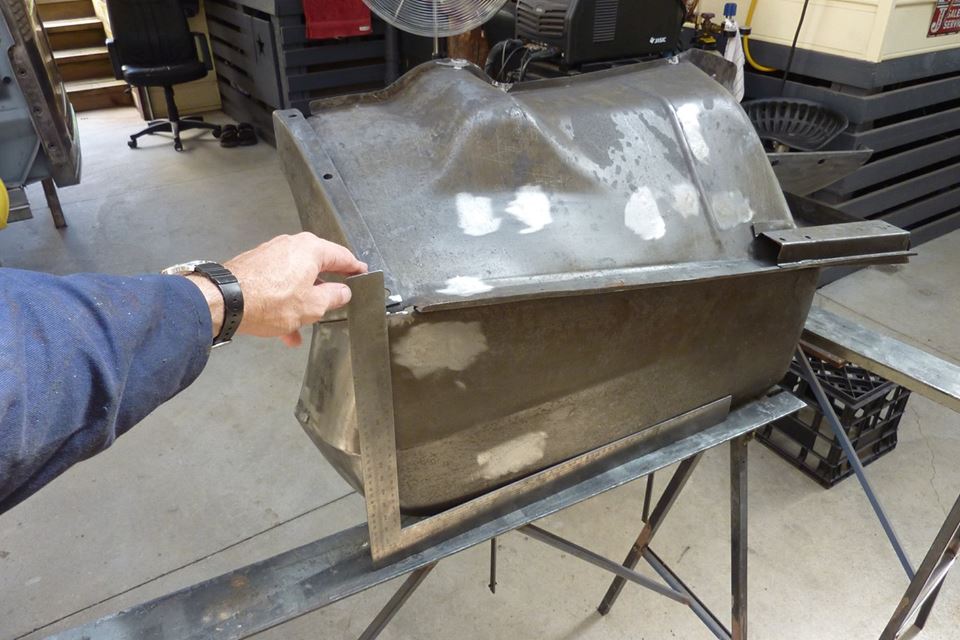
I am going to run the radiator and the huge hydraulic fan, that is controlled by the ECU, from the donor to make sure there are no overheating problems. It only just all fits in the engine bay but would like some more 'service' room to change a belt etc. Been wondering how best to lengthen the engine bay without moving the centreline of the wheels inside the wheel arch. On my 1948 front guards, like these ones above, the front curves and goes straight across to the grille. On the 1950 and later models it goes ahead of the grille before coming back to the same point. So my idea is to leave the outside of the guard alone and just bring the inside point forward, making a blend of the two styles.
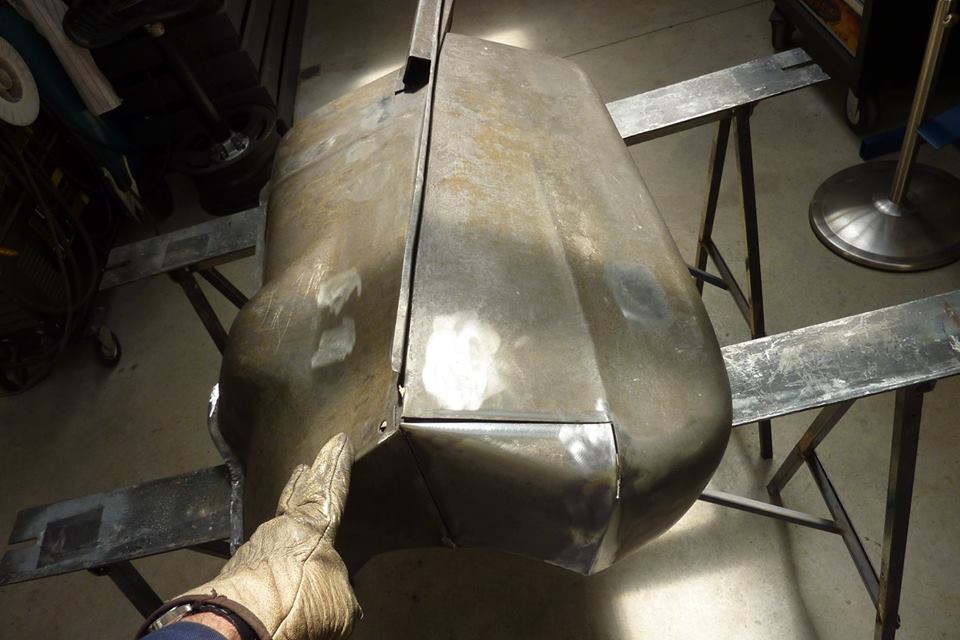
Scribed a line 90* to the outside of the guard where the panel just starts to curve downwards. Cut along the line and forward along the centre crease line.
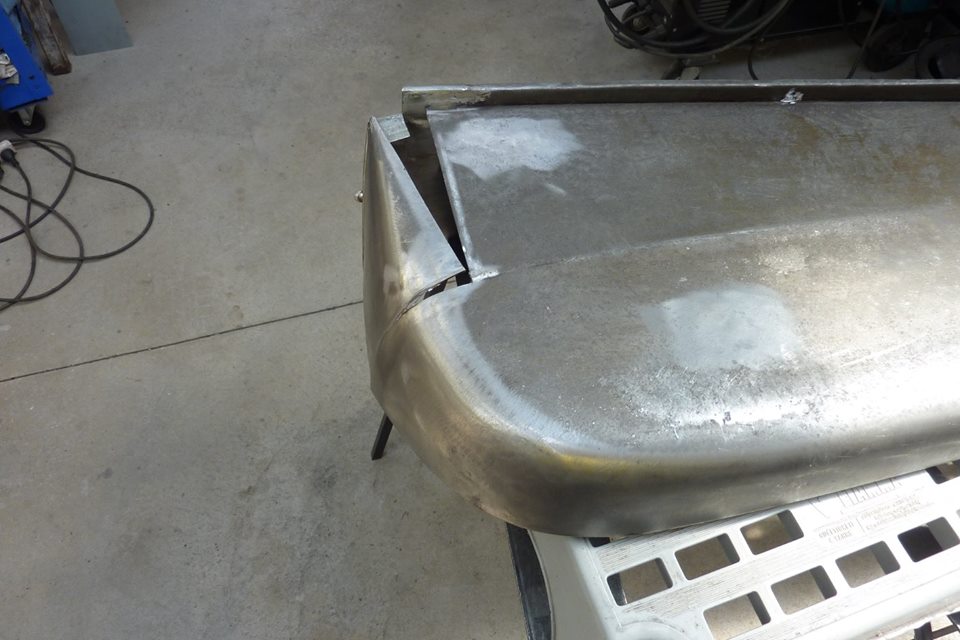
Also slit the bottom flange at the bottom of the crease line as well as the panel join so it could be pulled forward. I didn't pull it right forward until straight as wanted some curve back left as thought it looked better and was a blend of the two styles as well.
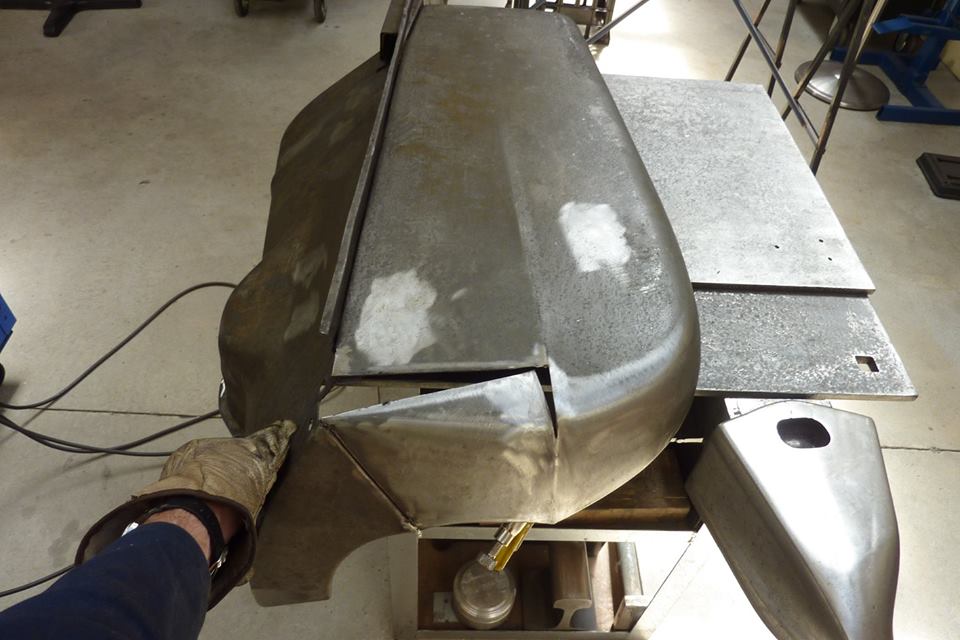
Need to extend the inner guard forward I decided I might as well remove the pressing for the shock mount that I no longer need. I started the shaping by just pushing over a T dolly that was a similar radius to the back half of the inner guard. The front half just needs a curve instead so left that alone. With the inner guard all welded in I could fill the gaps left.

I radiused a compound curve over a steam pipe bend just using a nylon headed mallet. Some truing up over the ripping tooth.
[Index]