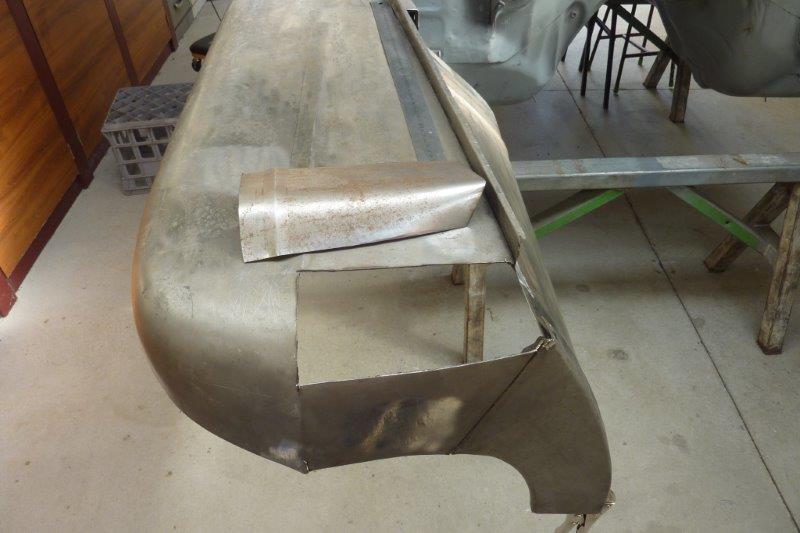
Bent the crease line up over the edge of the bench to match. I made the patch this big rather than try and weld in two triangular pieces as that would be more welding and coming together at a sharp point would distort badly. I try to get it the best I can before tacking and welding into place.

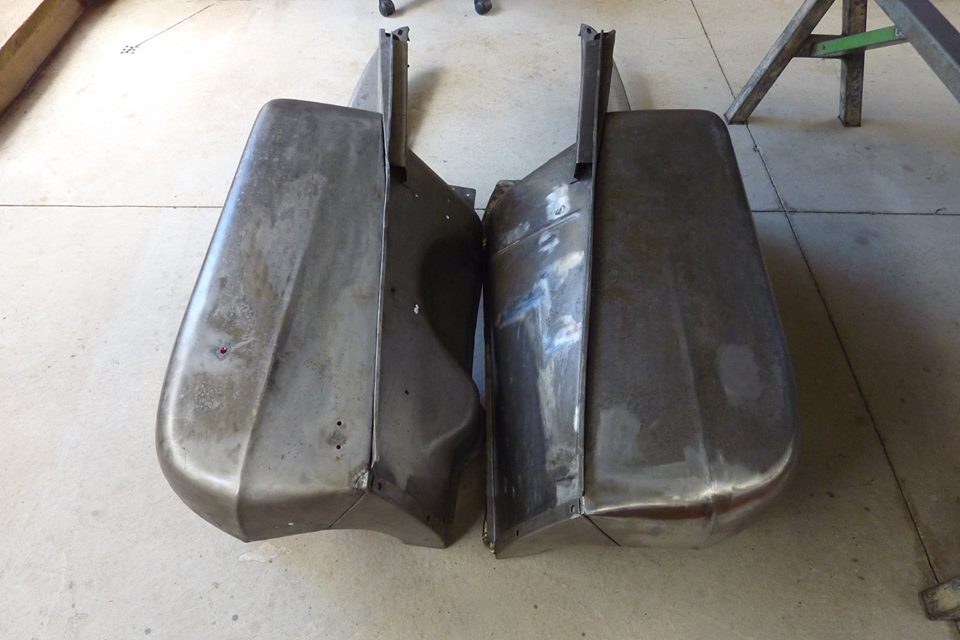
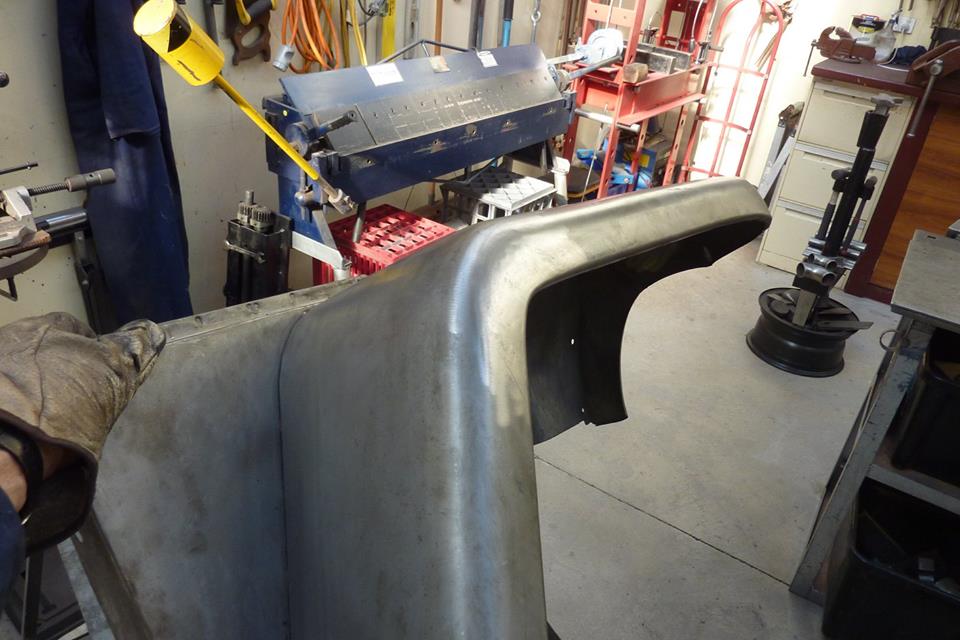
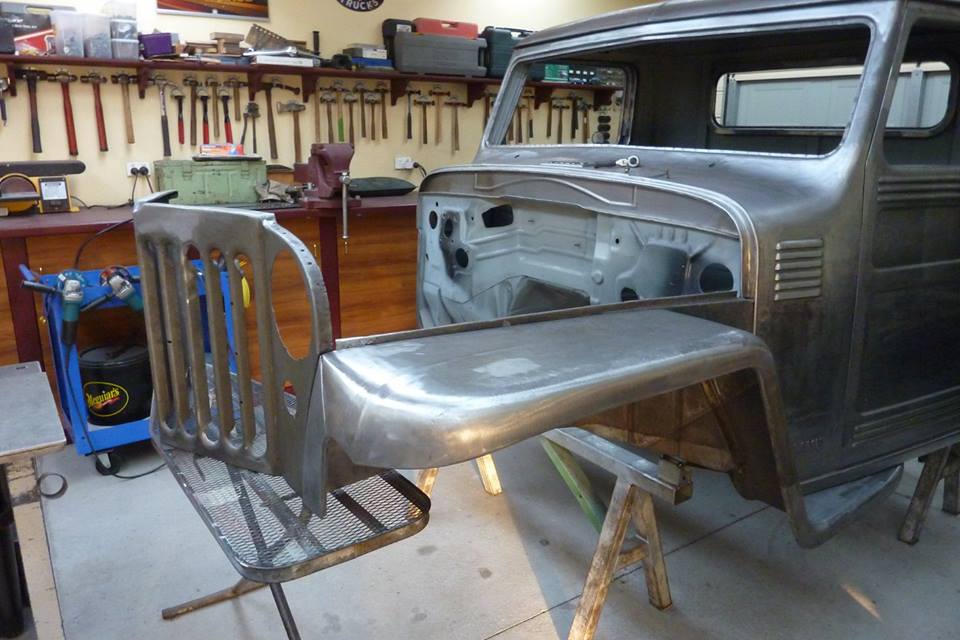
So longer one at the rear and stock one at the front. I think it is subtle enough that most would never pick it yet it gives me 40mm-1.5" more room between the back of the fan and the front of the engine.
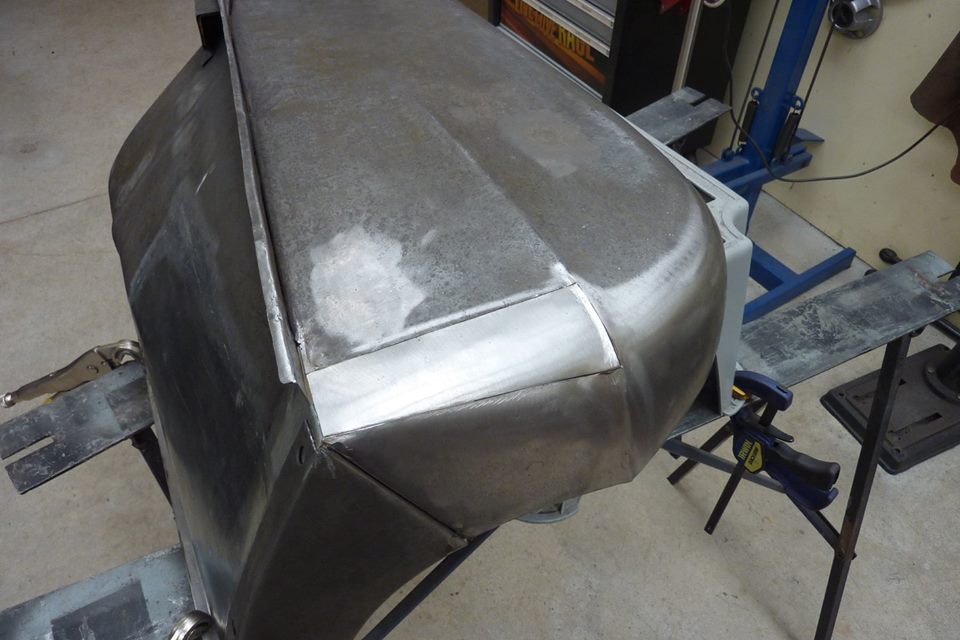
I think the longer bonnet to match will help with the proportions of the longer/wider cab as well. The bonnet in the middle to cover the bigger V in the wider grille adds another 40mm-1.5", making the total bonnet 80mm-3.2" longer overall. Fixing up this welded up crack in the other guard. The other side was fine but they are prone to cracking here, so will cut it out rather than just smooth this old weld out.
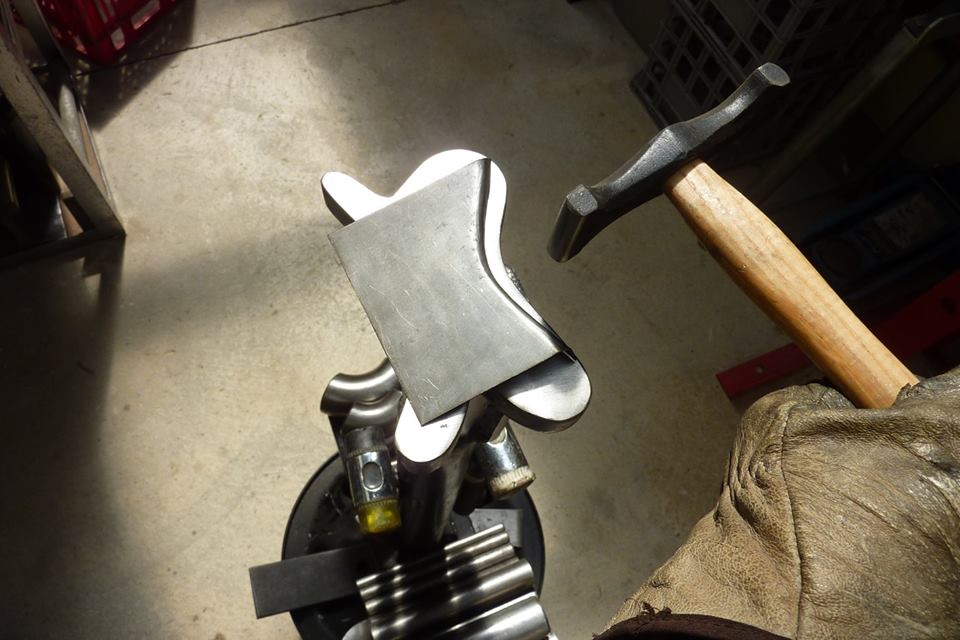
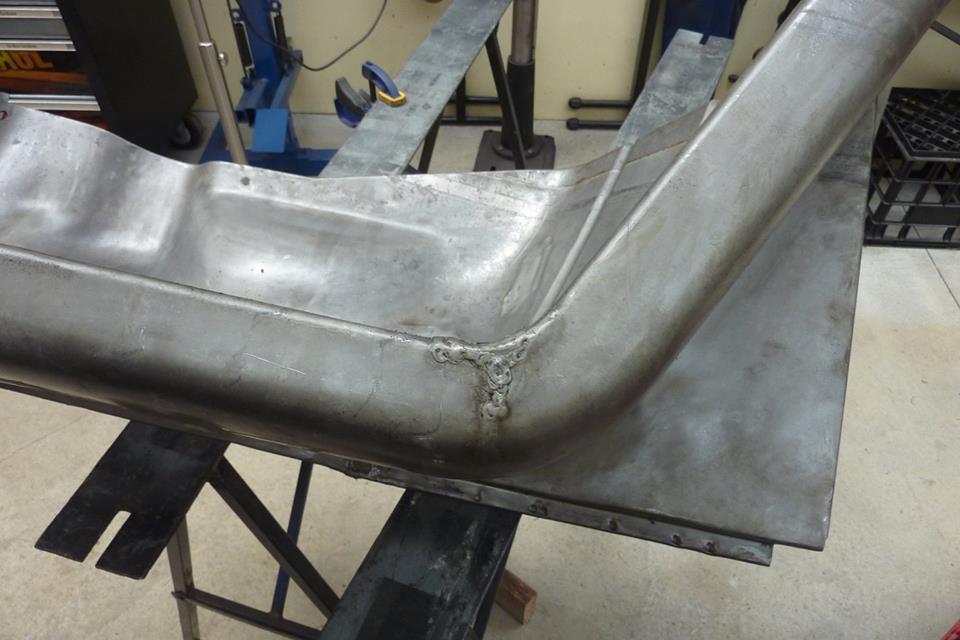
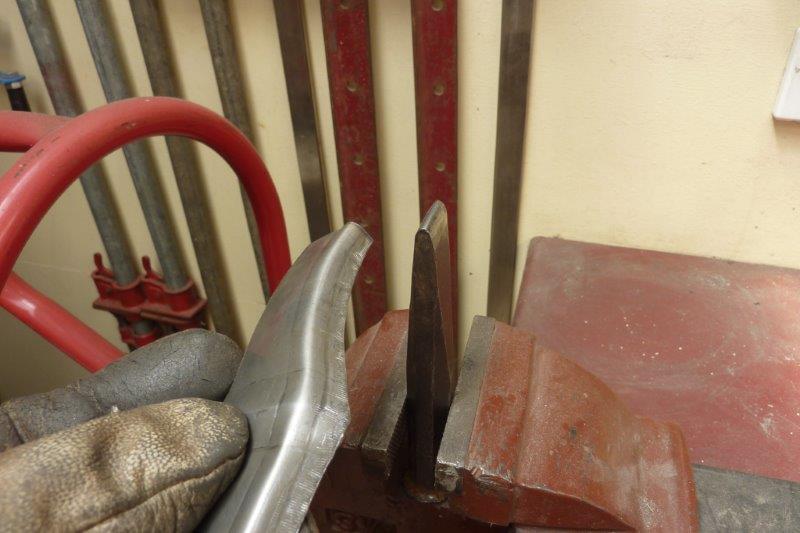
Traced the curve and then added the lip width to it and then cut along that line before any shaping took place. You don't want to work with more material than needed when bending in a tight radius. Once the fold is hammered along the line with a high crown hammer to about 45*, I switch to this hammer I got from Peter Tommasini to finish off the folding into the inside corner. Checking against the corner being replaced before it is cut out makes sure you keep the radius the same.
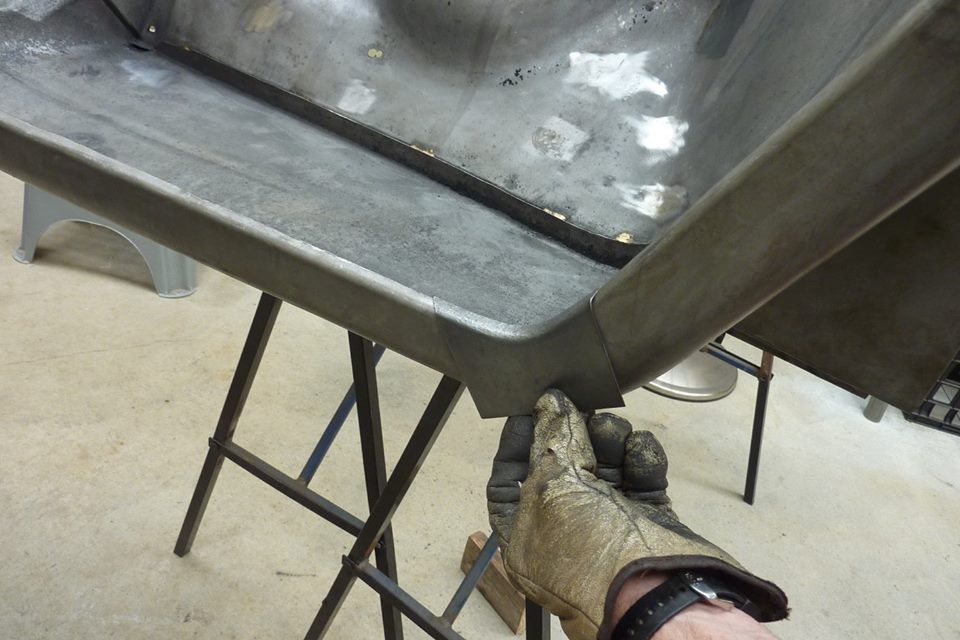
Outside edge shaped to fit and corners rounded before I then scribe around the patch to cut out the bad section underneath. Welded into place making sure I had full penetration. If any of the join on the inside is still visible, I weld over it before any grinding has taken place. This means you are welding with the full weld depth on the outside stopping blow through.
Using a grinding disc with some pressure to get some heat into the weld to anneal it some, helps prevent cracking I have found. Take it down to razor blade thickness inside and out. Then hammer on dolly to stretch the weld back to flat. Then sand to flush before hitting it with a strip disc. This side had pitting and some small spots rusted through. This section bolts under the cowl. If the windscreen leaks at all it ends up caught inside the bottom of the cowl until one day it rusts all the way through and onto this area. No drain hole from the factory so I made sure it has one now when I remade the bottom of the cowl.
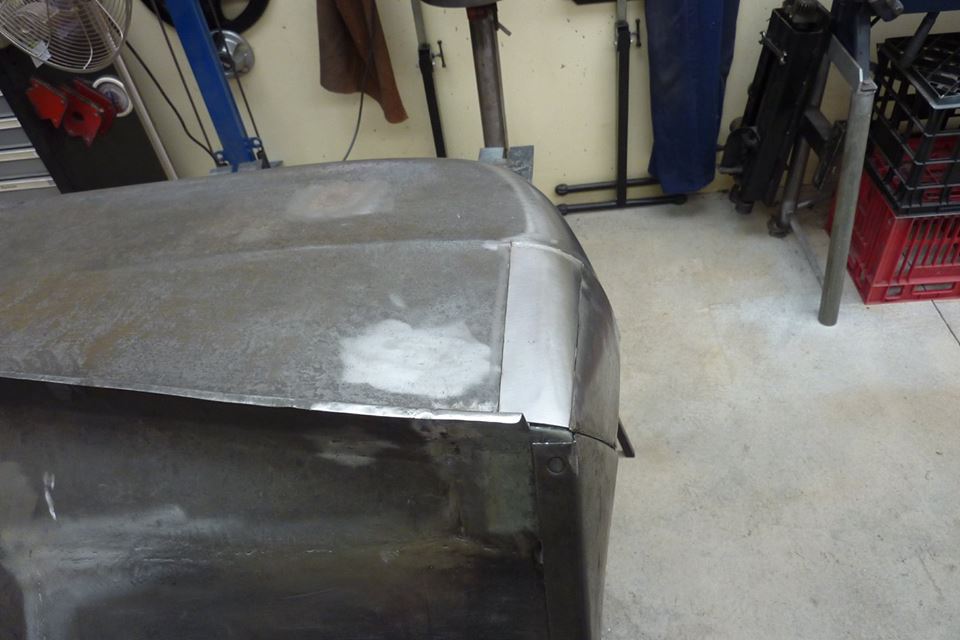
Rather than make a lot of little repairs I just replaced the whole section. Folded it first and then stretched the flange to get it to curve. Some more shaping over the anvil and stake dollies to get it to sit flat. Traced the factory mounting holes and cut them out exactly the same. They look strangely aligned but they point along the centreline of the cab.
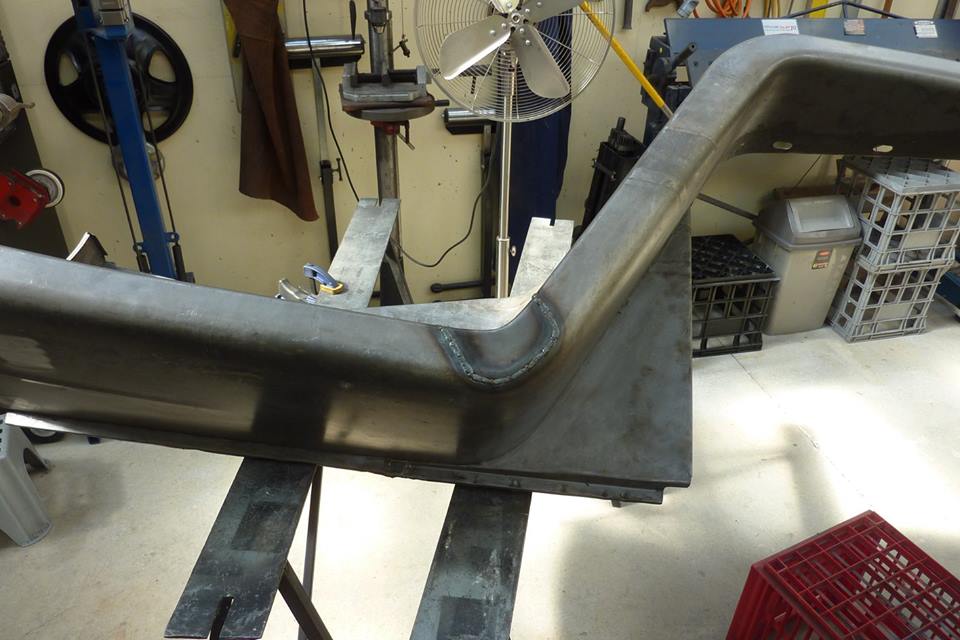
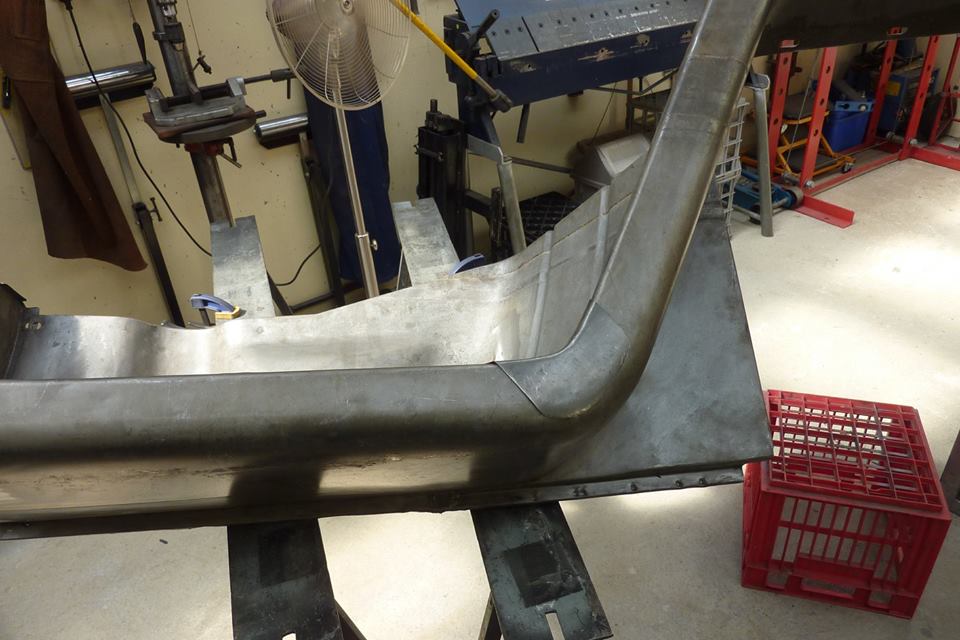
Put the other guard in place to check the look of the changed front curve making it the 40mm-1.5" longer. Think it works well and the first time in 7 years since the guard was last in place! This angle makes the guard look longer than it really is, but fits in with the longer cab.
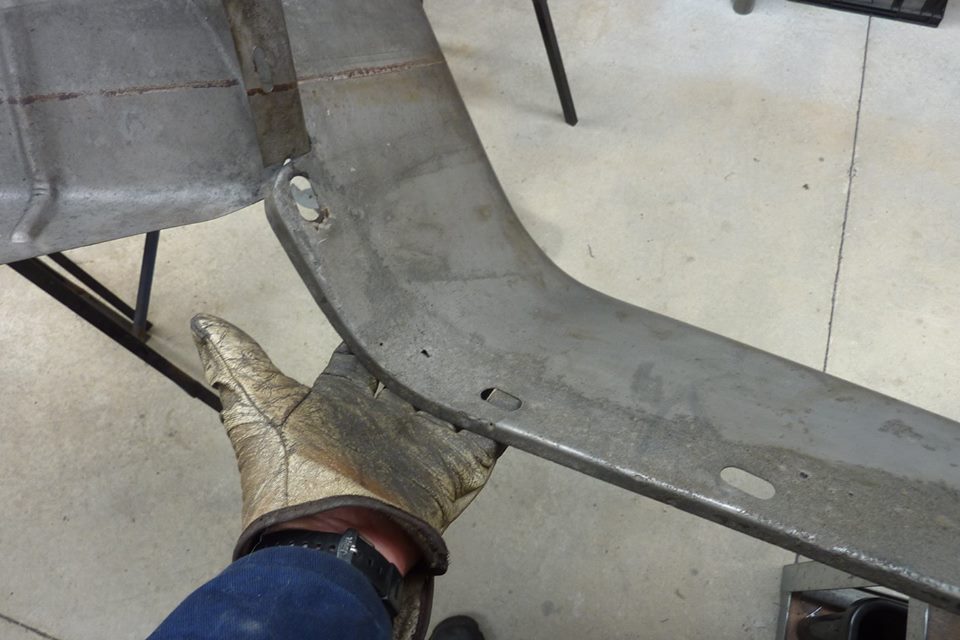
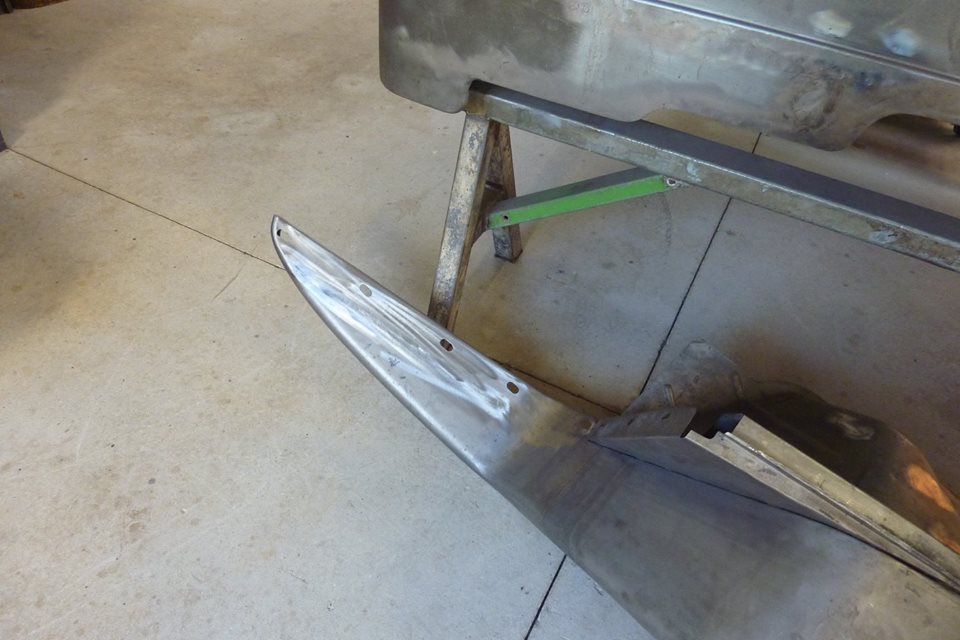
Won't go into much detail on this side stretching the guard length as it just the same as the other side. I did form the centre rib differently using this combination of dies. Also will extend the cut out over further past the rib using the whole patch as much easier to planish the weld. Also notice the fatigue crack at the tip where it had thinned from rust over time.

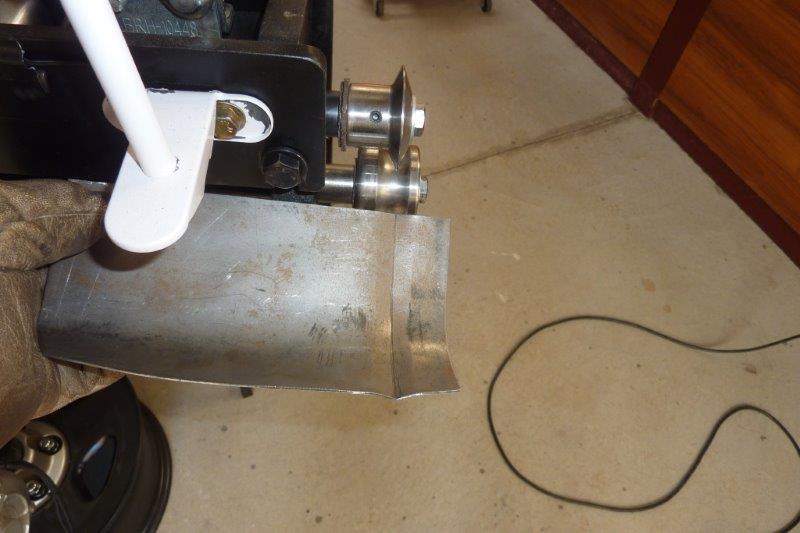
I have shrunk the edge before tipping the flange in the bead roller so it keeps the contour. Will finish the tipping just using a rounded cold chisel as a stake.
[Index]