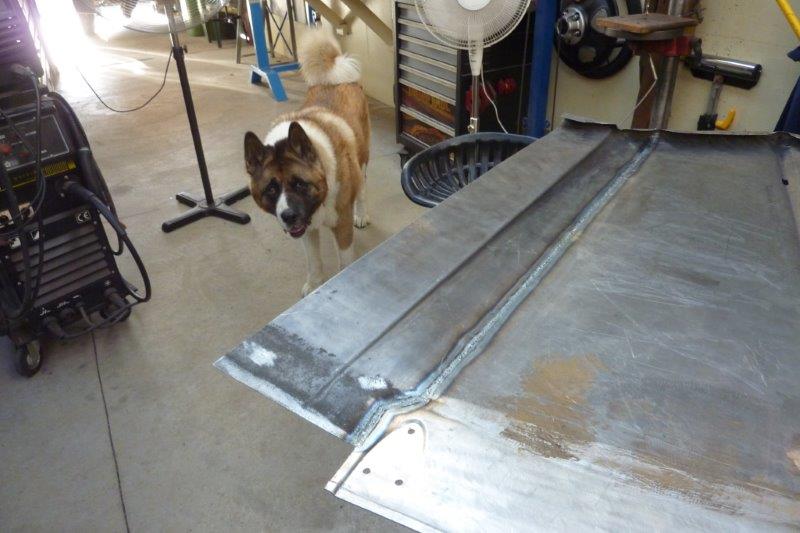
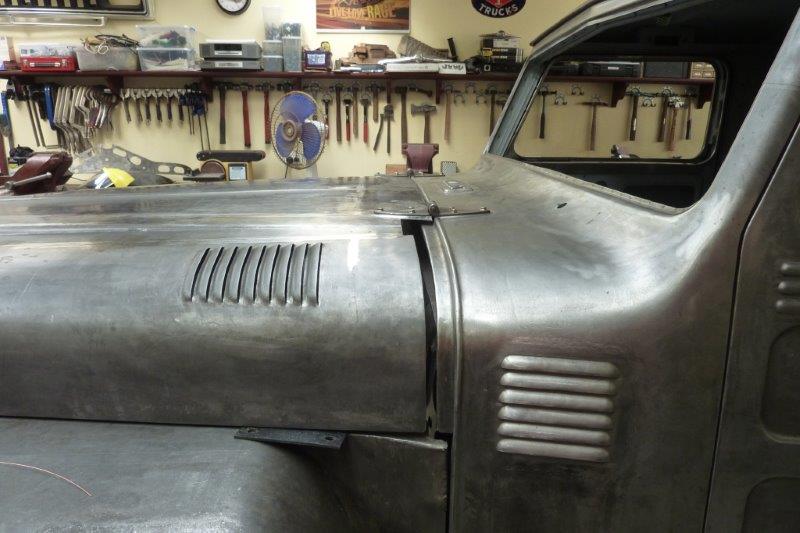
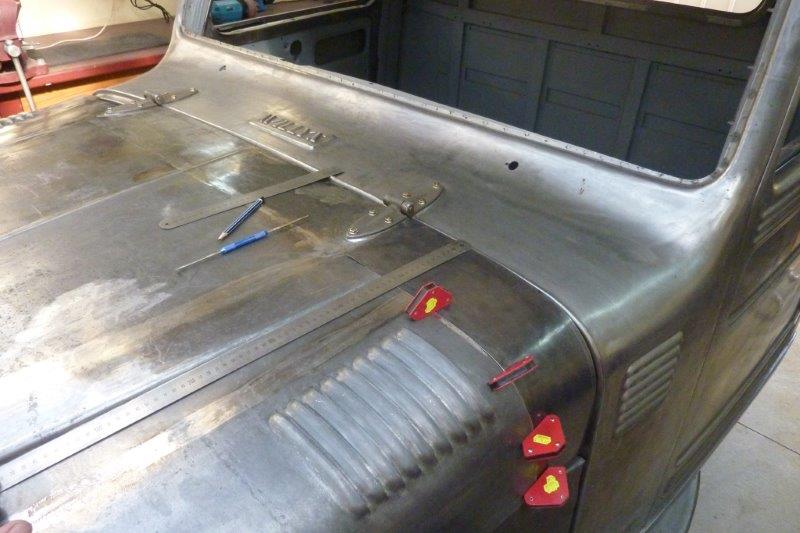
Starting to look like a bonnet again! The end near the cowl still needs more shape change as normally this part of the bonnet was closer to the rounded side. Kuma has come to check the backside of my weld! :)
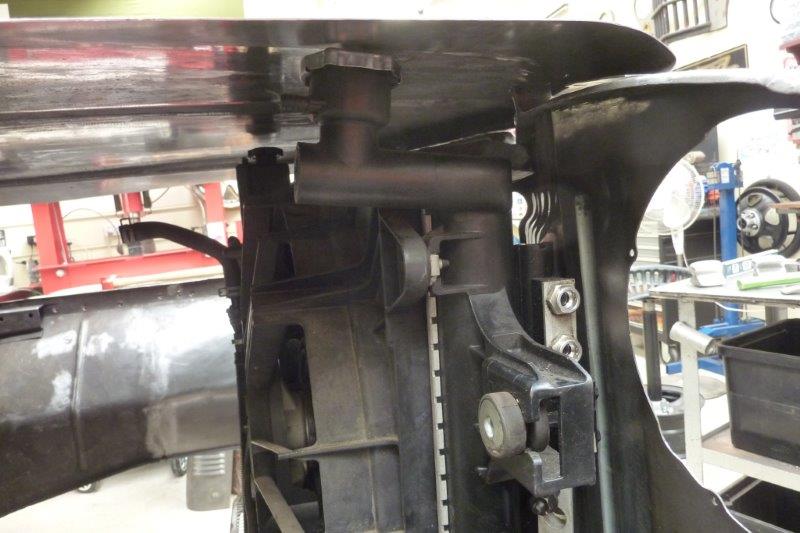
I got the other side piece welded on. I also placed the radiator in place to see how it all would fit. The filler neck unfortunately just comes under the dropped part of the bonnet. The power steering reservoir is under the taller middle section however.
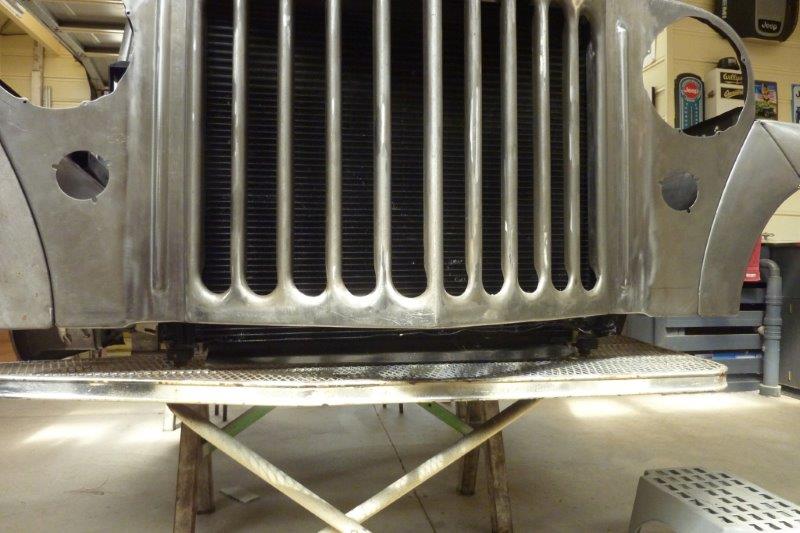
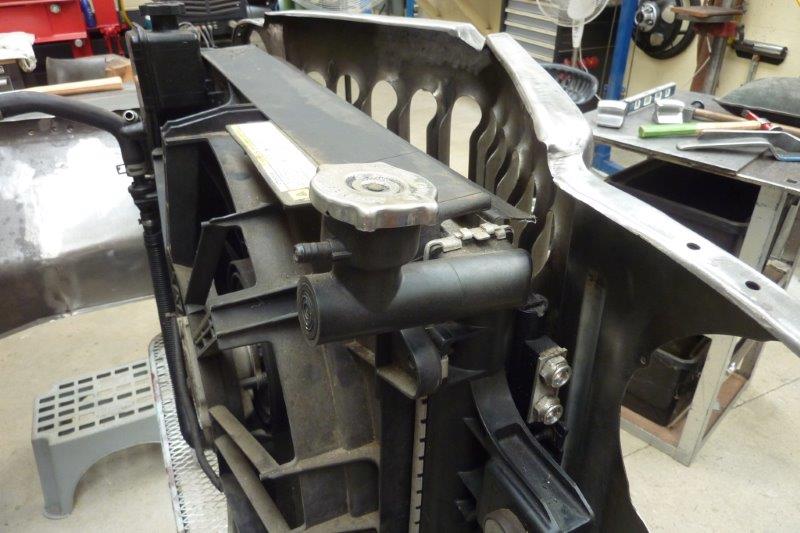
Hangs down 40mm/1.5" below the grille so would like to raise it to level. I can see two ways to get the filler into the taller section. Cut it halfway between the tank and the filler and then clamp in between a 90* silicone hose to get it over near the fan. The other way would be to run a plumbers threading tap inside the tank side and screw in a plug to seal it up. Then get an inline filler for the top radiator hose.

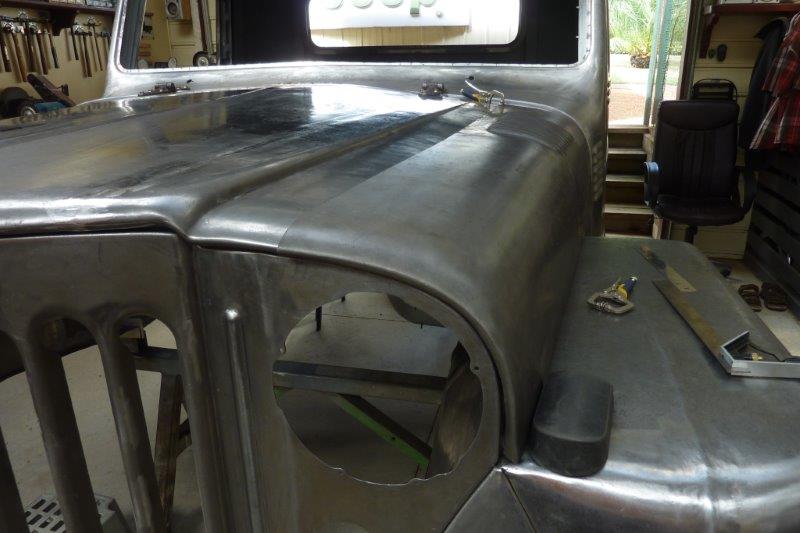
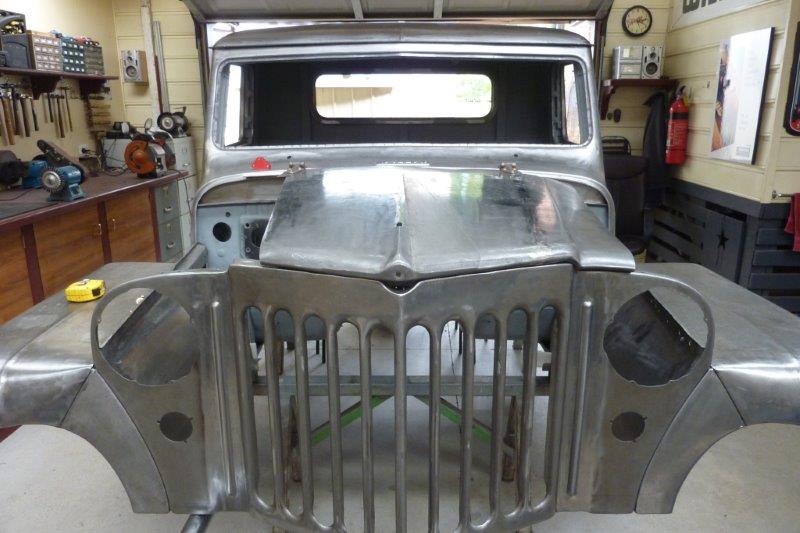
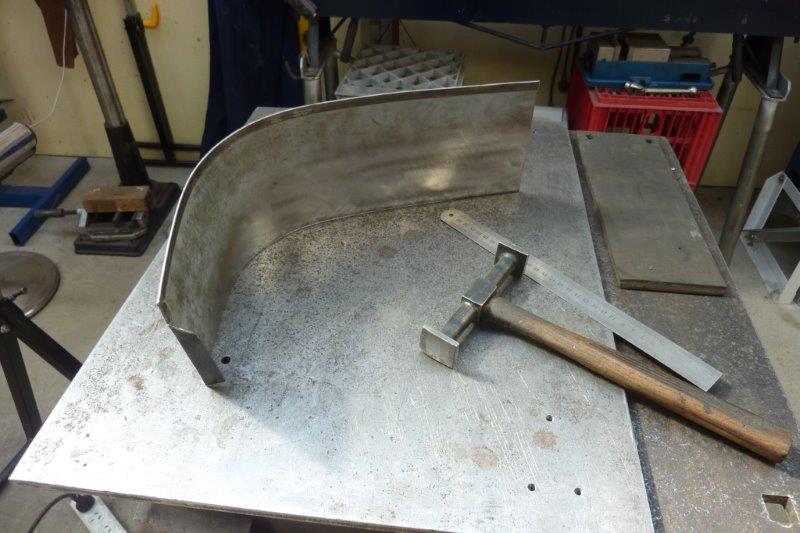
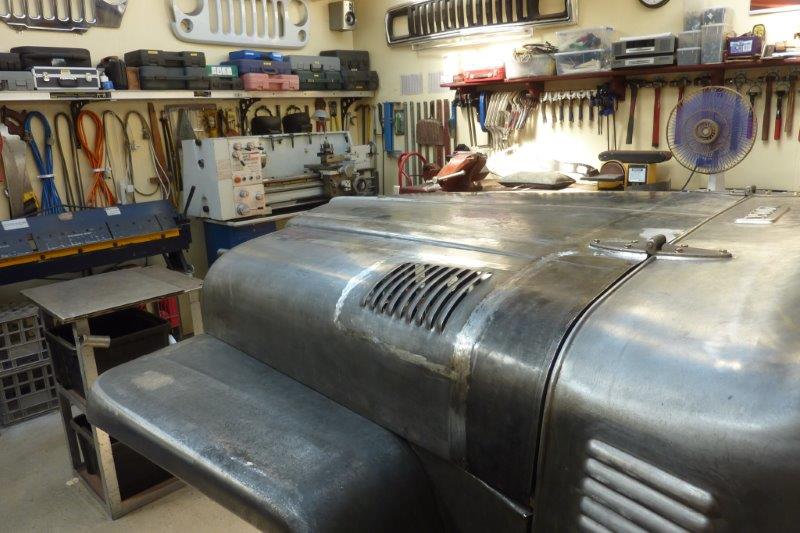
If the power steering reservoir is too high it just slides off and could be fitted lower or somewhere else. It also supplies the hydraulically driven engine fan which I hope to keep so it all matches the original cooling system for this drivetrain. Bonnet had a bad dip in it but slowly getting it into shape. Should be a bit easier once the side piece is welded on giving it support.
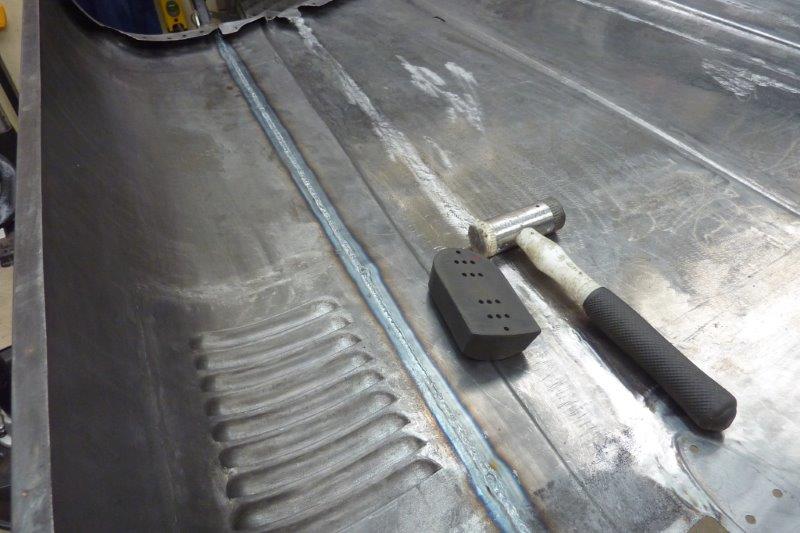
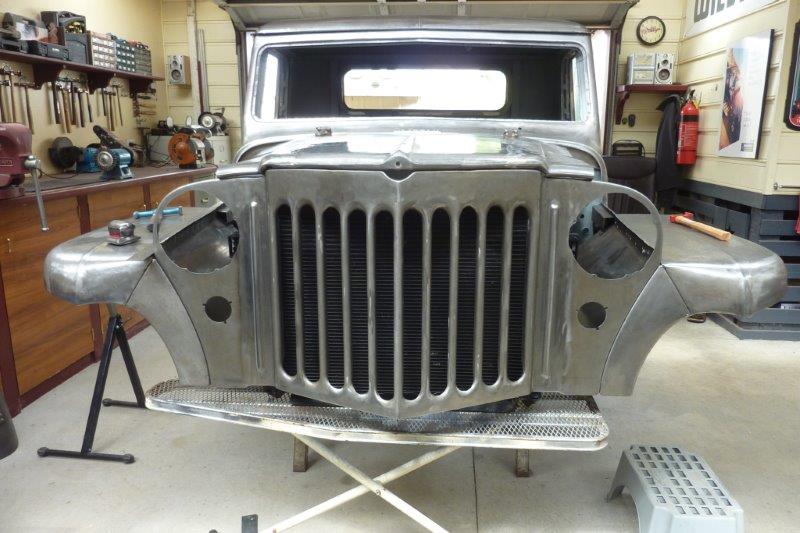
Dip is gone but still have a lot of finessing to go if you look at the reflection. Slowly but surely it will get there in the end. I'm am always trying new ways to improve technique. I found especially on low crown panels that I would over stretch after welding getting the waves in the metal. So for the other side I got the main distortion out by using a nylon mallet and hitting into a lead filled rubber dolly.
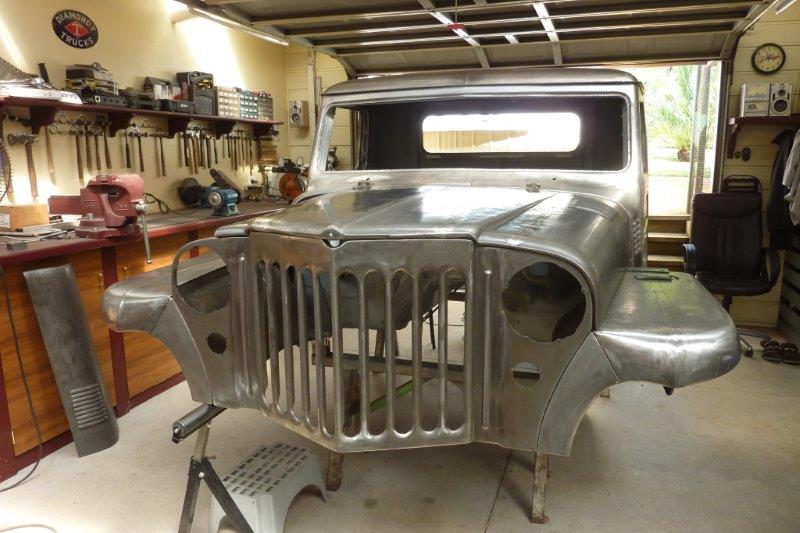
I only did final stretching, metal hammer on metal dolly, after the grinding to get the weld area perfectly flat. Came out a lot better and was much faster. Next it was time to finish off the back part of the bonnet after the guards were extended at the grille.
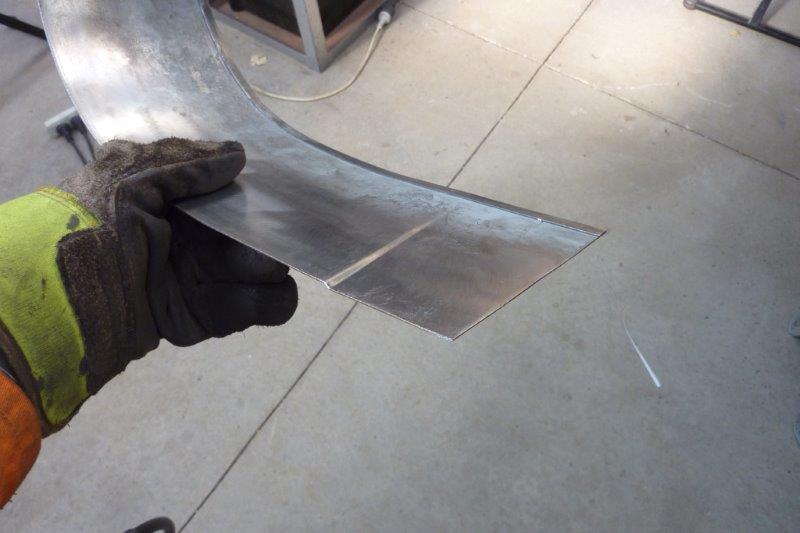
Brochures left from dads house came in handy as a card template. Hard to believe but the left side of the template is actually perfectly straight and the right side at the cowl has had a curve cut into it. Unfolded you can see how the left side from the picture before, bottom in this picture, is now straight. Last bit of metal from the rear wall was used to make the fill piece.

I folded over a flange on the cowl side of the piece and wheeled flat before putting the curve into it. Used nothing more than my knee to bend it over. Checked with a straightedge to make sure it was flat and hammered over the bench from the inside out with the hammer I modified for this sort of work.

I want to extend the joggle in the bonnet all the way to the end where it fades out. Just marked both sides of it first. Then clamped it at both ends the piece over some metal the same thickness as the deepest part of the joggle. Concentrated the bolster mainly at that end so it would fade to the other.
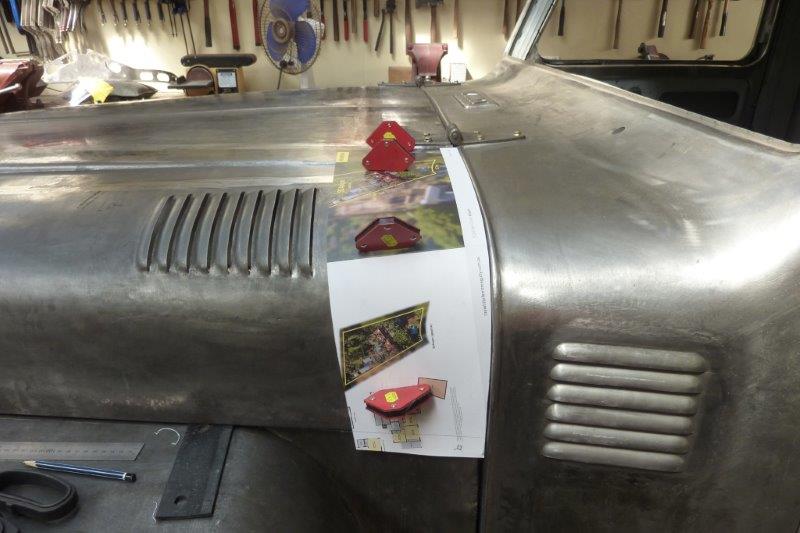
One tapered and fading joggle! I made the piece wider than the bonnet was short so it would cover the weld line I had from when I welded in the Landcruiser louvres. I'd rather not have two weld lines so close together when possible as makes it quicker to finish off.
[Index]