
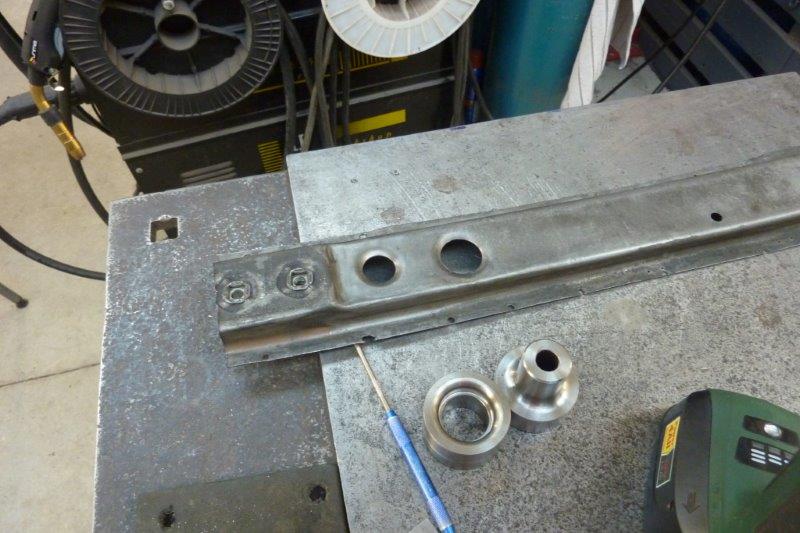
So turned down the outside diameter on my lathe until it fitted. The flat area left around the dimple was still enough to do it's job of removing any distortion. Can see the 3/4" and 1" pressing, (1.5" to the outside of the dimple), next to each other in the test piece. Just thought the bigger size had better proportions.

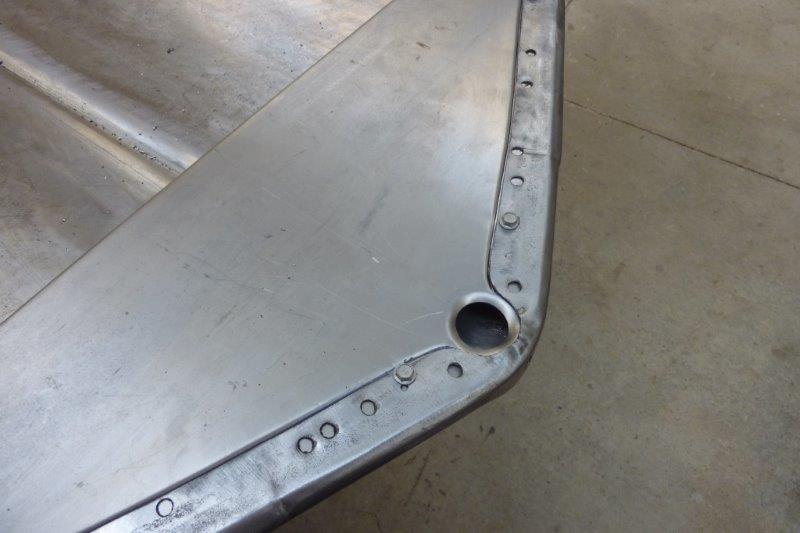
Halfway through drilling all the holes I want just using a step drill. All drilled and pressed. I left the corners so it didn't flattened them out and they get distorted as well. Left the areas above the hinges and centre rib as think it looks better and what you find on aircraft as well where this technique comes from.
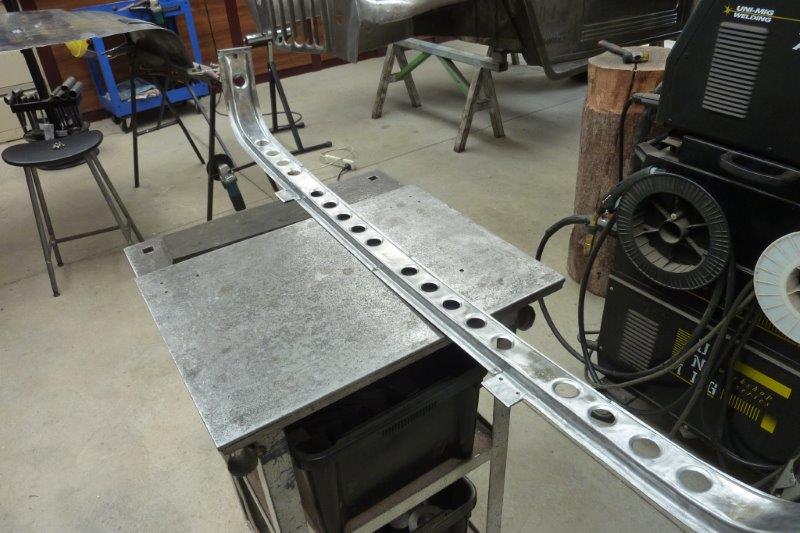
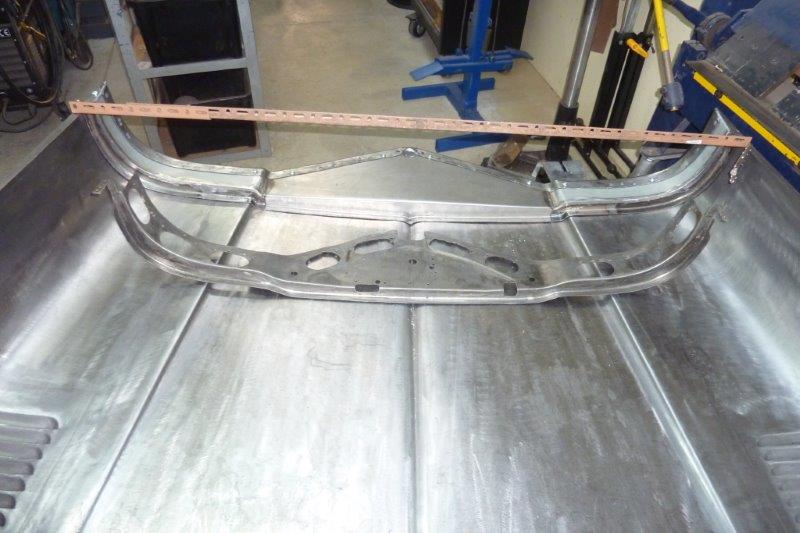
In place and bolted together on the Willys for the first time to see how it will all line up. It sat a few millimetres low in the middle as the pressings would have flattened it slightly. So cut a piece of timber a bit long and carefully closed the bonnet over it to bend it upwards.
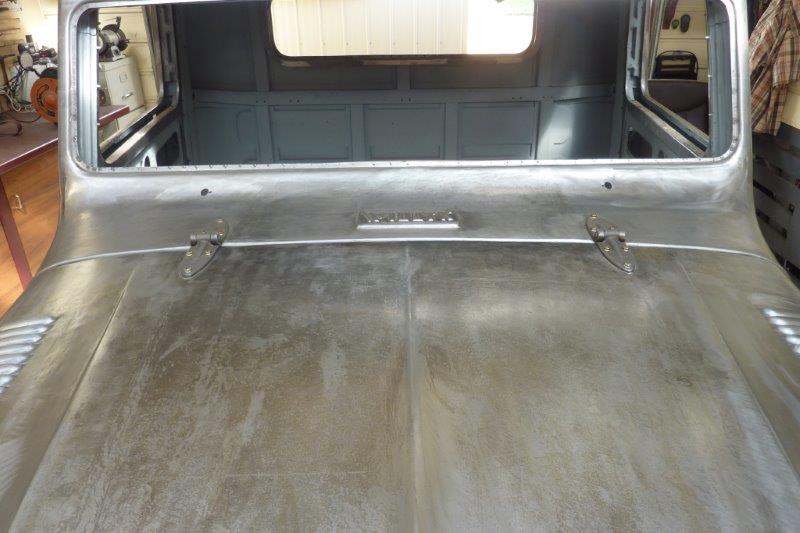

Now have a nice even height all the way along. The gap isn't too bad either with only a slight bit of work needed towards the middle.
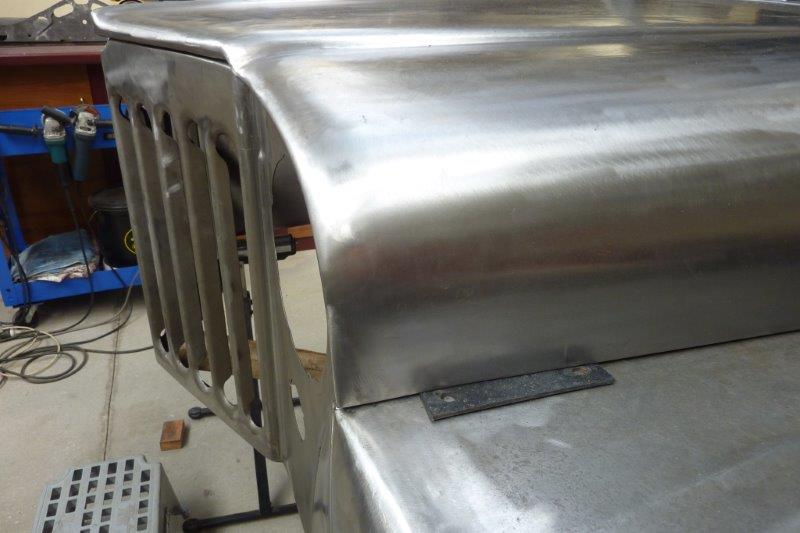
Something I need to address before moving on is I don't like how the lower bonnet edge comes up a bit short. In stock form it actually goes past the end of the guard but I wanted the rest of the bonnet to line up above the grille where the taper finishes. View from the other side doesn't look good either.
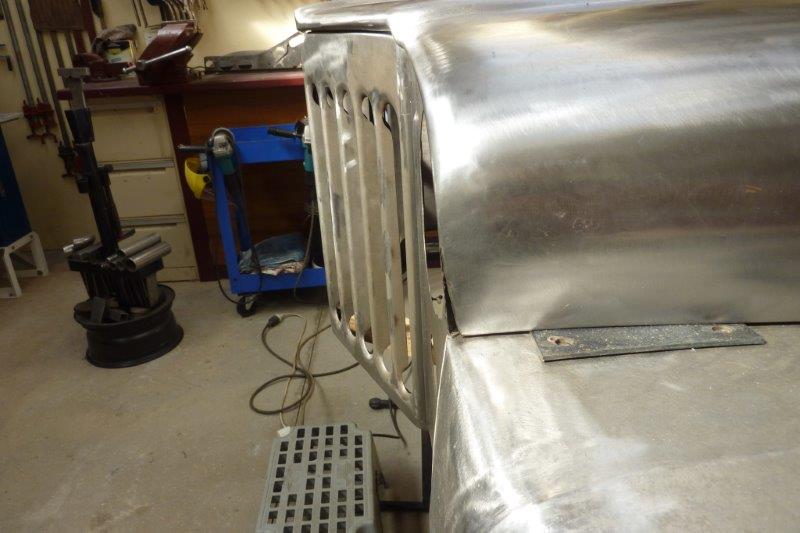
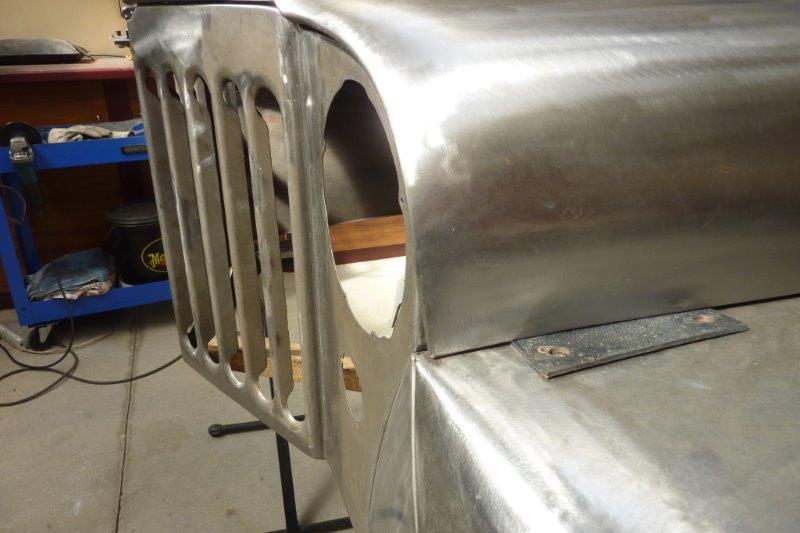
So cut it and pulled the inner flange forward to line up with the end. Placed some copper behind it and welded it up.
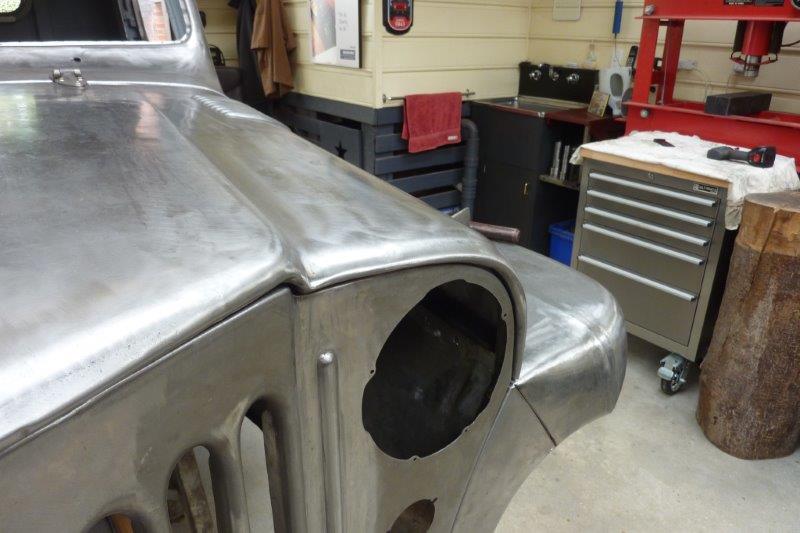
I like how it tapers towards the end now. Next up is the front support. Won't be much I can use from the stock one!
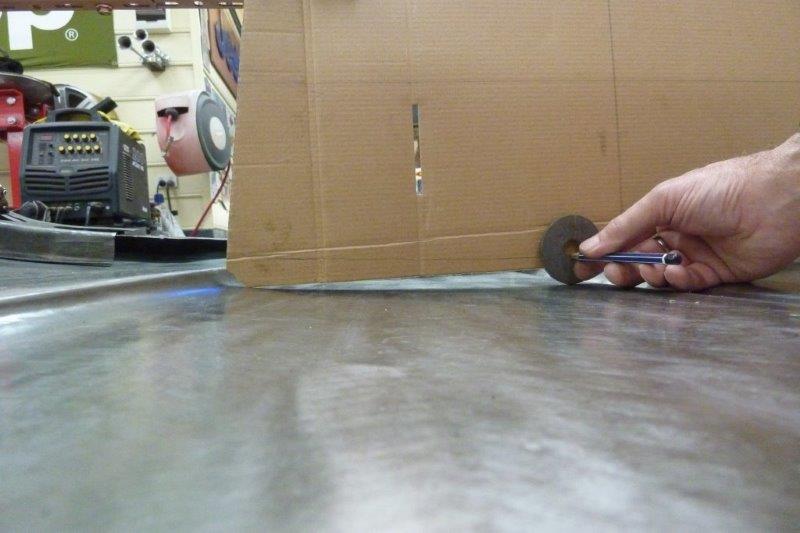
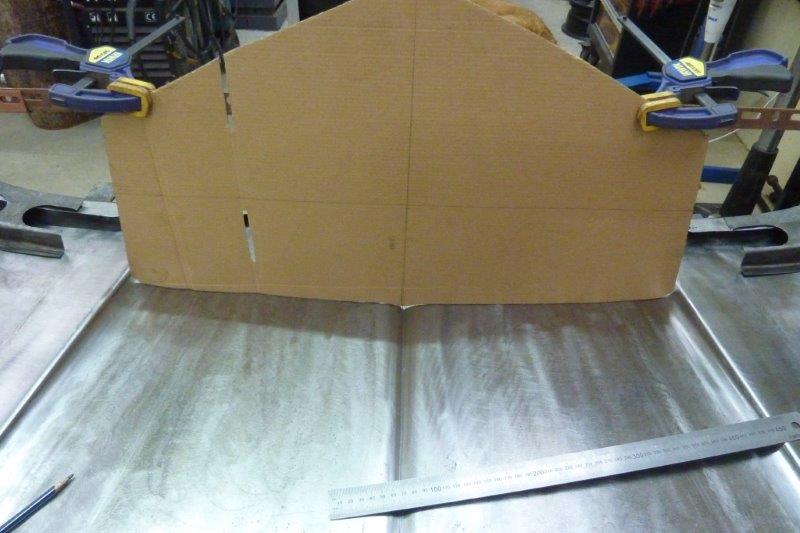
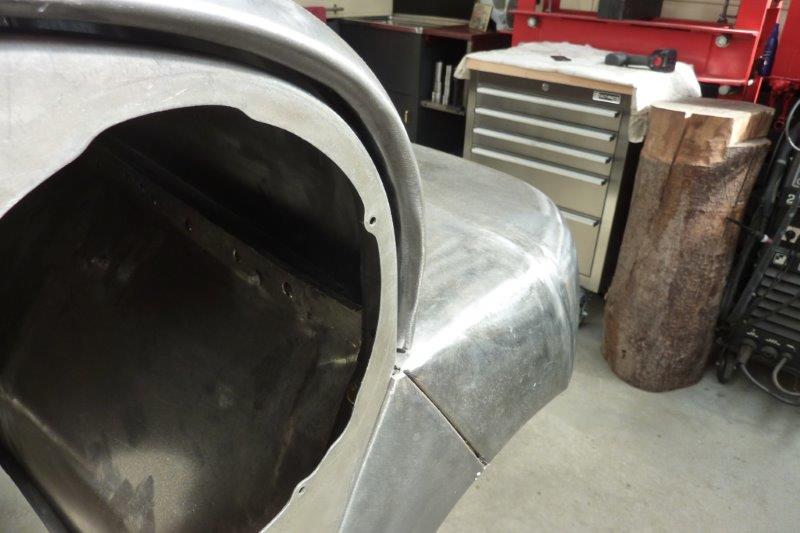
Needed to make a template of the bonnet profile where the back flange on the front support sits. I used a trick where you choose a washer that is slightly more that the biggest gap from its edge to the bottom of the hole . Then run the washer along with the pencil inside it to get your line. As I had to start with a large washer, you can see it is not accurate on the tighter radius in the middle. So I just ran a much smaller washer after this right along the bottom edge to get it right.

I went hunting at the wreckers and found this neat latch and safety catch in one off a 240 Volvo. I cut out the support pieces as well in case I need them. They are very similar to universal ones you can get, but found the quality higher on these. Not sure if it is worth the cost of replating though. Started with the centre section and decided to put a joggle in so it sits flat with the bonnet skin flange. I also put a dimpled hole in so I can access the stud for the bonnet ornament.
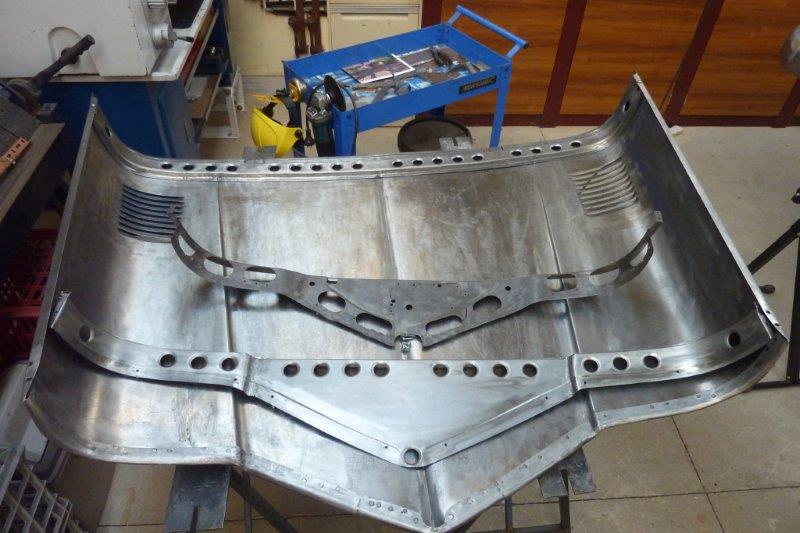
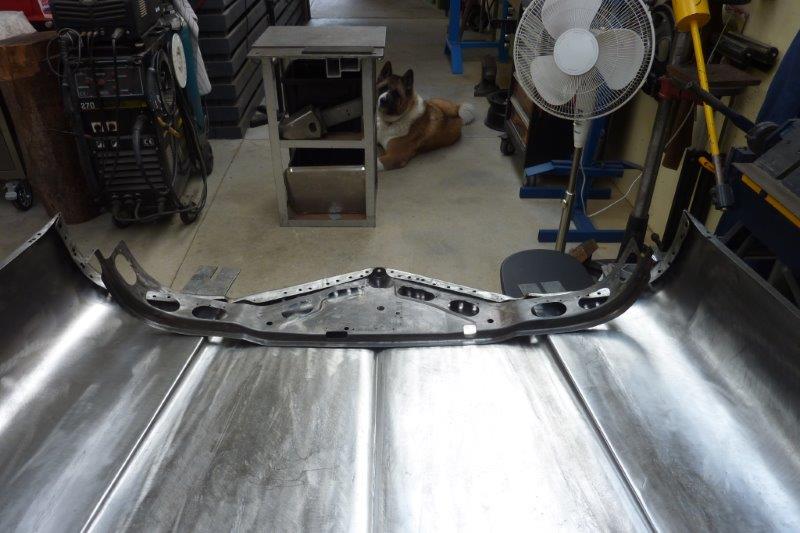
The factory support was not very stiff and the cause of the flutter these bonnets get at speed. That is why I believe you see so many with side latches added later. So I made it flat right across the centre to give greater depth in the flange. Also followed the profile of the bonnet to give more depth in the corners of the steps, rather than just cutting through at a 45 degree angle as the factory did. Also welded in pieces into the bonnet flange to make them the same width in the steps as they were cut right back to aid the pressing of the bonnet. But this also made it weaker in the corners. I added the same sized dimpled holes as the rear support to tie in the theme. They are much smaller and stronger than the large cut outs of the original support as I don't need access for a spot welder. I will be doing plug welds instead in the holes left from drilling out the spot welds.
[Index]