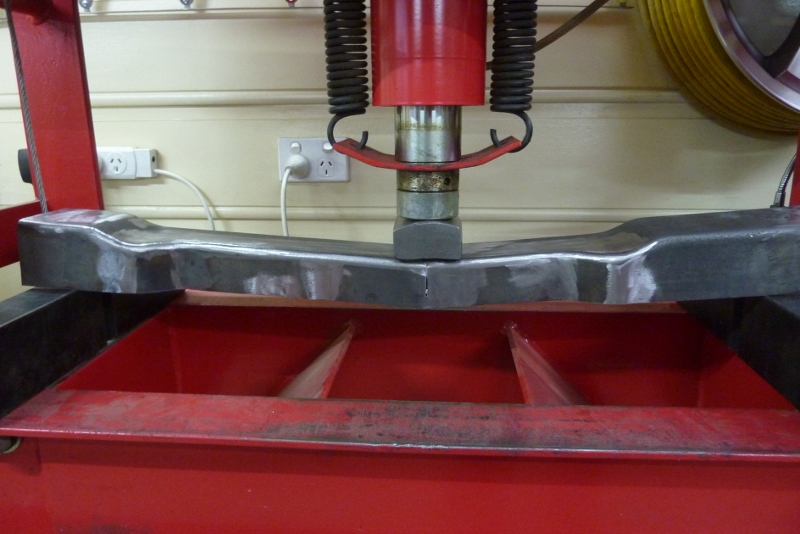
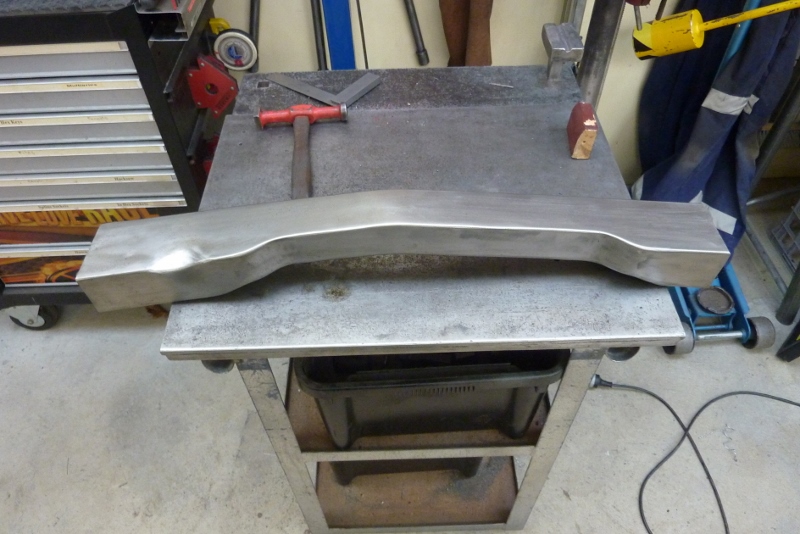
Leaving it partially uncut not only keeps everything in alignment, but gives you a radius at the bottom. The more you leave the bigger the radius. Takes very little pressure to bend it and I tack it in place while under the press. Welded up and you can see it looks more factory than just a mitred cut.


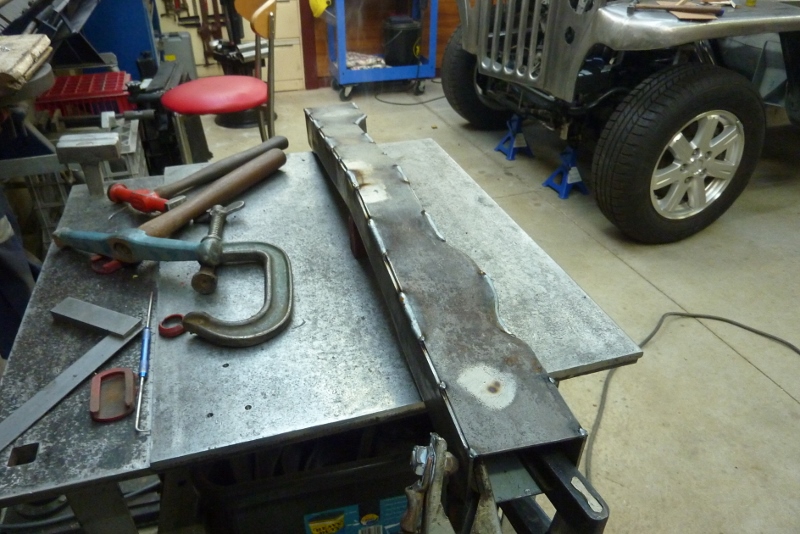
I coated the inside with zinc before welding the bottom plate back on again. I put a block in the middle a bit taller than the gap and then tensioned the cross member over it with clamps at each end. Then tacked on the bottom plate.
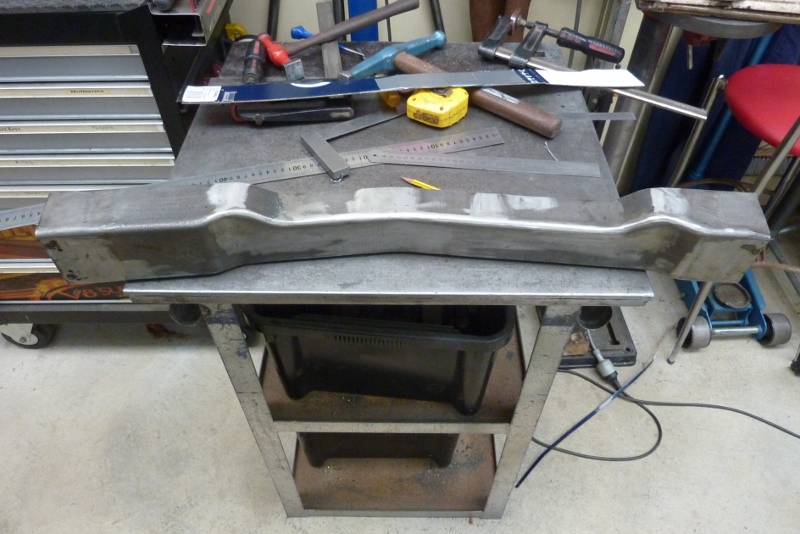
While still under tension I stitch weld a section before quickly doing directly opposite it. Ten leave a space before doing another stitch weld. Even though the tension over the block will help stop it from trying to straighten out some, it still good practice to balance your welds to stop twisting. Once fully welded it was smoothed out. You can also see where I had hammered in a scallop to give clearance over the power steering rack.

Plenty of clearance over the rack, more than the minimum 10mm-3/8" clearance required. Now it seems superfluous to have lengthened the cut-out when the engine still hangs over it, but the reason is I now have just enough room to unbolt the sub frame, with engine and everything in place on it, and move it back towards the firewall and drop the whole lot out the bottom of the chassis. Makes future engine or transmission changes easier.
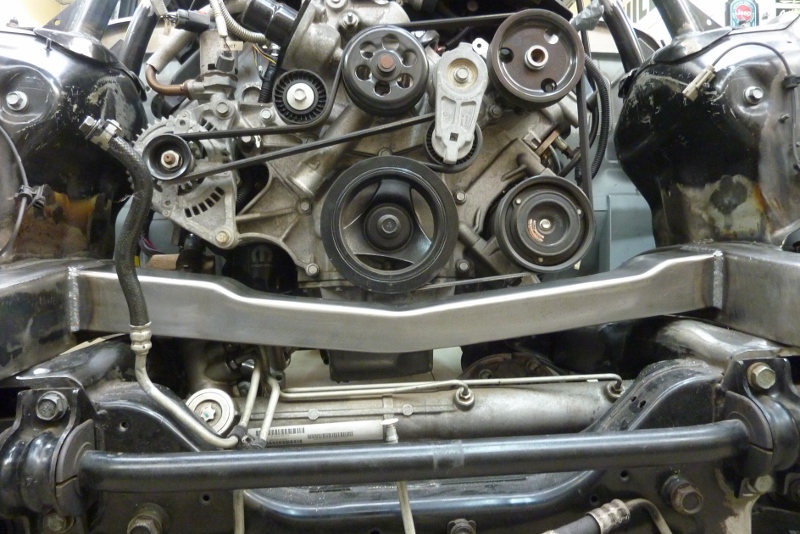
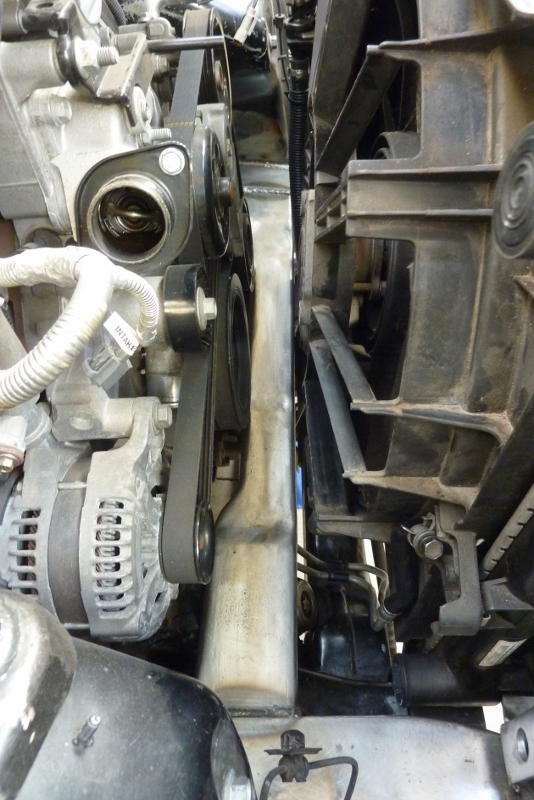
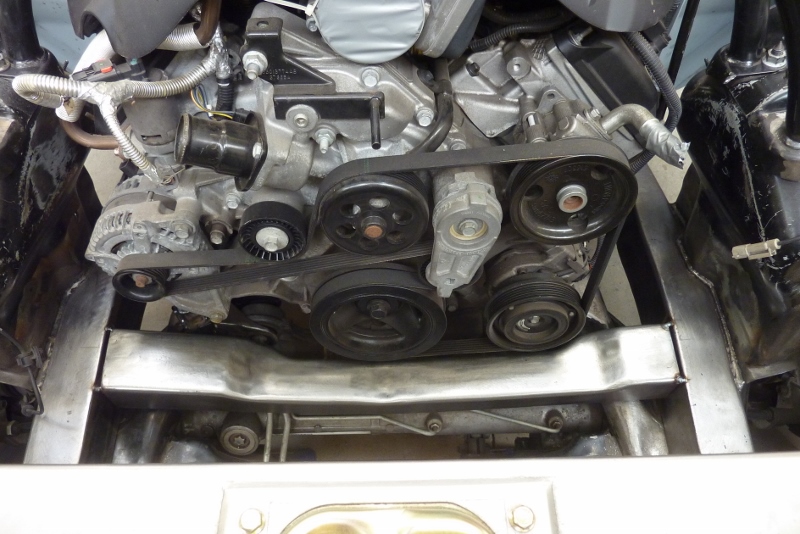
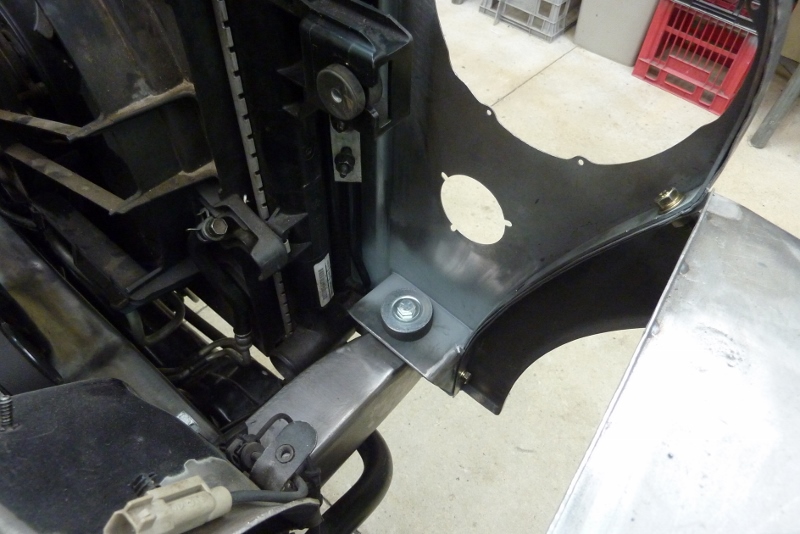
Worked out well with just using the one bend in the cross member to clear the pulleys. With the radiator back in you can now see the clearance between the cross member and the fan support.

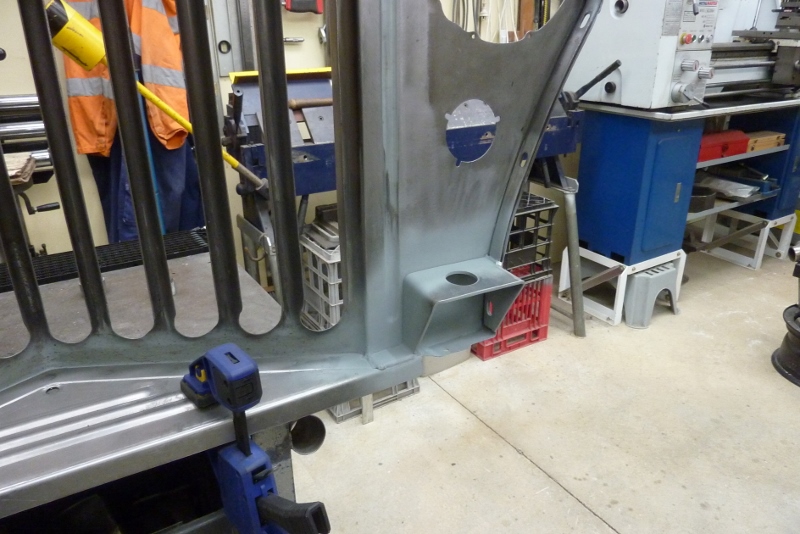
This is where I want the grille body mounts to go, but it is not quite flat enough. So I used some 6mm-1/4" plate ground to fit the contour and make it perfectly level on top. Welded a nut inside the chassis to take the mounting bolt as will cap the end of the chassis later on.


Next is to make a mount off the grille without welding to the face of it so it doesn't show once painted. I will see if I can use the body mount as a support later on for the top radiator mount as well.
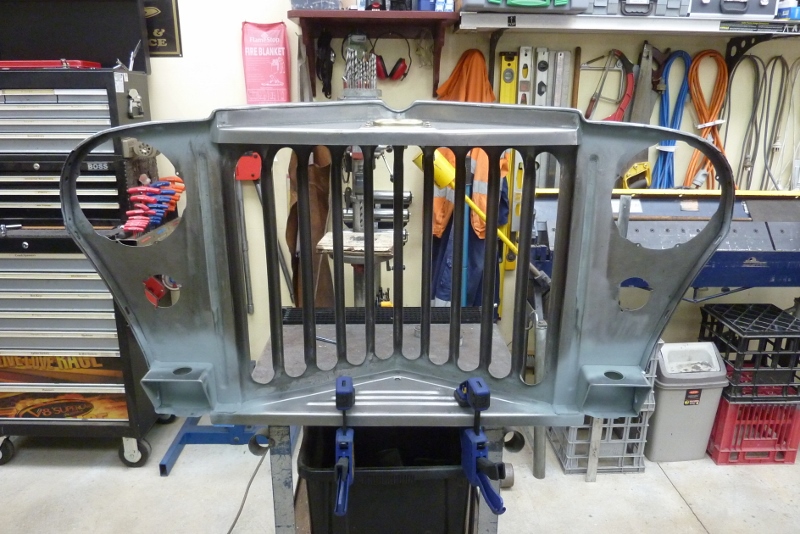
I folded up the mount so it has a tab that goes over the double layer of steel where the lower grille tray overlaps the grille flange. This helps spread the load and is also a strong section. The vertical brace is up against the side of the bead I put in where it is the stiffest. The outside brace welds directly to the steel strap that runs right around the outside of the grille. I had already extended it to the very bottom when I made the grille longer in preparation for the mounts. Back of the grille was painted and then flexible caulking put in between the front face of the mount.

Using two mounts instead of the factory single centre mount makes it much more sturdy than stock. That is the last the the cab and front clip body mounts done.

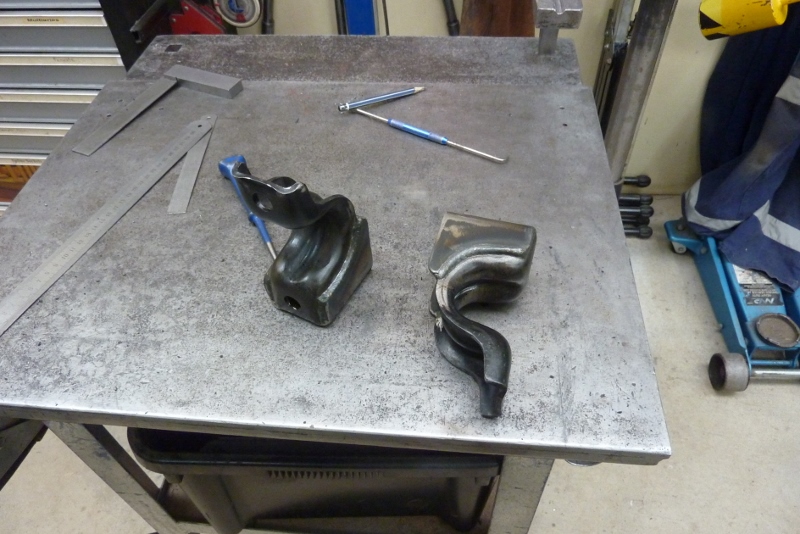
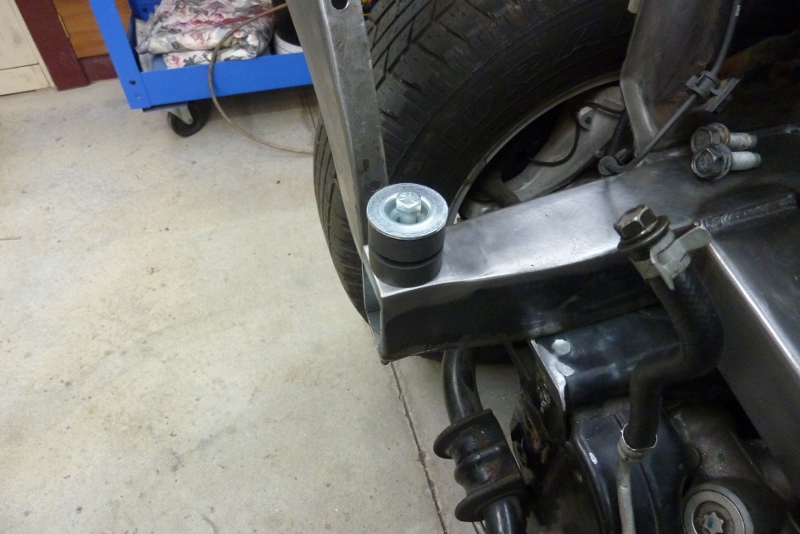
Just making some lower radiator brackets. Going to weld them to the heavy duty OEM swaybar brackets as works out to be a very convenient spot. The mounts I folded up out of the 4mm-5/32", same as the swaybar brackets.
[Index]