Bolted back into place. These carry all the weight of the radiator, condenser, transmission cooler, hydraulic fan and power steering cooler. Plus all the coolant and oils they carry. The top mounts only stop the assembly moving backwards and forwards. The radiator sits on the OEM rubber mounting pads. The radiator sits on the OEM rubber mounting pads.

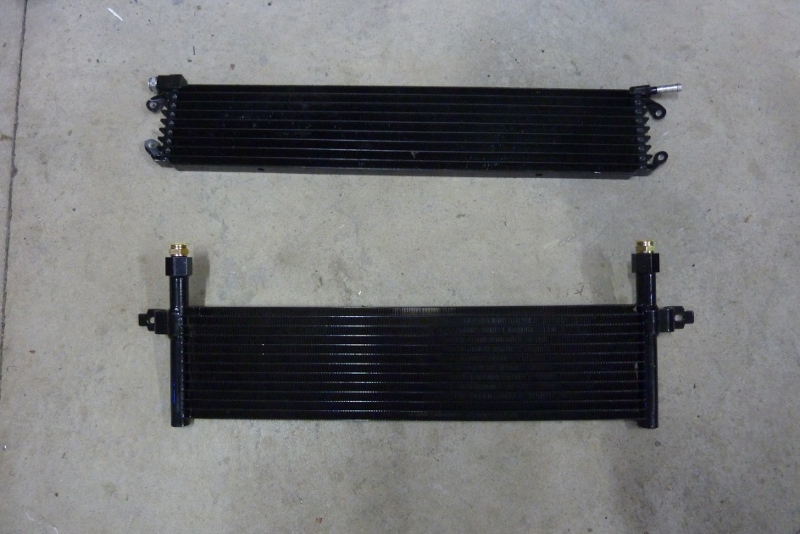
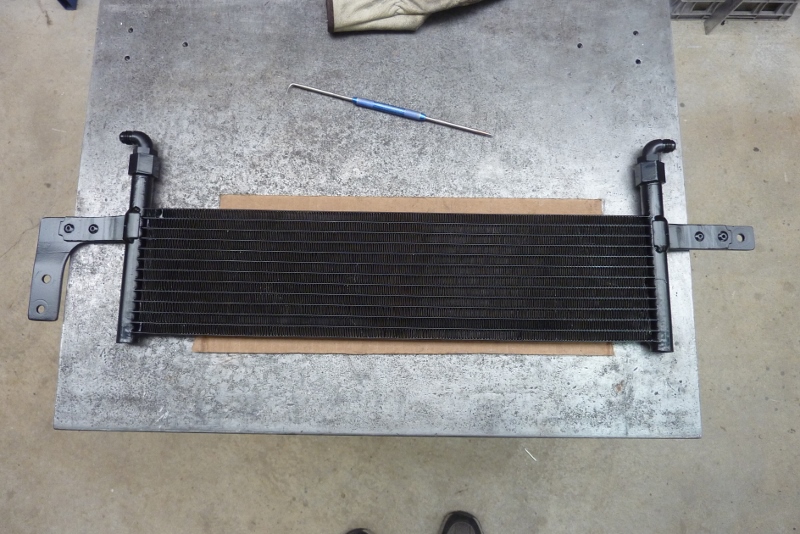
All into position with just the top ones to go. Before making the top radiator mounts I wanted to fit the new cooler for the fan and power steering. The top one is the original that was as wide as the radiator. This meant that the whole radiator assembly would have had to be mounted 25mm-1" further back just to fit it in. So after hours of searching I found another Mopar cooler off a Jeep KJ Cherokee/Liberty that had the same core area, but taller and narrower. This will mean in can sit inside the 'V' of the grille and not take up any extra space.
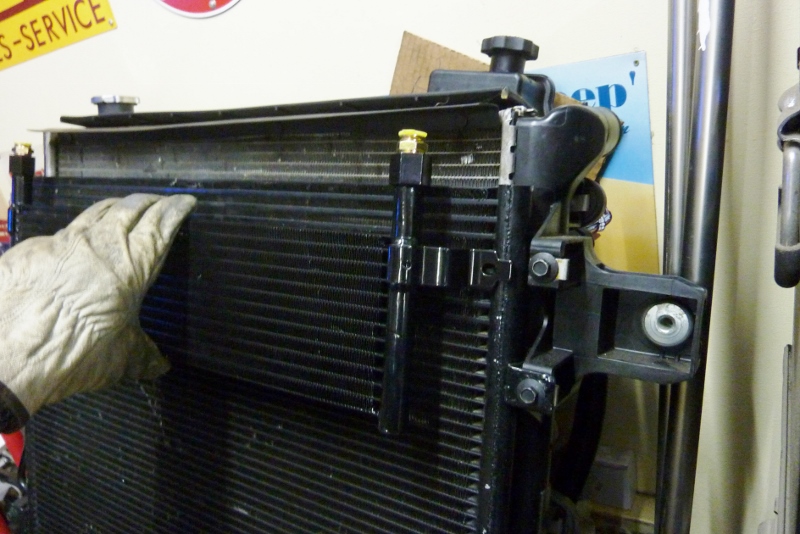

The cooler brackets are too short to reach the original cooler mount and also space the cooler too far out. The other side it is also too high to reach the top bolt below it where the OEM one mounted.

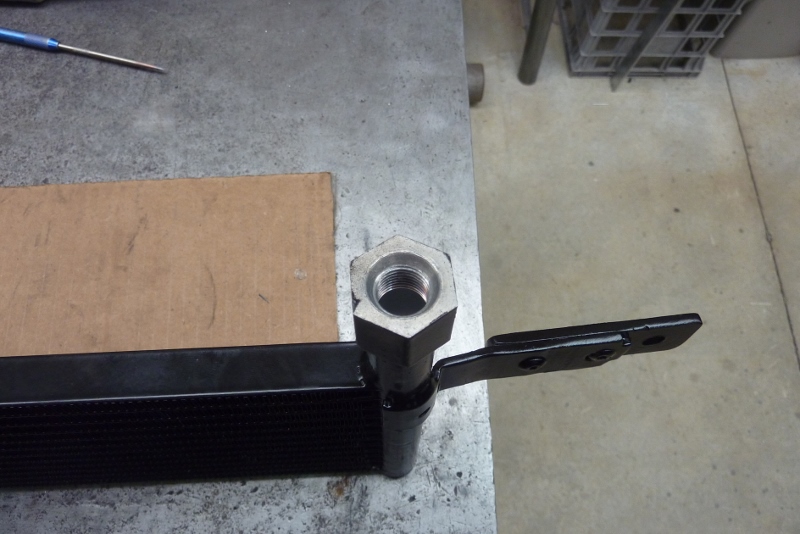
I also needed to change the straight up ports to side ones. The OEM hardline fittings were screwed out and found some -6AN elbows to replace them. Then a conversion to 10mm-3/8" rubber line barb. They are from the Australian company Speed Flow. I did have to swap over the O rings from the cooler on to the new elbows as they were thicker and sealed better.

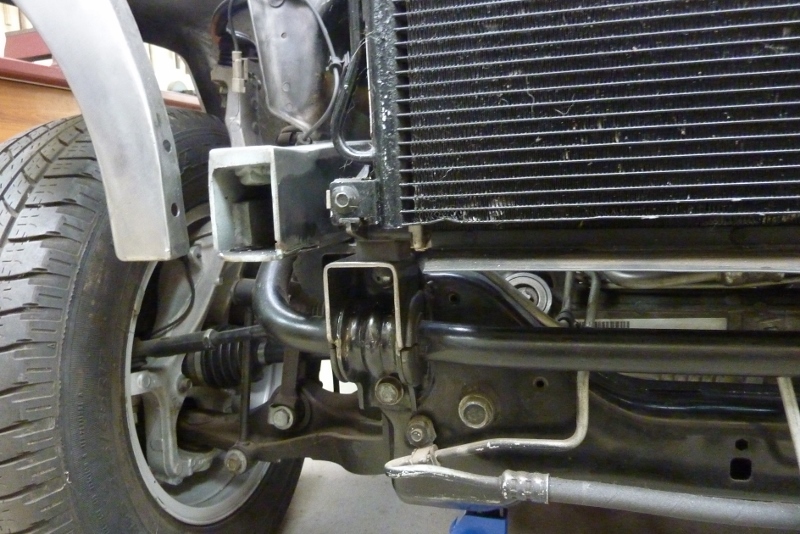
The elbows also can be positioned in any direction and then the O ring tensioned with the half nut. I just extended the brackets with aluminium and riveted them on to the straightened out cooler mounts. I thought this was better than welding them on as can then transfer them easily if the cooler ever needs replacing. Also used an extra bolt on the one side. The cooler was spaced 6mm-1/4" from the core behind it, the same as factory. This needs to be done to keep air flowing through to the next core.
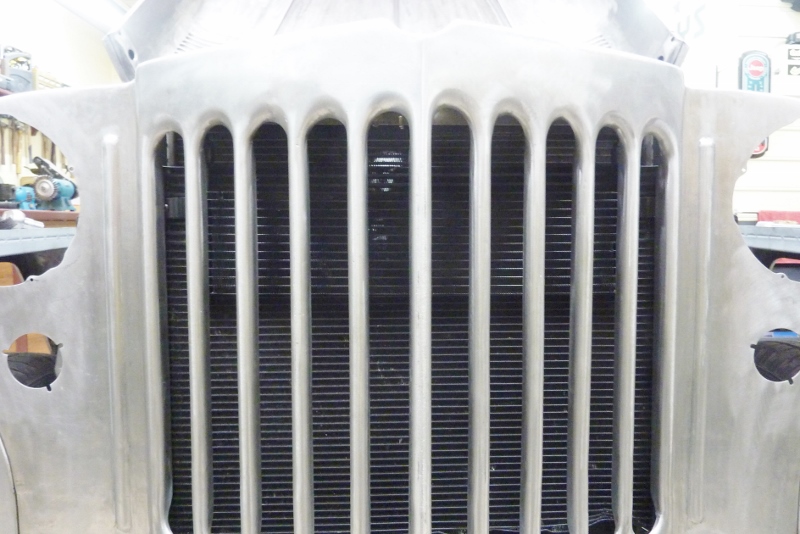
The lines will run in under the top grille tray. Even after turning the exposure right up on this shot, it shows the cooler blends in which is what I wanted.
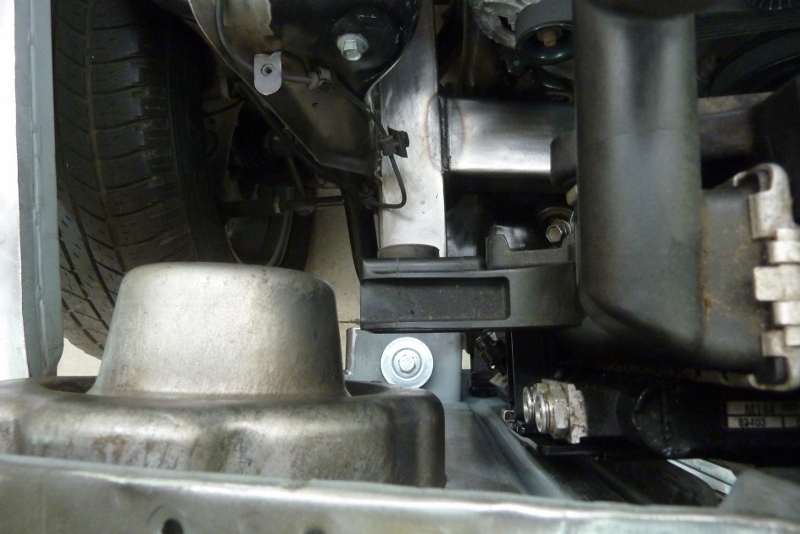

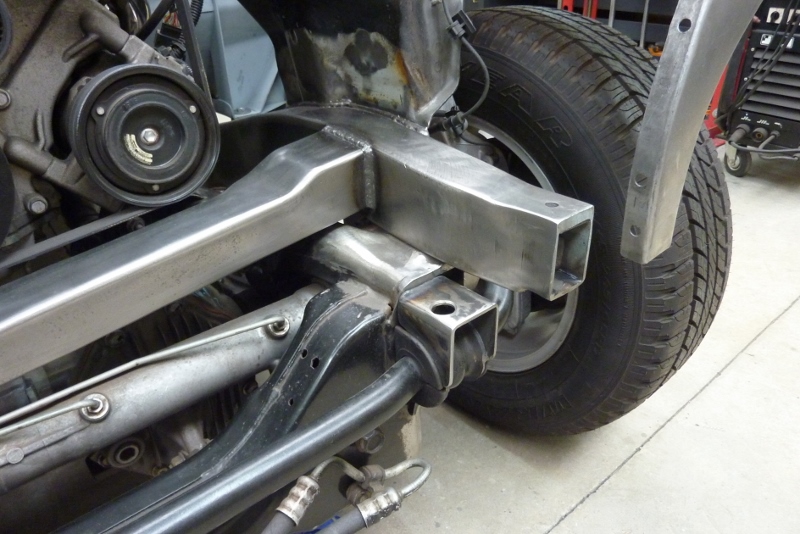
Now to make that top radiator mounts. Only a 6mm OEM bolt holds it from moving backwards and forwards. No weight it carried as that is done on the bottom mounts. I started by making some bosses with a nut welded inside. Told you those holesaw slugs are worth keeping. ;)
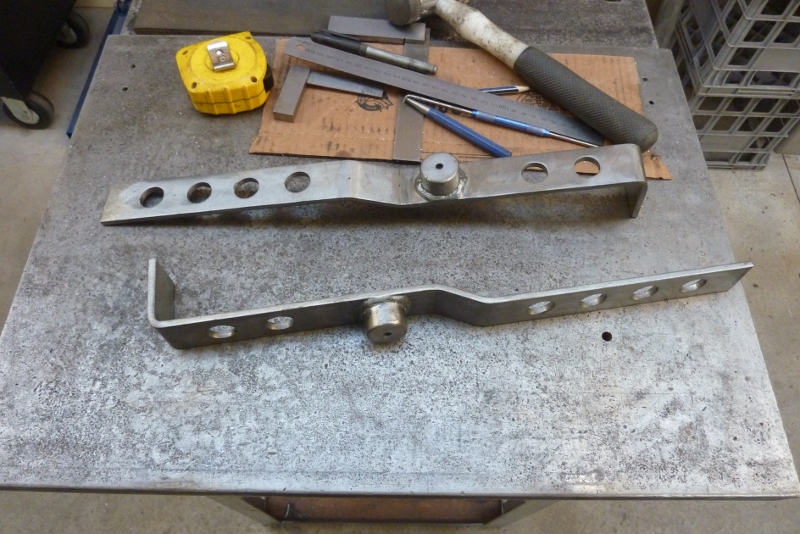

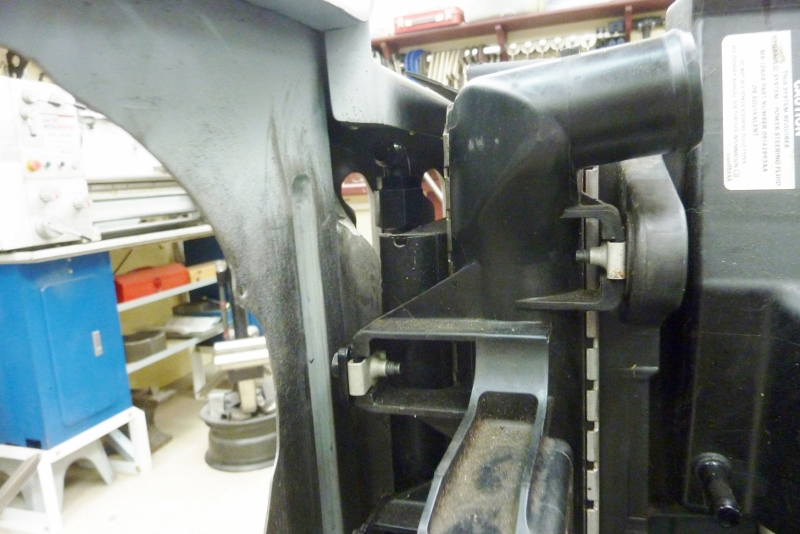
Folded some 40x5mm, (1.5"x3/16"), flat and welded the bosses to them. The flat goes from the body mount to the front side of the radiator mount before folding in under the top of the grille frame that has the steel strap underneath. This leaves enough room behind the headlight bucket and for the hard lines for the transmission and A/C condenser to still fit!

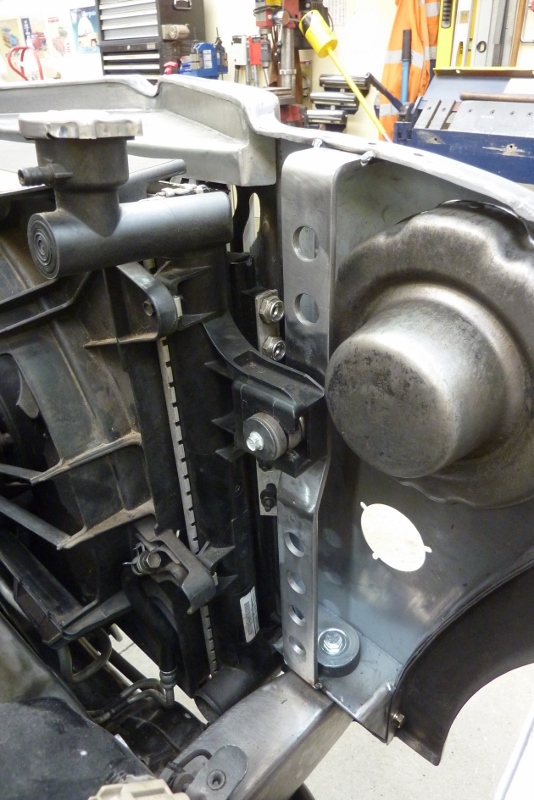
The radiator OEM mounts are rubber and can slide left to right to take up any movement. You couldn't have the radiator mount half on the chassis and the other on the body otherwise. I have mounted off the front side instead of the OEM backside so it is easier to lift the radiator in and out without removing the grille. I will weld it all in place once the grille is off next time.
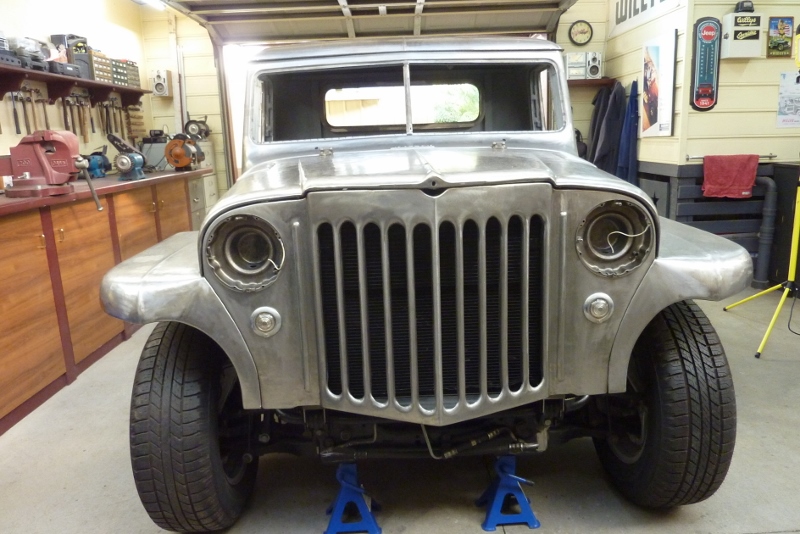

Just looking at some lighting options. Looking at going to a reflector LED 7" round headlight that doesn't look too high tech. Has to be ADR approved to get it passed for registration. https://www.narva.com.au/products/72104. So with that in mind not sure if to go with the original parkers/indicators or not? These are the ones off the 52 Willys grille. They don't stick out much at all. The headlight above it will sit out more once the trim ring has been added.
[Index]