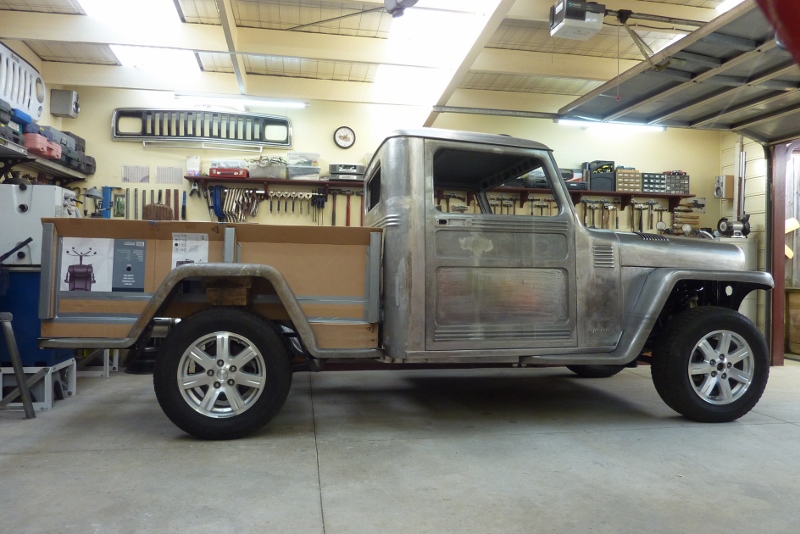
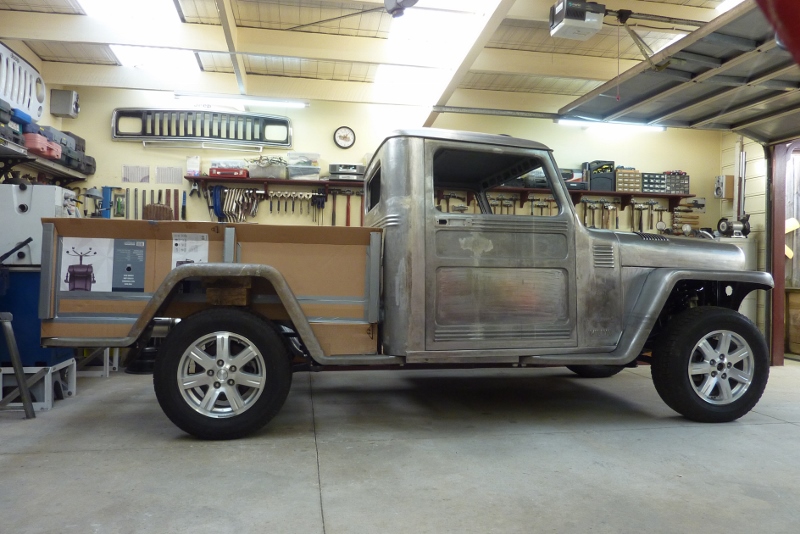
Well I have been taking suggestions from the forums the build is on and trying some using Photo paint. So I have the rear guard blend into the step like it does on the front and added a rear one as well. Here the front part is level with the bottom of the cab and the rear under the frame skirt I had before. Next picture I left the rear as is and ran the front one under the cab.
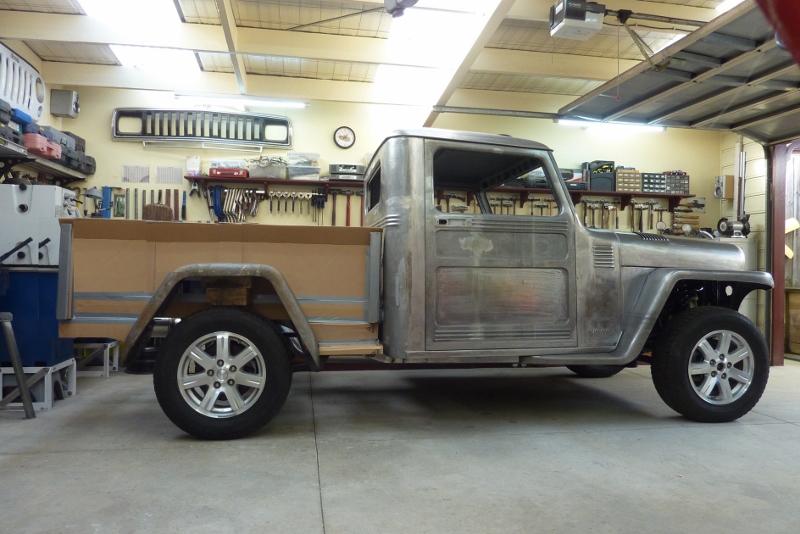
I was asked to see if removing the labels on the cardboard and the centre stake pocket improved the appearance of symmetry. I do think the longer back section looks less obvious now? Removing the centre stake pocket would mean bolting through the side to hold the top of the guard on, showing a bolt head on the inside like the Fords and Chevys, rather than to the underside of the stake pocket that the Willys had. Seeing a nice cap head bolt might be a small price to pay though. Last one with centre stake and steps back.
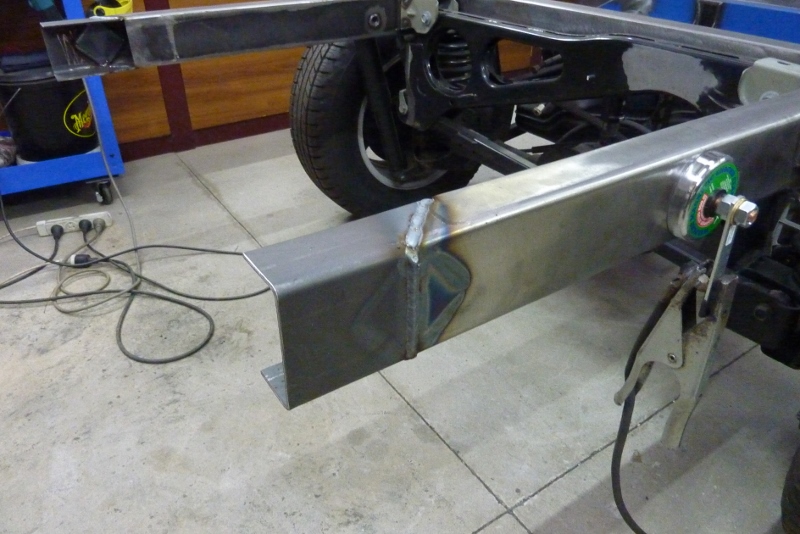
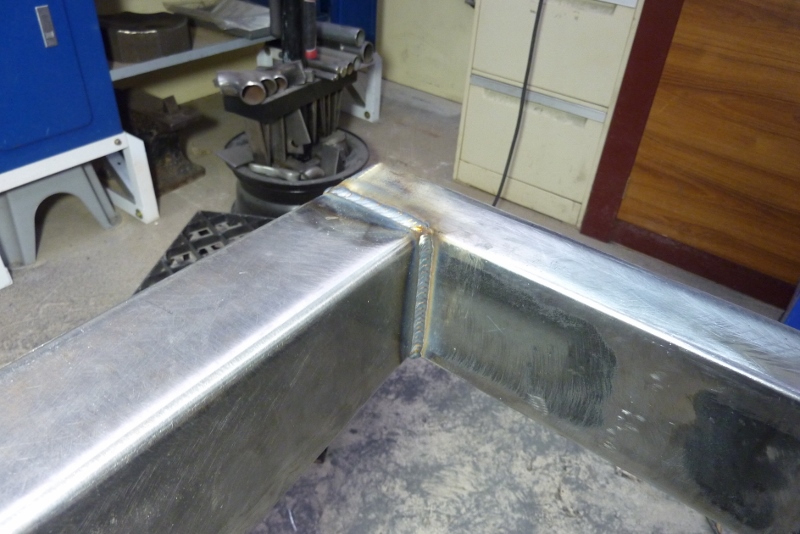
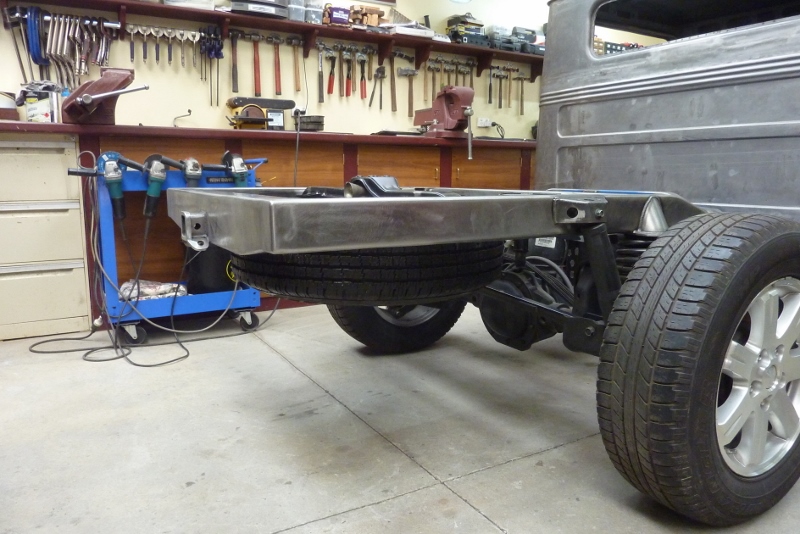
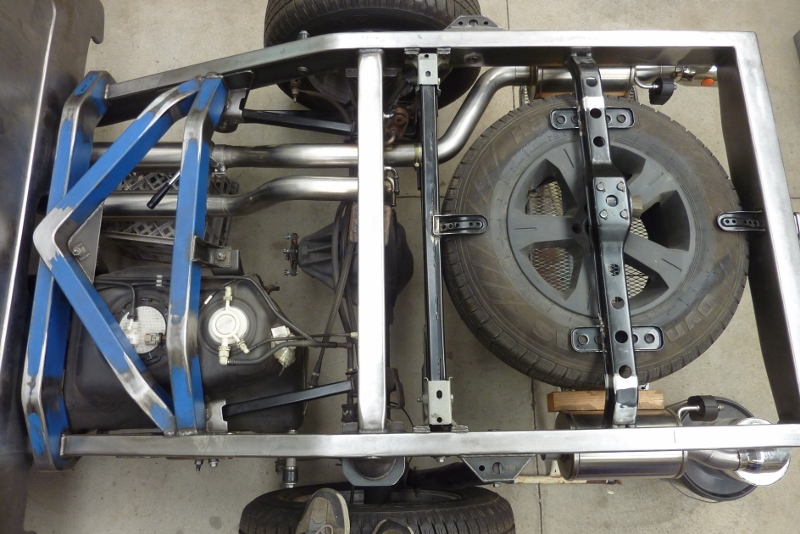
Decided to extend the chassis to take the spare wheel. I had to add what was lost with the 100mm-4" step I put in as well. I turned the heat up to get good penetration. Cross member welded back in place.

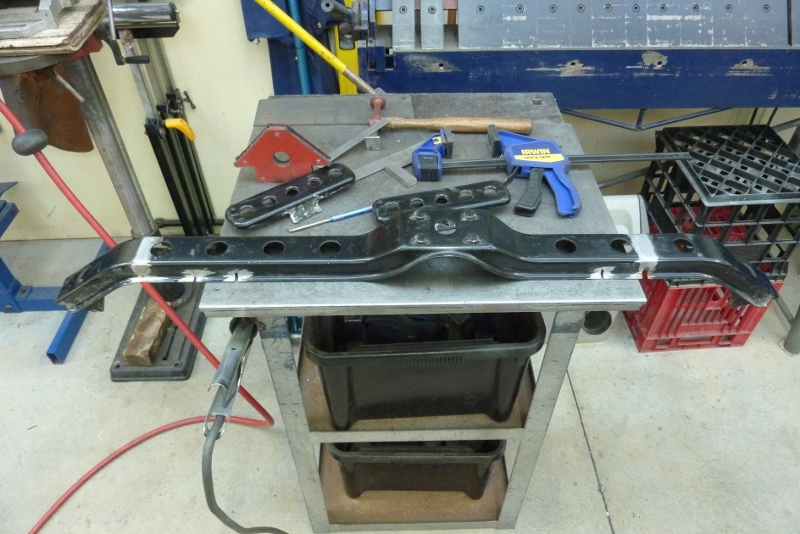
I cut out a spare wheel carrier with a cable winch on it. Even though the winch just unbolts, I took the whole cross member to use. It was however setup for an offset wheel so the exhaust could run down one side of it. This setup came from a 2001-2006 Hyundai Santa Fe 4wd. I cut the ends off the cross member, with one side longer than the other, and swapped ends to centre the winch cable.


I also recessed the tyre supports an extra 13mm-1/2" to get the wheel up as much as possible. From two Santa Fe's I cut the short tyre supports as well. All welded into place.

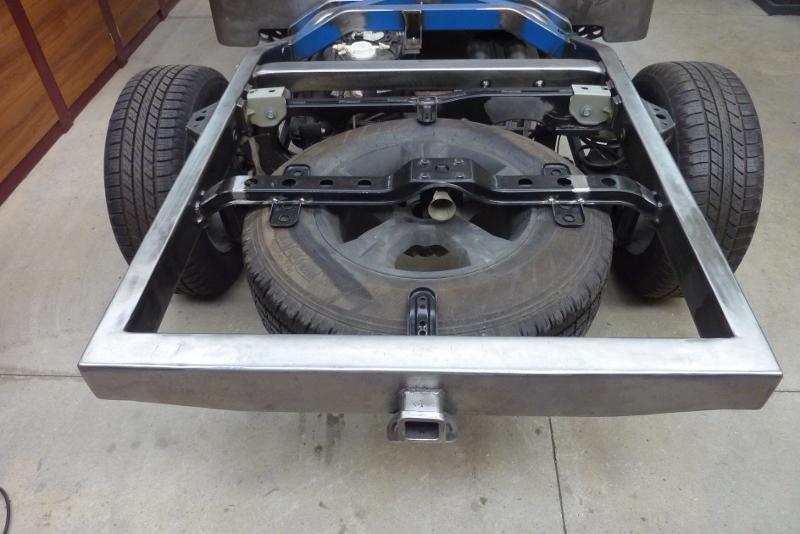
I chose a cable tyre winch over the chain type as the latter rattle the excess chain around. The donor Grand Cherokee had a cable one as well, but the winding point was accessed through the floor and I didn't want that. This is a 235/80R17 tyre which is 31.5" tall. I only left 5mm-3/16" each side to spare to get it in easier. I still need to get a matching Hyundai jack handle, or make one, to operate it. The wreaking yard throws them away so no one can use jacks in the yard.
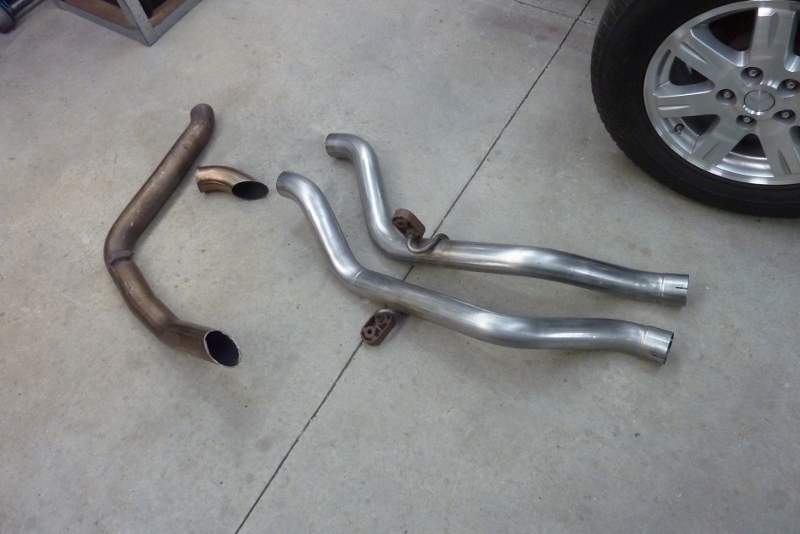
It tucks up nicely out of the way and won't be seen from the side once the frame skirts go on. You can see I have raised it 50mm-2" higher than the top of the chassis. I did this for extra ground clearance when offroading and that the crank handle doesn't have to pass right through the rear cross member. This is also the height of the floor supports for the bed, so it doesn't take any extra space. Well, the exhaust cannot run out the middle as per the factory centre outlets of the SRT model that the system was made for. I still had the factory single stainless system which is the same diameter, 70mm-2.75", as just one of the new pipes.
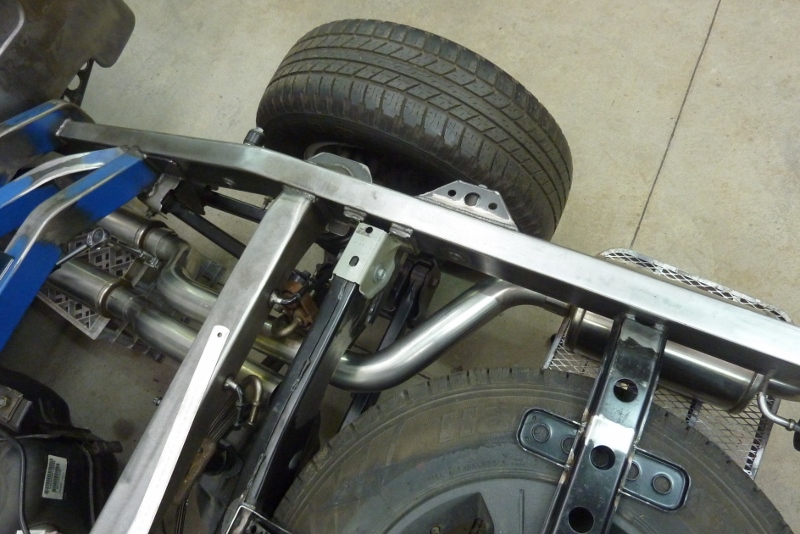
Re-routing the right side was easy as I only had to cut and flip the exhaust over. I used the left side dogleg instead as it reached over further to where I wanted it. It looks odd sitting out that far at the moment, but the chassis had been narrowed to fit the donor suspension in the right place. The bed will actually be wider than stock and cover the rear muffler and will be behind the frame skirts.

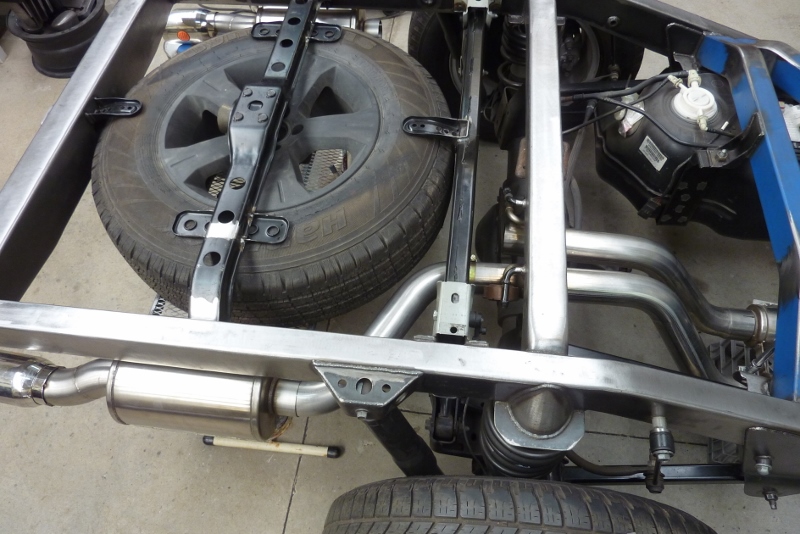
So with the muffler on the left placed to match the other side, I just have to get it across. First have to clear the pinion flange, top of the diff and sway bar at full suspension compression. Then turn before hitting the left side upper control arm bracket, under the cross member before going through a hole in the next, miss the shock absorber and then line up with the back of the muffler! I cut the exhaust off just before the last bend and also found a section from the original system that lines up with a hole in the panhard bar support cross member and the muffler. Just have these bends left to complete the system.
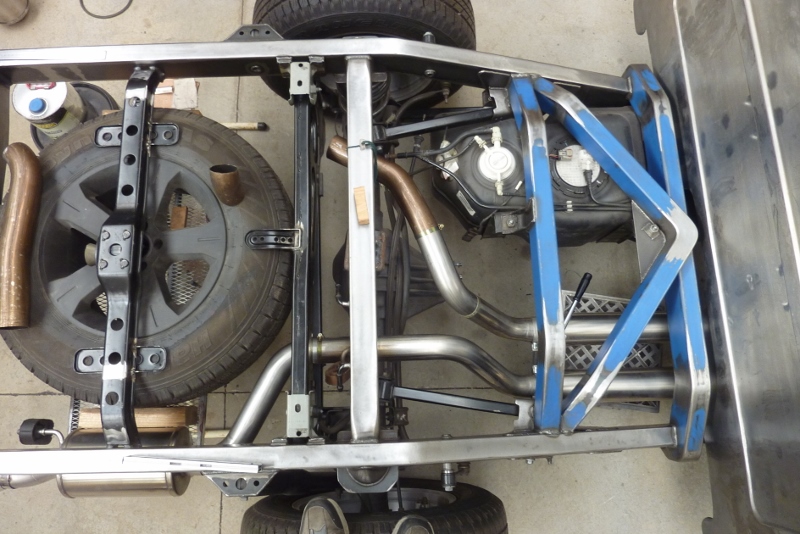
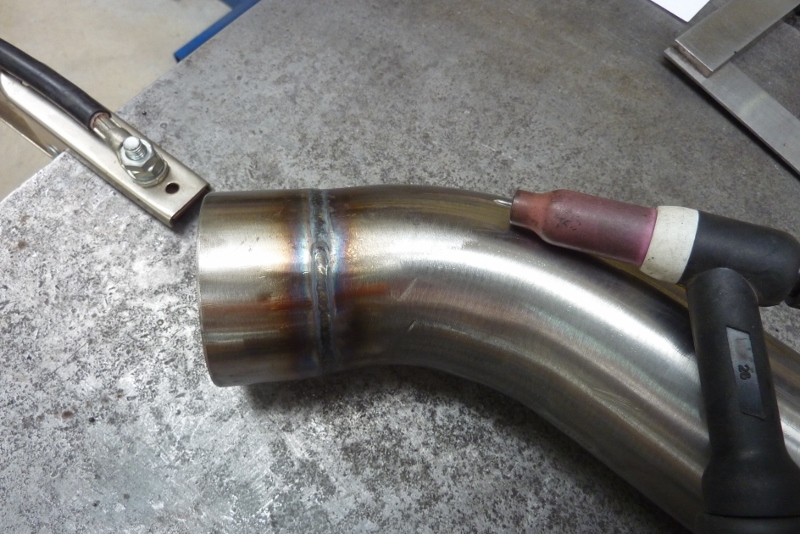
Using one of the bends from the right side dogleg and the rest of the original system gets me pretty close. I am just using hose clamps to keep things in place while mocking up. I am just going to fuse weld the system together using the tig. 1.6mm-16 gauge lanthanated tungsten to match the same gauge tubing wall thickness.
[Index]