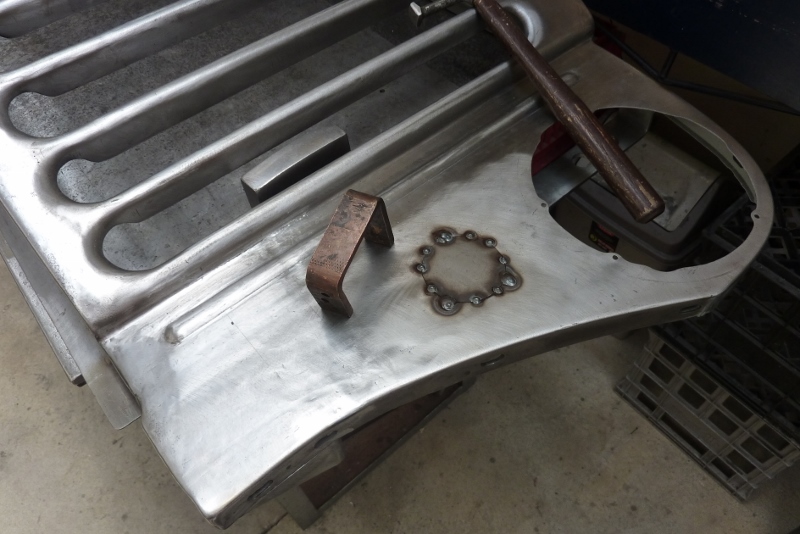

The filler piece I just made round and used some copper under the slots to fill them in. Just used the mig this time as just do what my mood dictates sometimes.
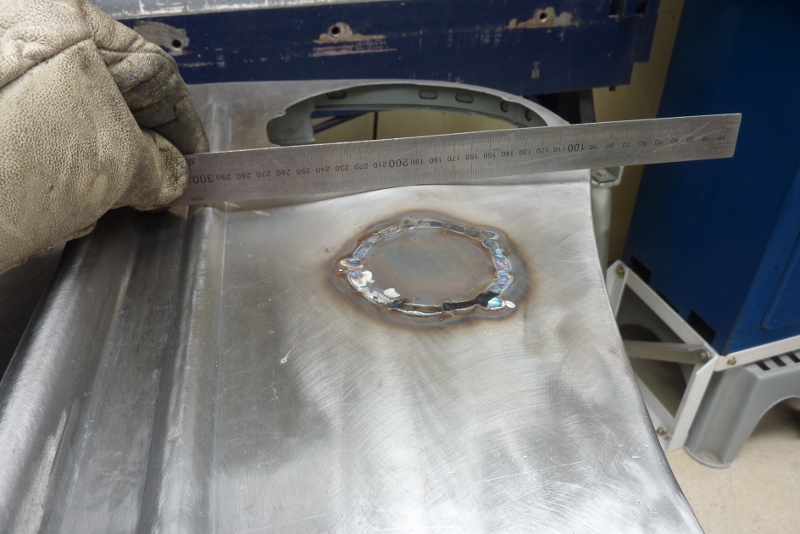
Notice how much the metal rose due to the weld shrinkage. Like making a pleat or dart in material. I like to grind the bulk of the proud weld off top and bottom first before doing any hammering on it. Less material to move and the slower heat and cooling of the grinding help anneal or soften the metal a bit. Far from a full annealing process, but it can't hurt either. I don't have the weld cracking on me either during planishing. Just by hitting hammer on dolly in the HAZ, heat affected zone, it is already almost perfectly flat.
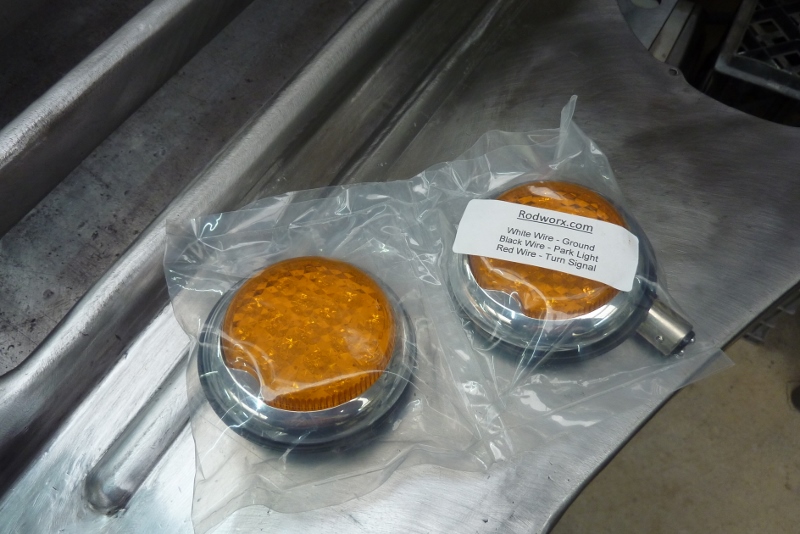
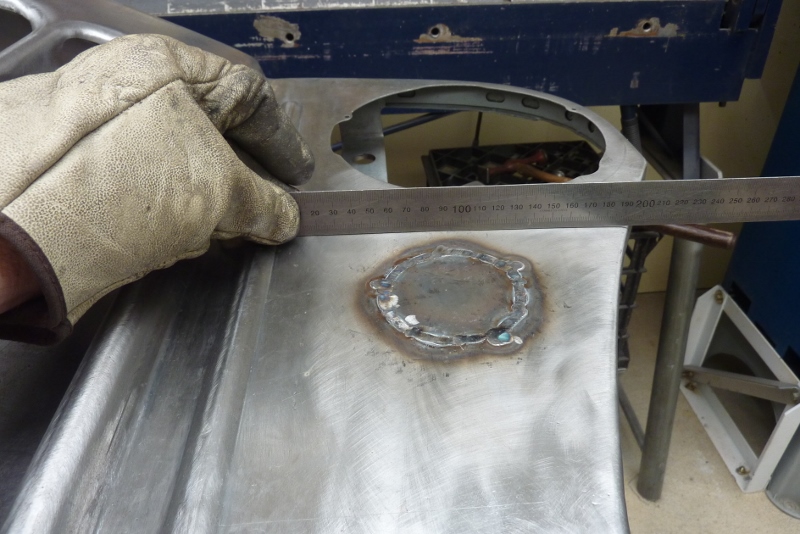
Only now do I take the weld down to perfectly flat, because if you do that before hammering, you end up with a circle of thinner metal. Final planishing was done with a flipper and dolly. I had spotted these turn signals on a great looking Willys Panel Delivery of Sam Hacker. He was kind enough not only tell me where he got them, but to then buy and send them to me as well.
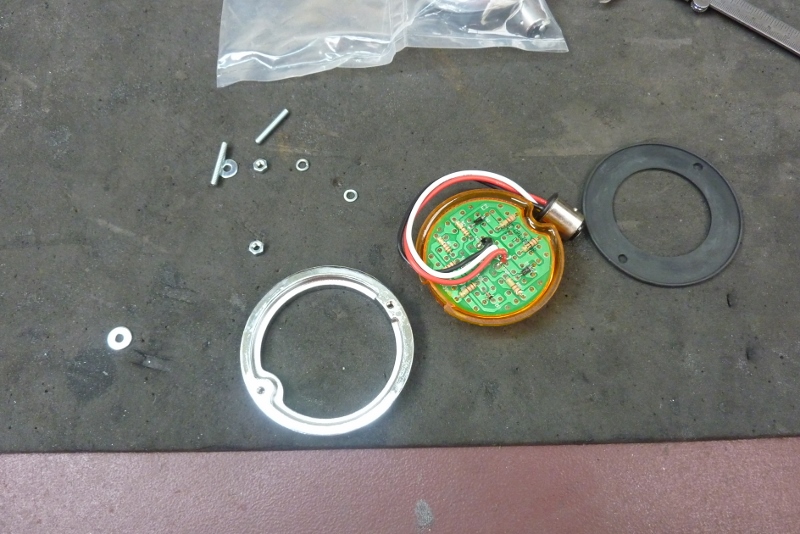

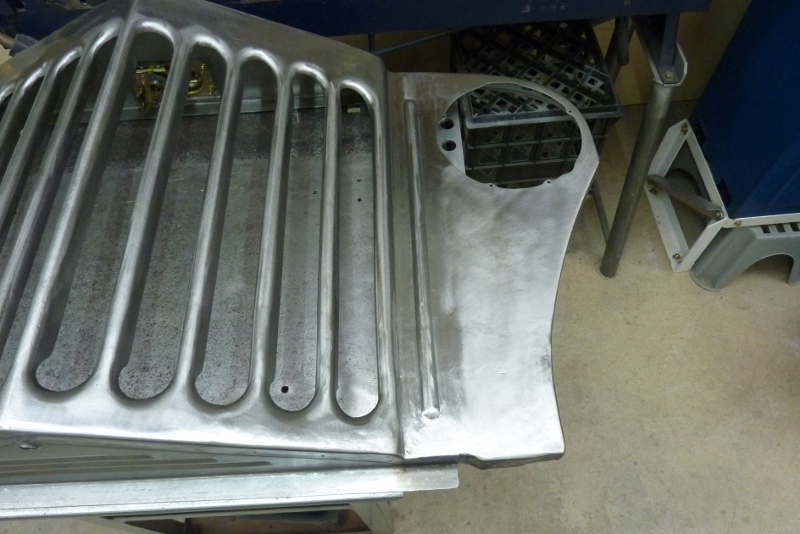
They are a quality item with chrome plated cast steel ring and not just cheap plastic. They have 17 LED's and the circuit board is epoxy coated to keep it waterproof. Made by United Pacific to fit 39 Chevy Sedans, SKU# CPL3911A. At 80mm-3.125" in overall diameter, they are between the early and later stock ones in size.
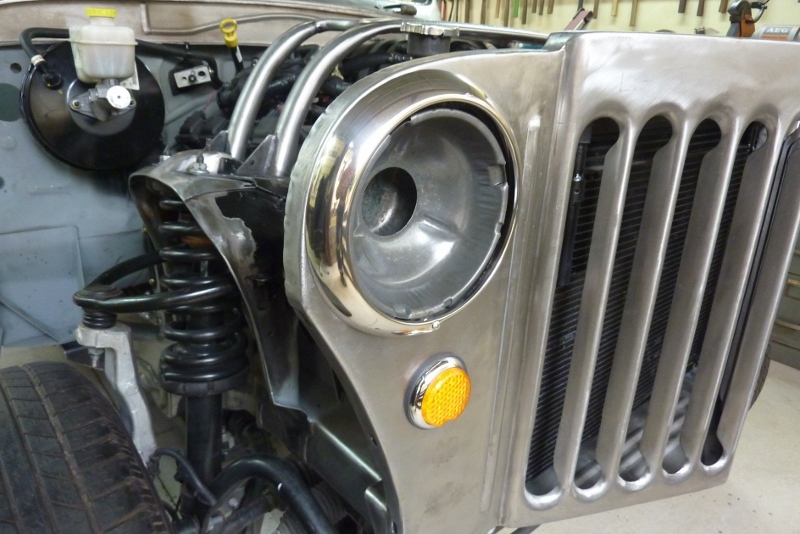
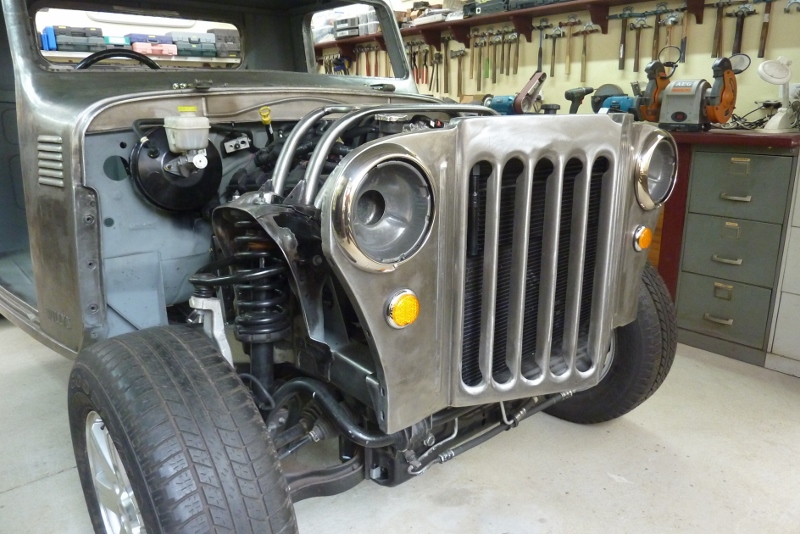
I like how they mimic the headlight bezels for shape too. I am thinking of getting another set for the rear in both amber and red.
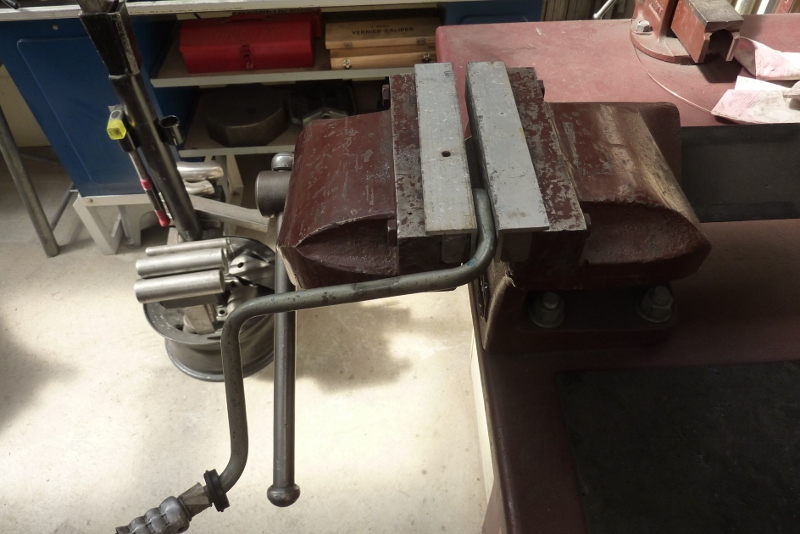
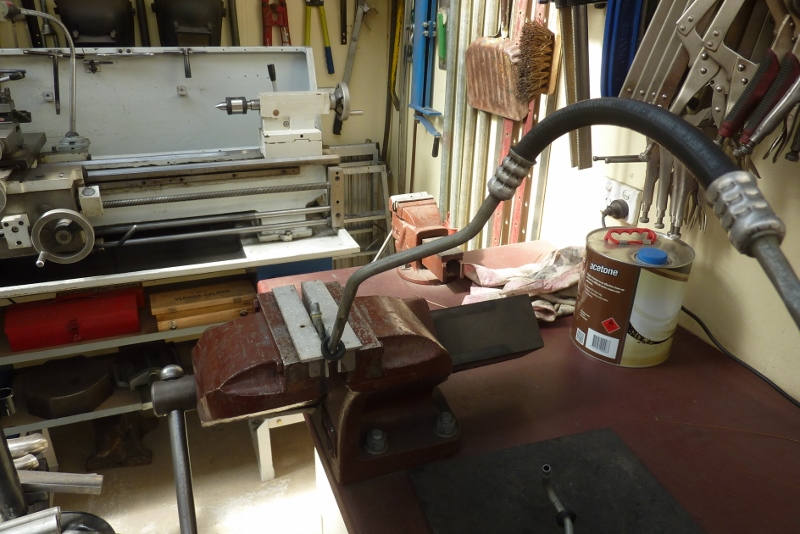
Doing some more plumbing. These are the 3/8" steel OEM transmission lines. I'm just showing one of the techniques for straightening bends I use. Just clamped between some aluminium angle. I just push a little bit at a time, then move the line in as far as it will go into the jaws each time. The squared part of the line before the bend is where the factory separation clip goes.


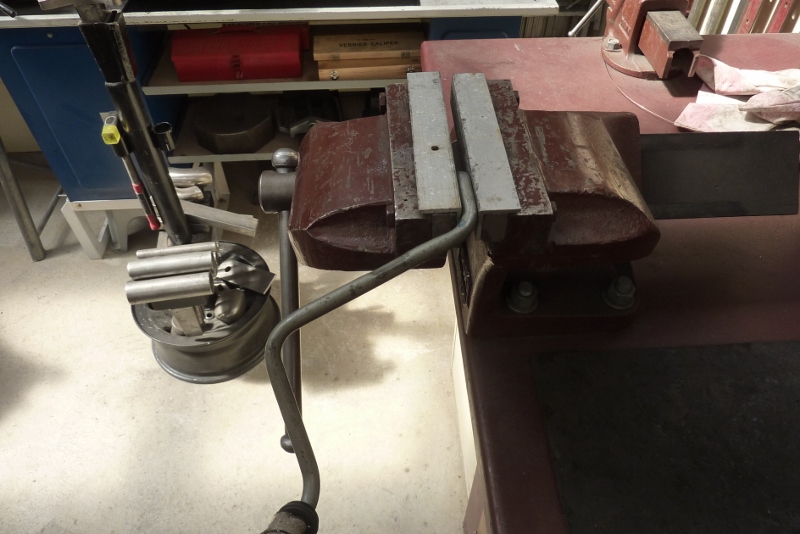
This is what happens if you push to far between re-clamping, You get secondary bends happening causing a dog leg. Once the bend is reduced to about 15-20*, I bend it straight in the middle of the jaws. Rotate and re clamp until it is straight all around.
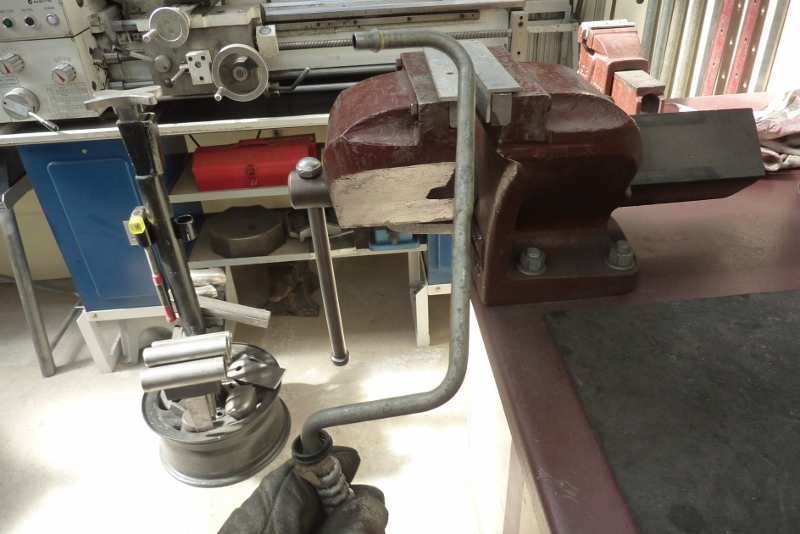
Not show class, but more than good enough for what I am building. The bend was halfway between the squared part and the top bend. The top bend was facing the wrong way. I could straighten it and then bend it the other way.
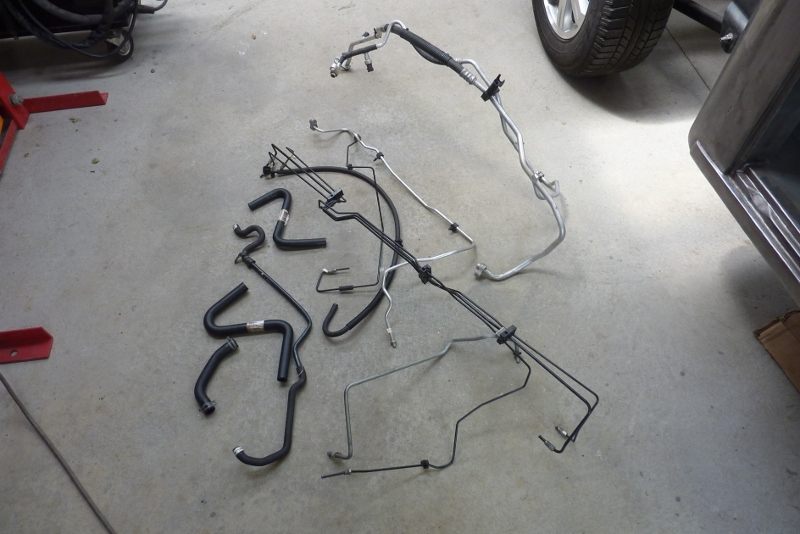
But when it has a long section before the next bend, I just twist it instead. I now have the fuel lines run all the way as well as the transmission lines and the complete rear brake system. Still have all this to go though!
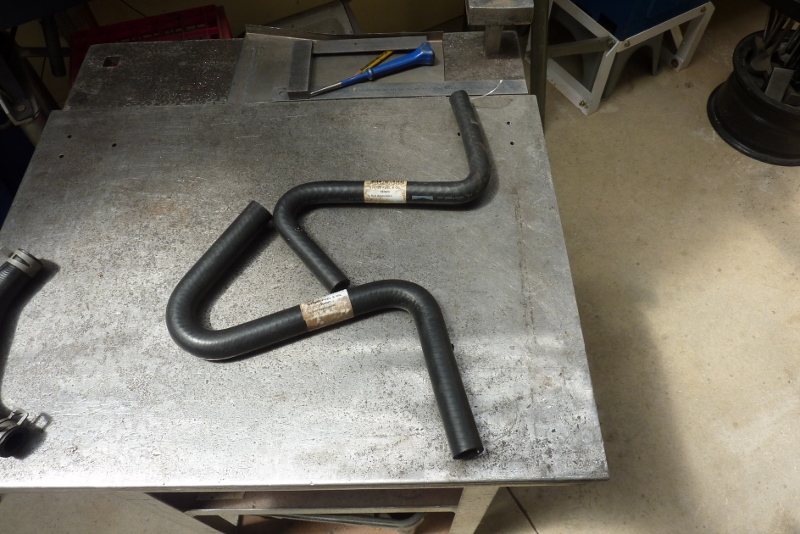
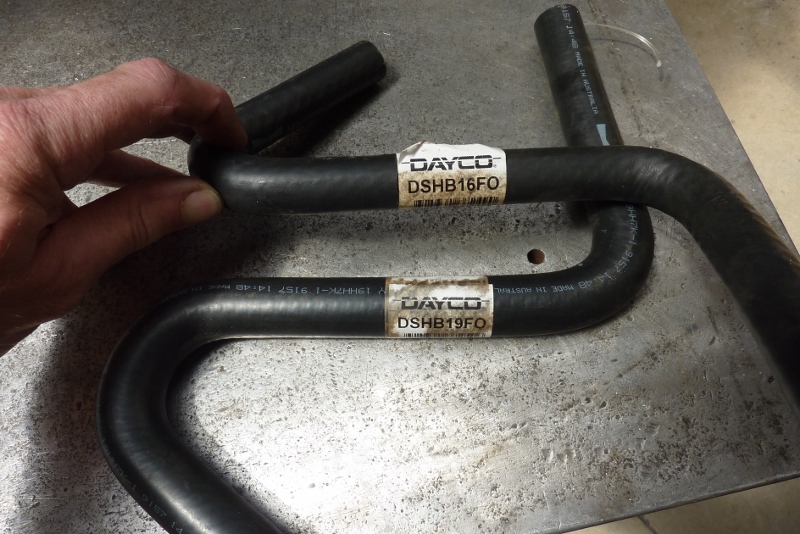
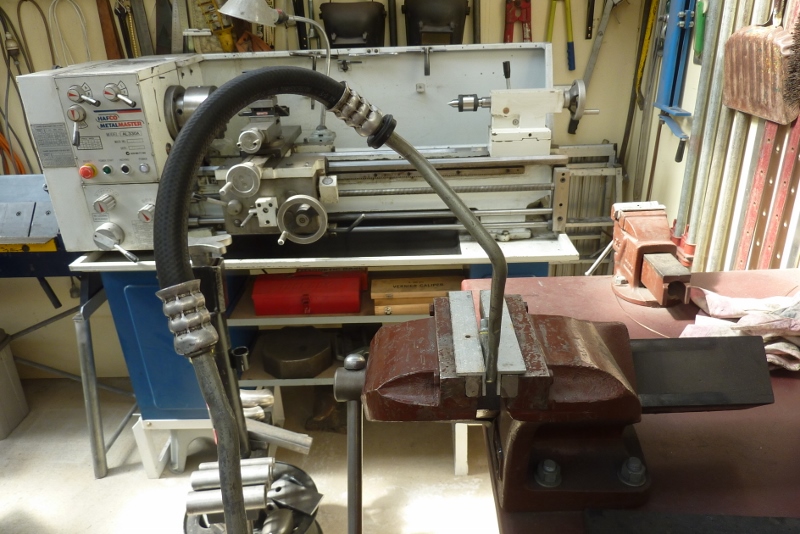
Thought I would share these hoses. They call them S hoses and are made especially for custom/universal applications. They come in a variety of diameters and the FO on the end of the part number means these are for Fuel and Oil. They have cheaper water/vacuum versions, but you should never use them for fuel and oil!
[Index]