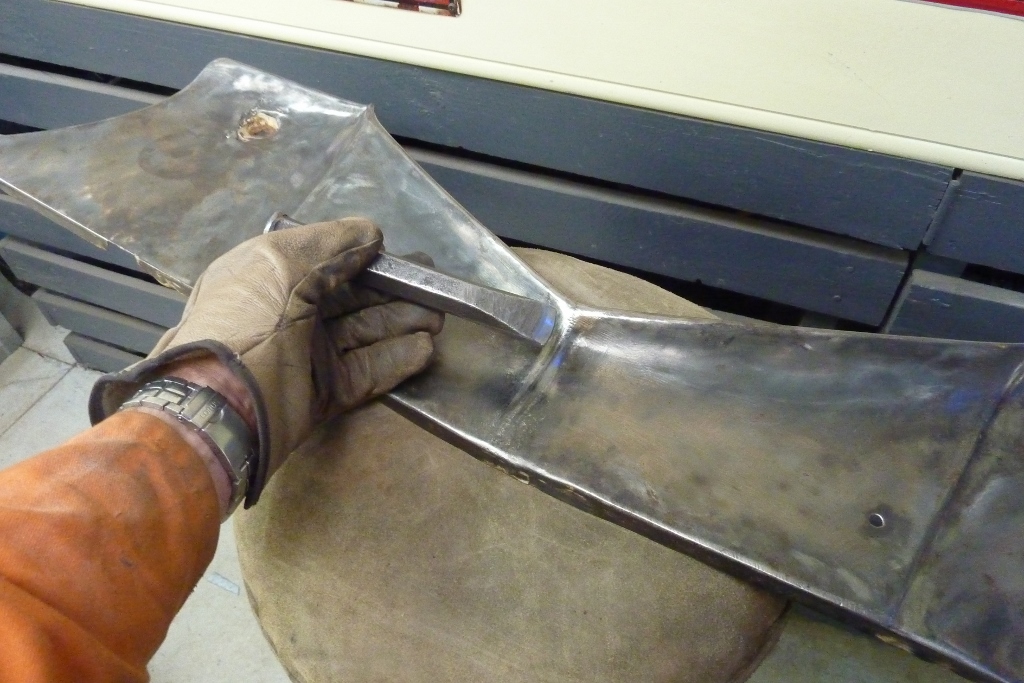
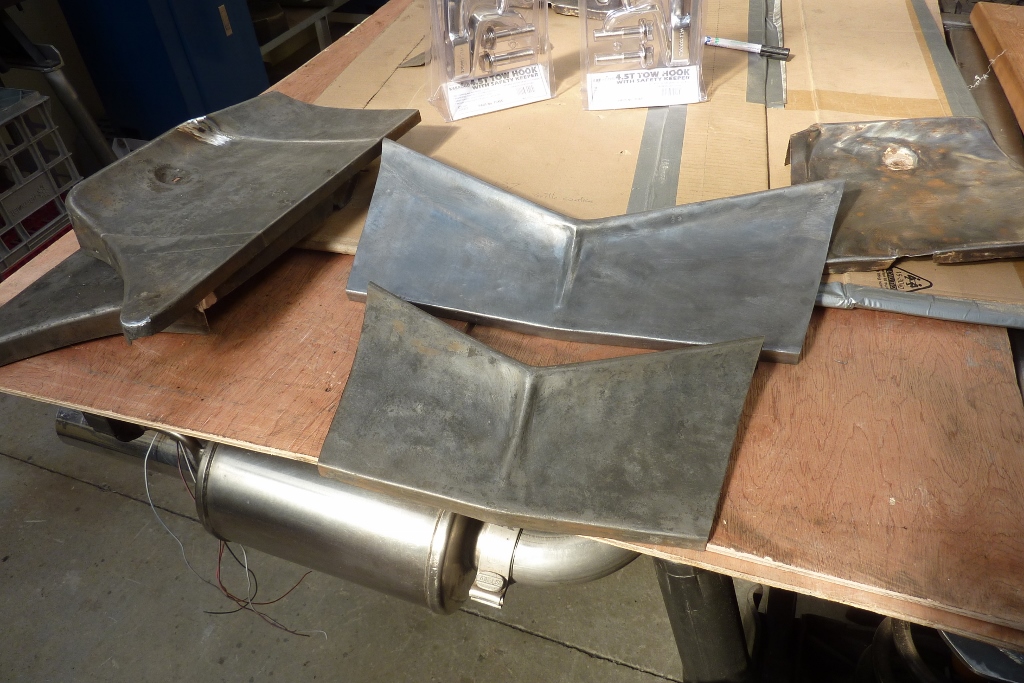
Worked the sides back in using another rounded chisel that matched the curvature. The back one is the spare now with the centre rib back in place. I soaked it in a tub of double strength vinegar for a few days to get rid of the rust. I don't have my citric acid bath setup anymore.

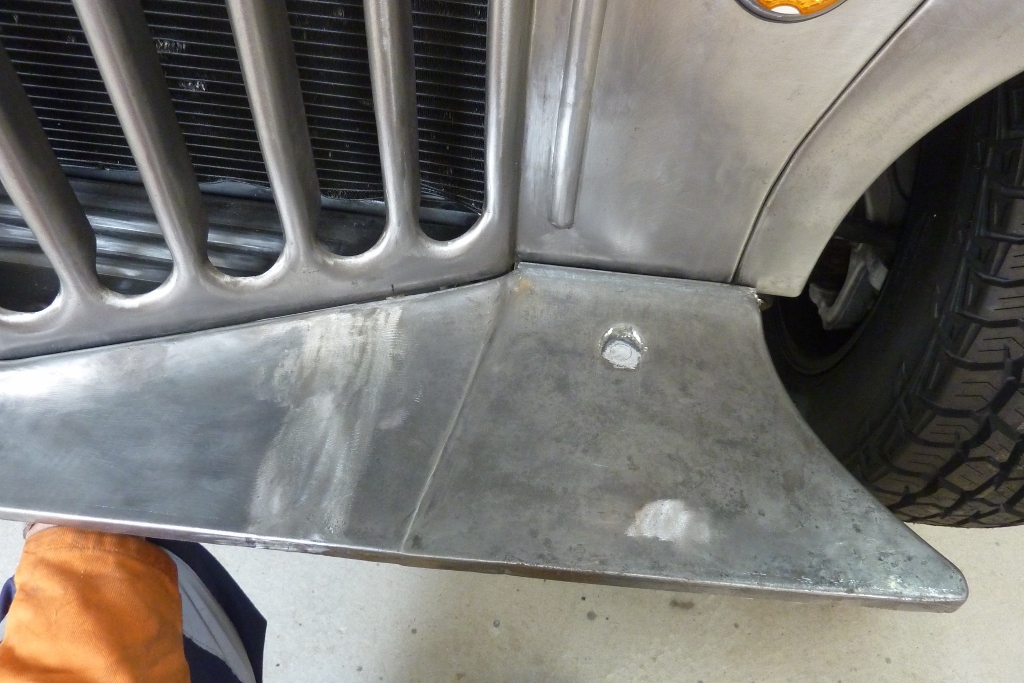
It now matches the width of the centre part of the grille but I don't like how the factory gap is bigger along the flat part. Made some adjustments and it is much better now.
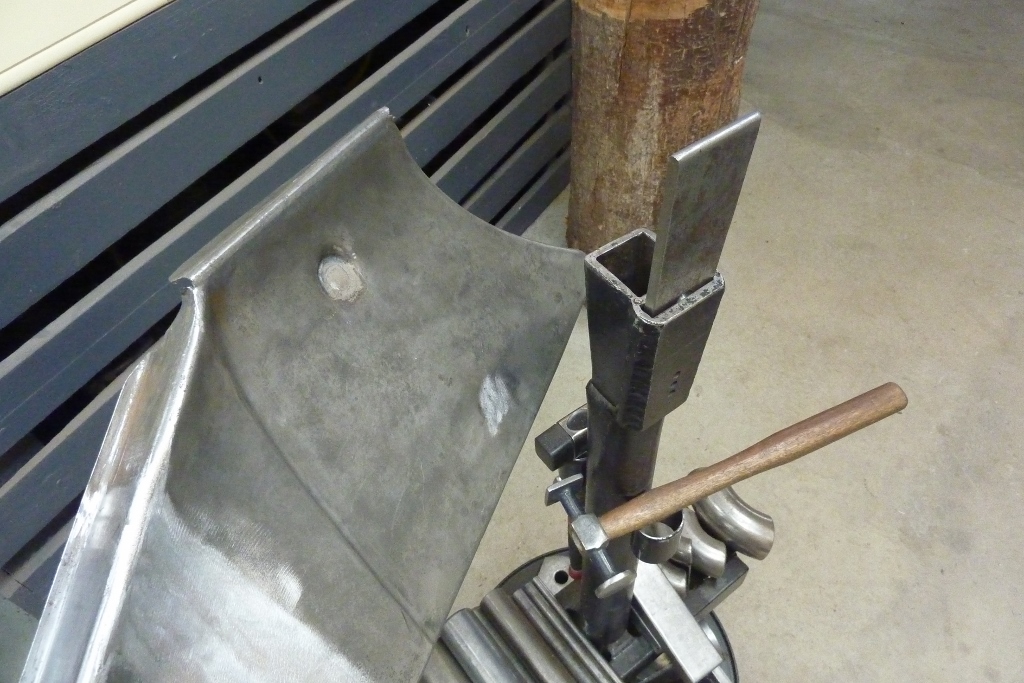
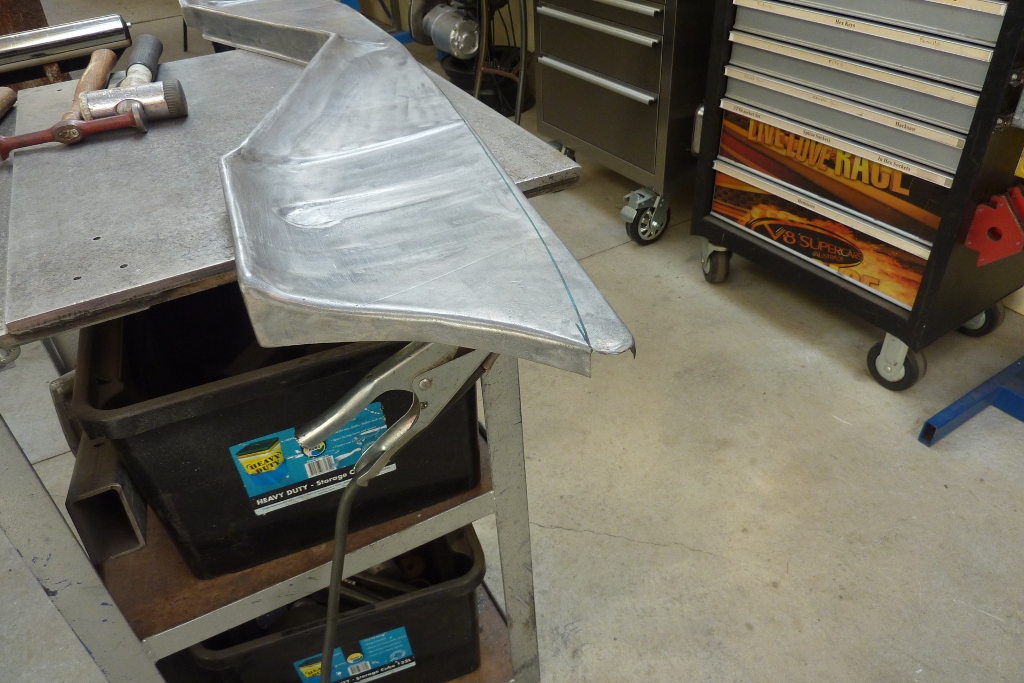
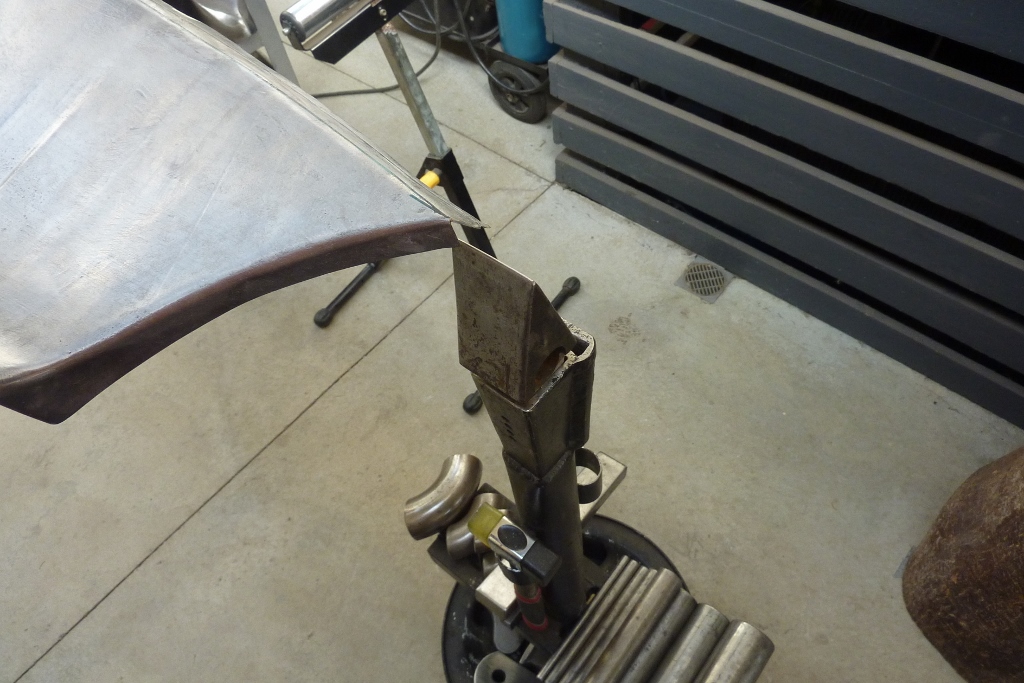
I have brought material up from the back flange to extend its length. I did this over a stake with a rounded top that fitted up inside the radius. I kept the valance sitting above the stake the amount I wanted it to extend by. Then hammered across the top of the valance from the back towards the front widening the top of the radius. Once that was done, I needed to get the radius back to the same size again. I kept the stake in the back of the radius and then hammered out the excess down the front face of the valance. This is hard to explain!
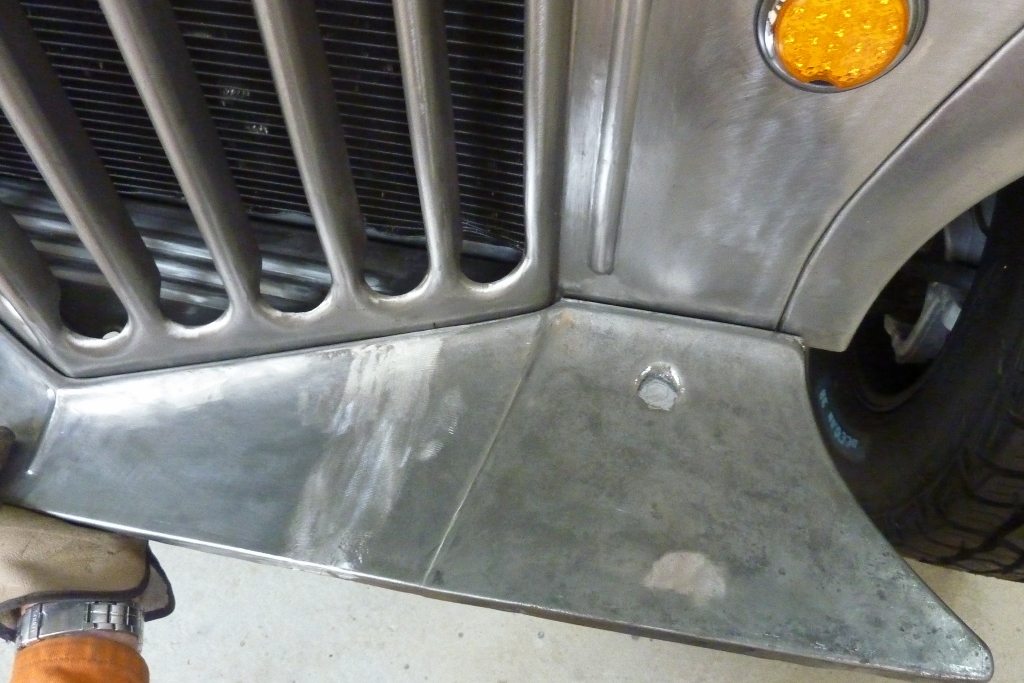
Now the gap is the same as well as the radius along the top. It will sit a bit further out than this as the valance will be frame mounted and not touching the rubber body mounted grille. I need to have somewhere to put some recovery hooks and thought using the mounting bolt dimples could work once modified.
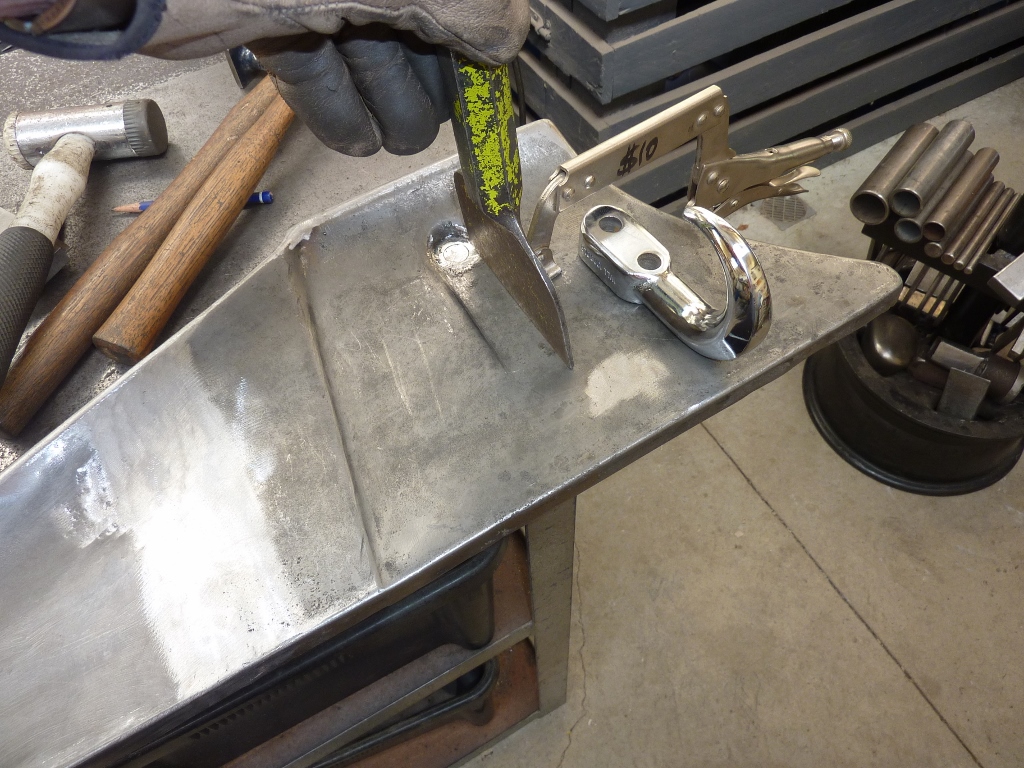
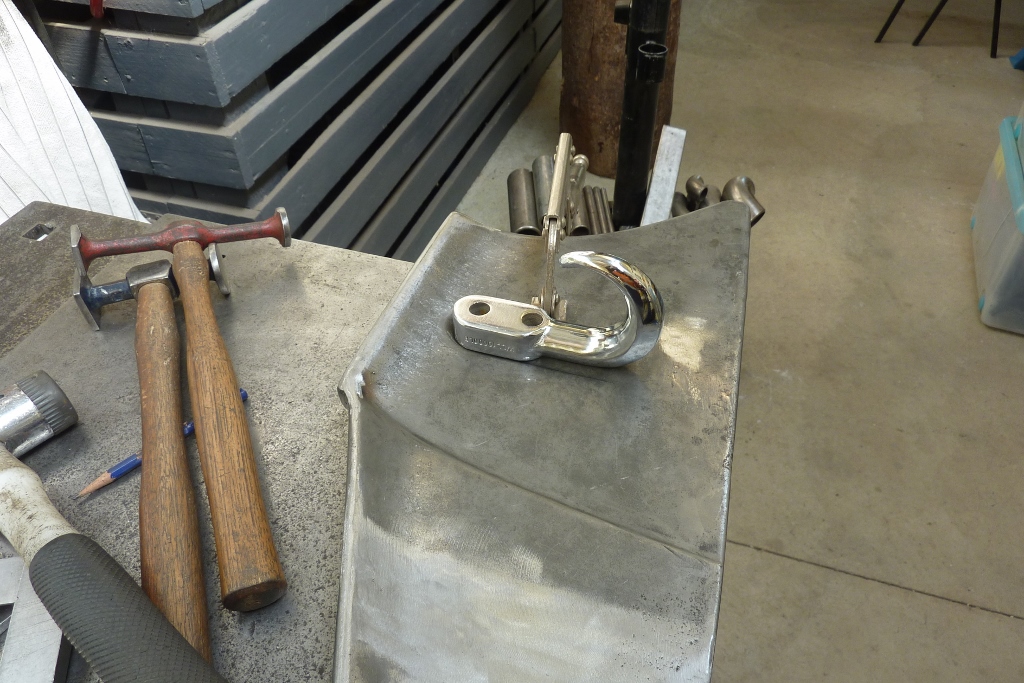
To get the hooks to sit completely level I had a steel block clamped underneath right on the edge of where I wanted the crease to form. Then hammered down with the brick bolster. Directly under the tray will be a heavy bracket going back to the frame and also for mounting the bumper too.
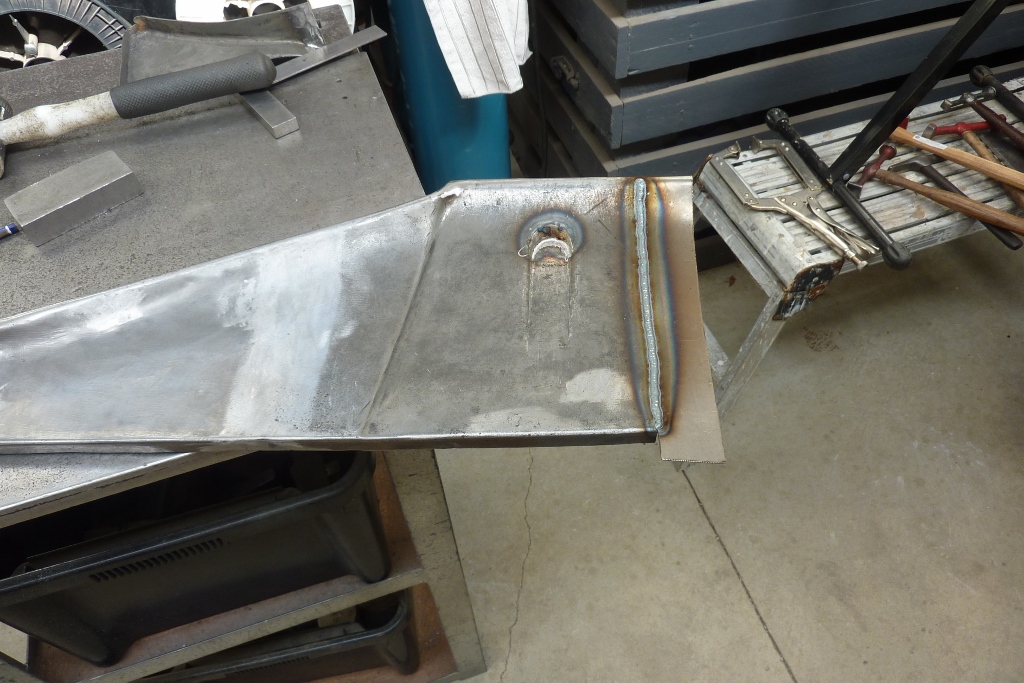
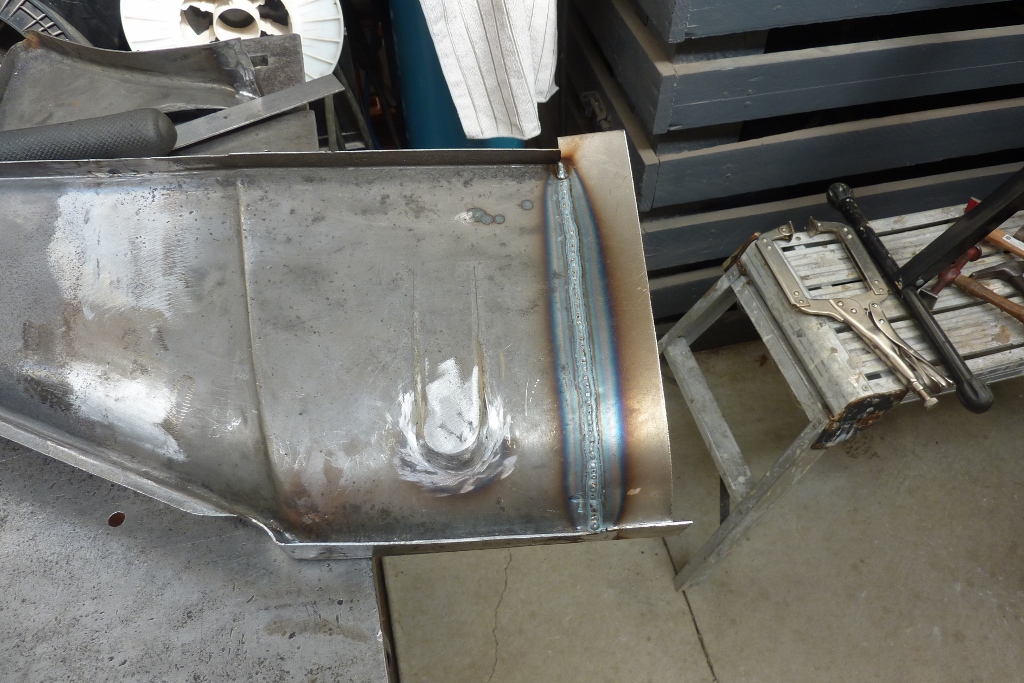
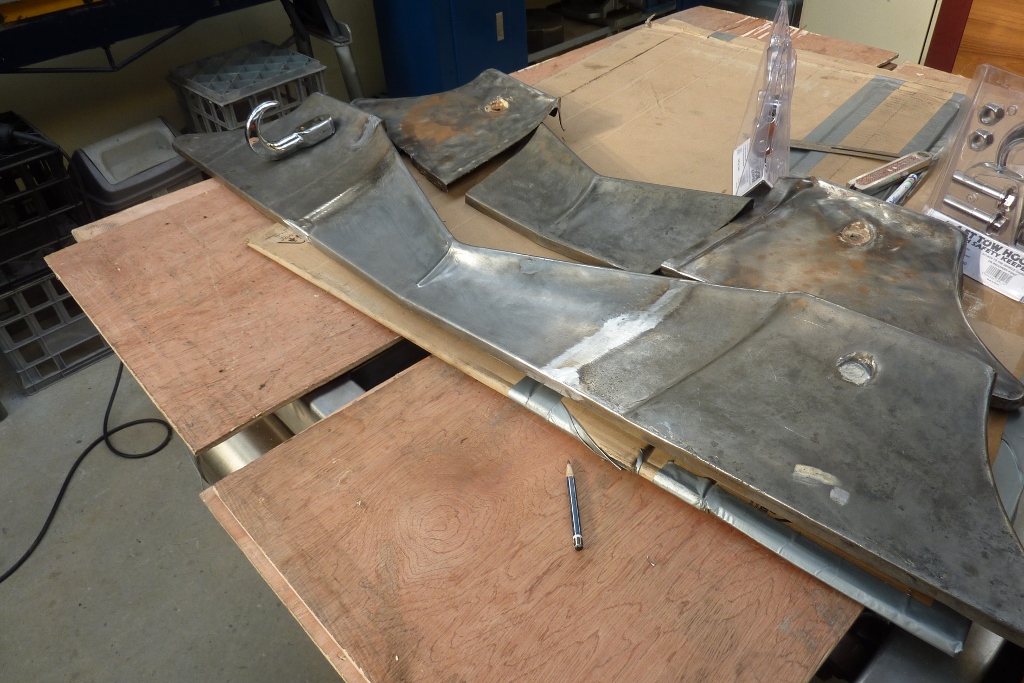
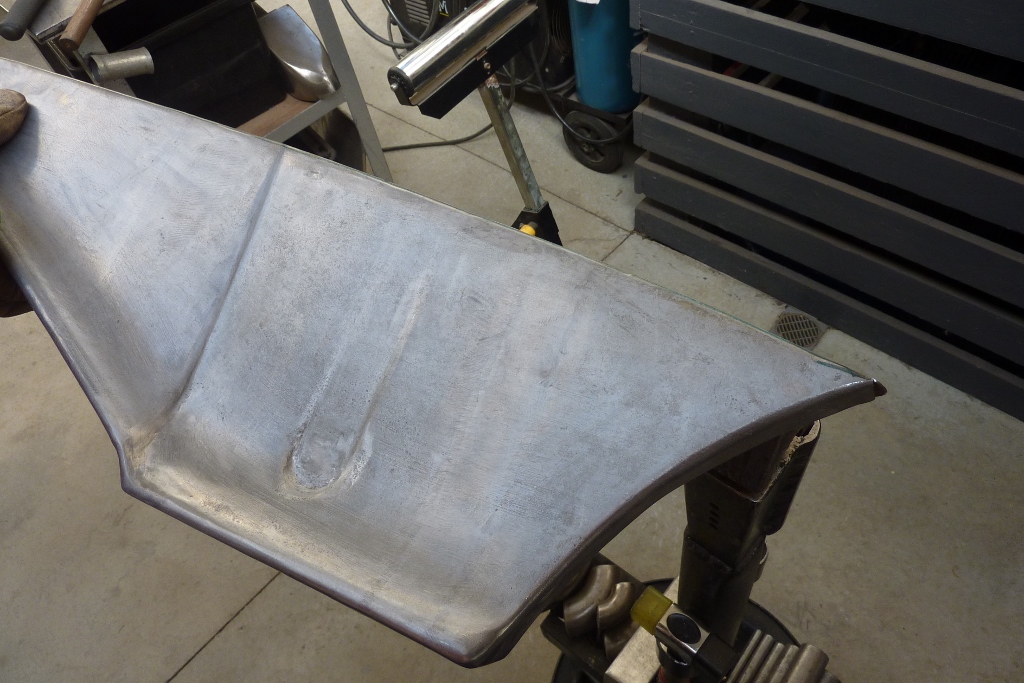
Next I finished off making the tray wider to match the grille. Normally I would have added a single wider piece at the V to flat transition, but knew it would have moved the place I wanted the tow hooks to line up with the bracket. So added a strip on the outside of the dimple area. This was welded with the MIG in one pass but manually pulsing the trigger, never allowing the orange colour to disappear from the weld before adding more. I always check the penetration on the back to see if any spots need to be added to before any grinding has taken place. This way you have more weld thickness on the front side to protect against a blowout. Can see where it was colder at the start of the weld and I had to add some. If you do the slow spaced tack technique you are facing this along the whole weld. I never have my welds crack when planishing as I believe this technique largely removes the problem of the MIG where rapid heating from cold causes brittleness.
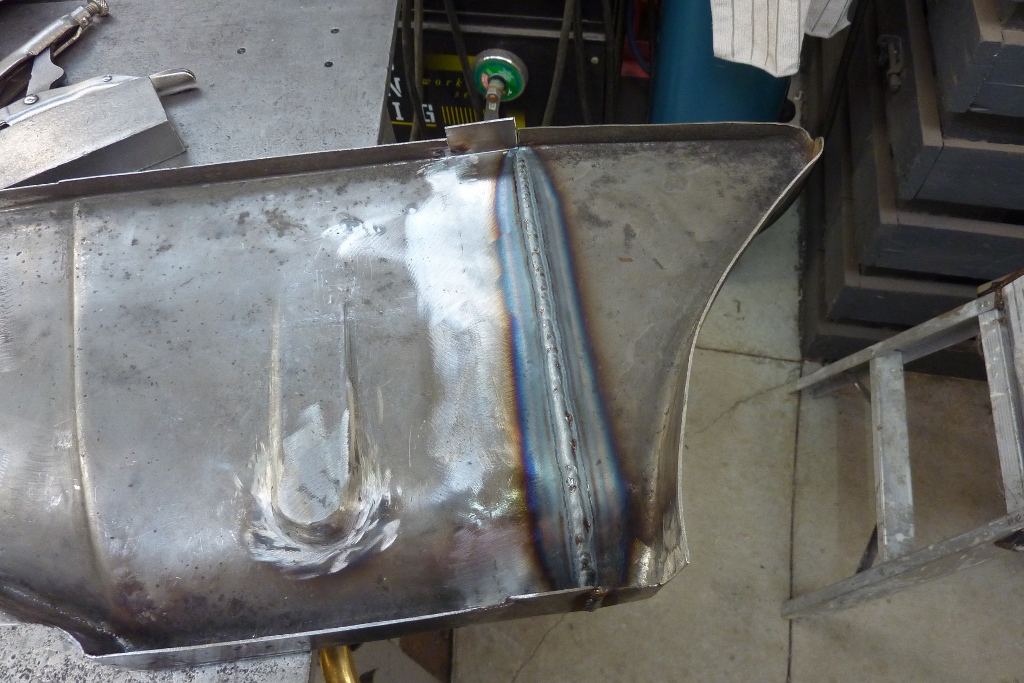
For the first time I thought I would try the automatic pulse, or spot timer, on my MIG to see how that would compare. I just held the trigger and had the timer set to 0.5 second intervals. Full penetration but way too much weld even though it was the identical setting to the last weld where I did it manually. Good news that it didn't blow through anywhere though. I will try a lower setting next time. Steel is 1.2mm or 18 gauge.
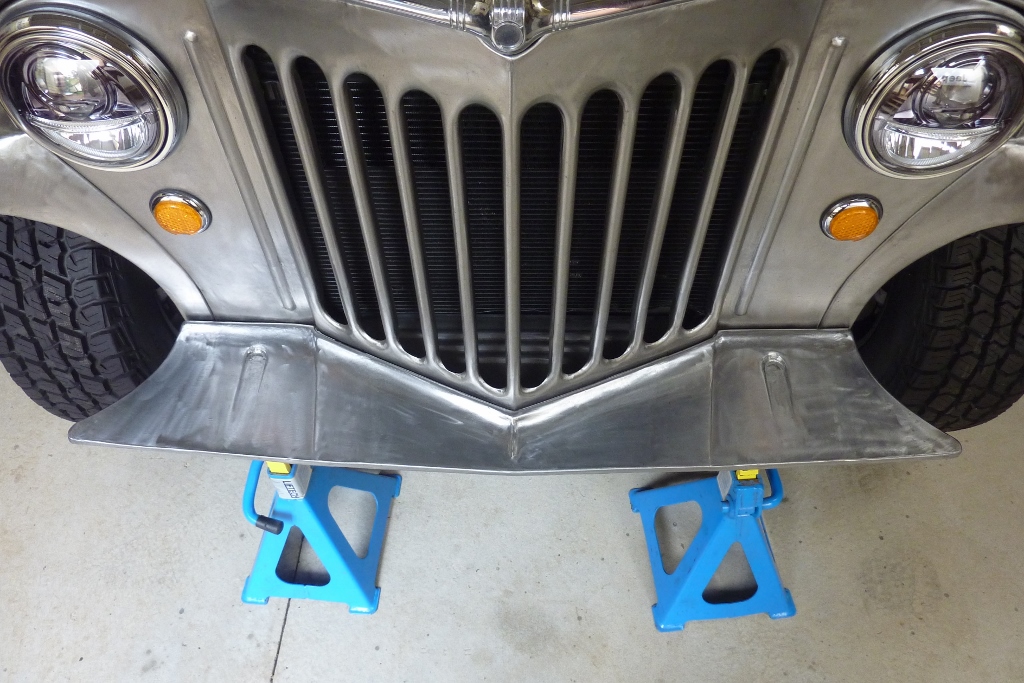
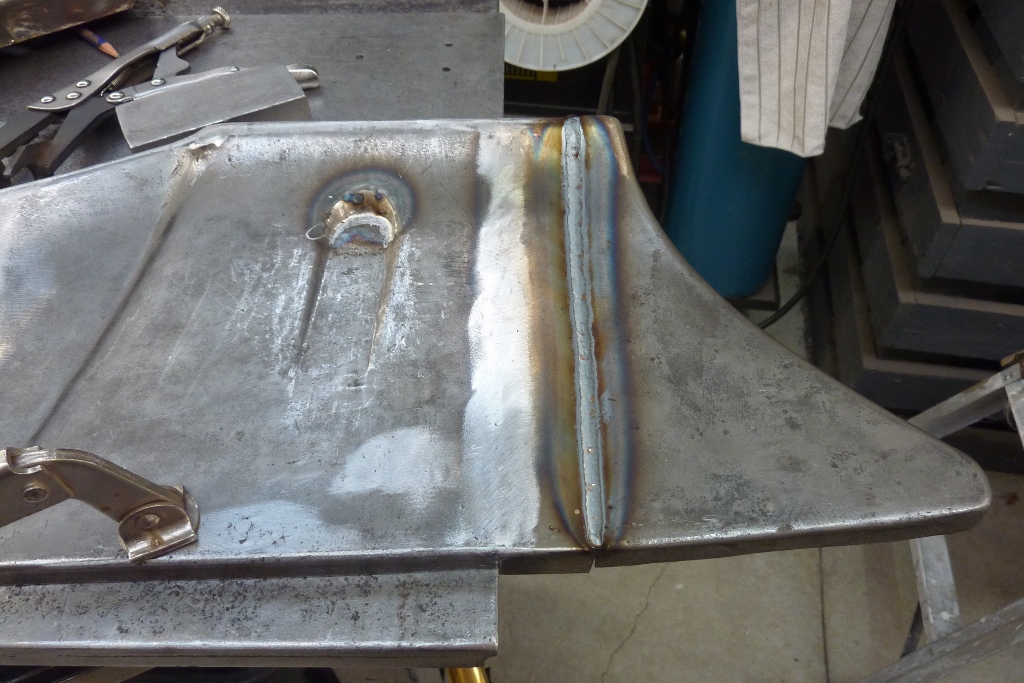
Width now correct across the grill. Because the tray is now wider, the curve doesn't match the stock width bumper, especially as the bumper curve tightens towards the ends. I have notched out the flange back to the new bend line.
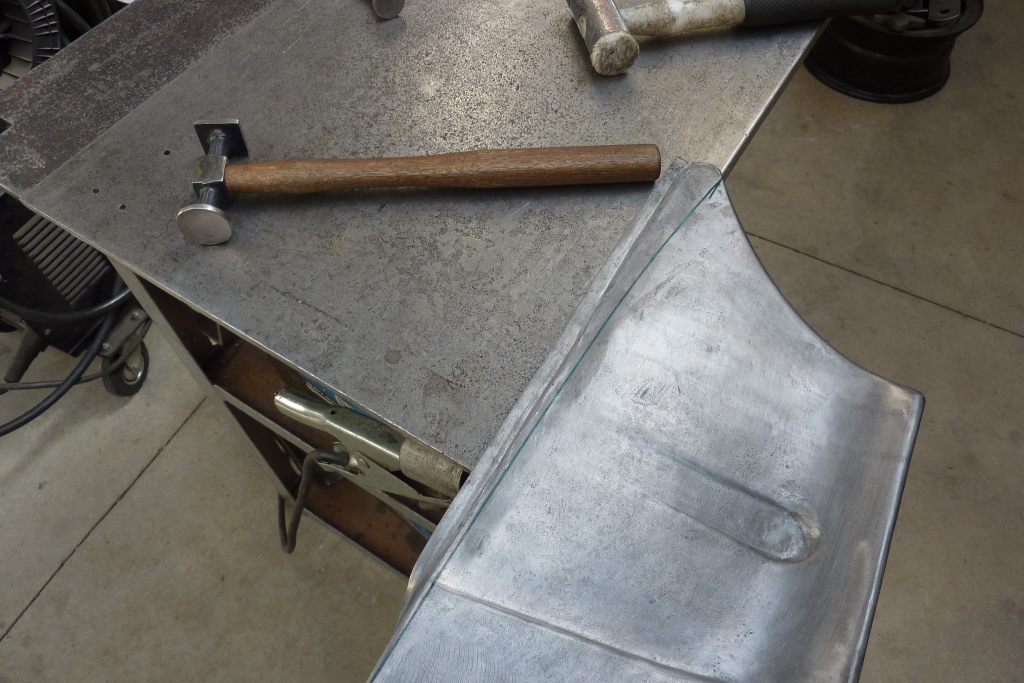

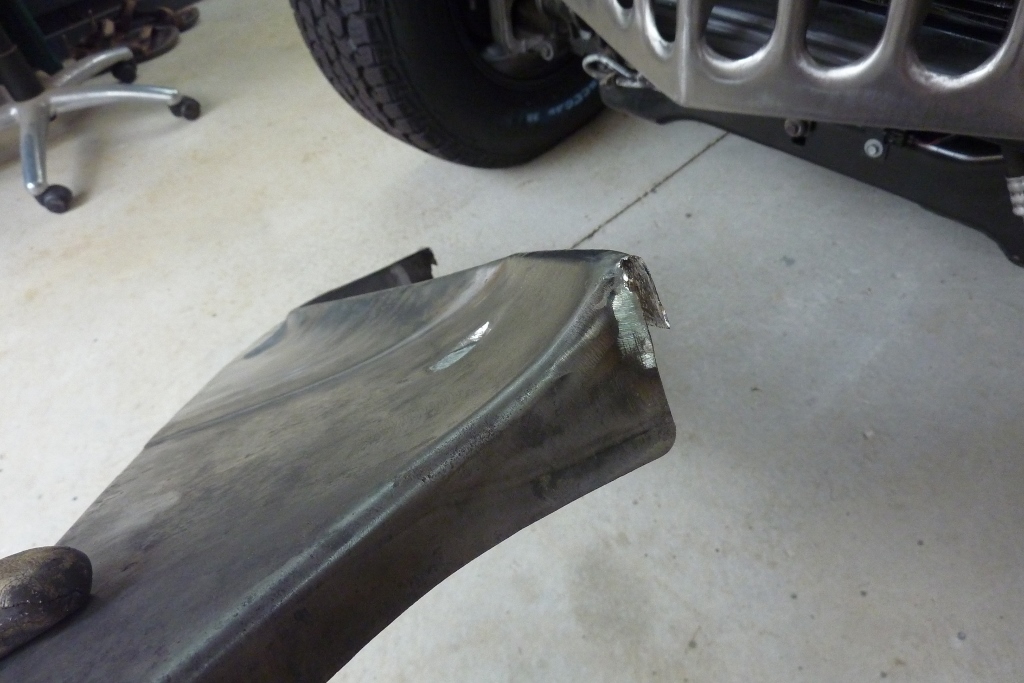
I start bending the flange flat using the mallet and then a panel hammer. I also hammer from the back hitting directly on the old bend line to force the ridge on the opposite side up into the crease.
Using nothing more than an old wood splitter head I turned into a stake, I slowly bend the flange along the new line. Even though I cannot see where it is once I move away from the edge, I watch the reflection which shows exactly where it is bending. Doing light taps to start with means it is easy to adjust where it is bending. Even bending over a wide straight edge, I can still produce a shallow curve.
[Index]