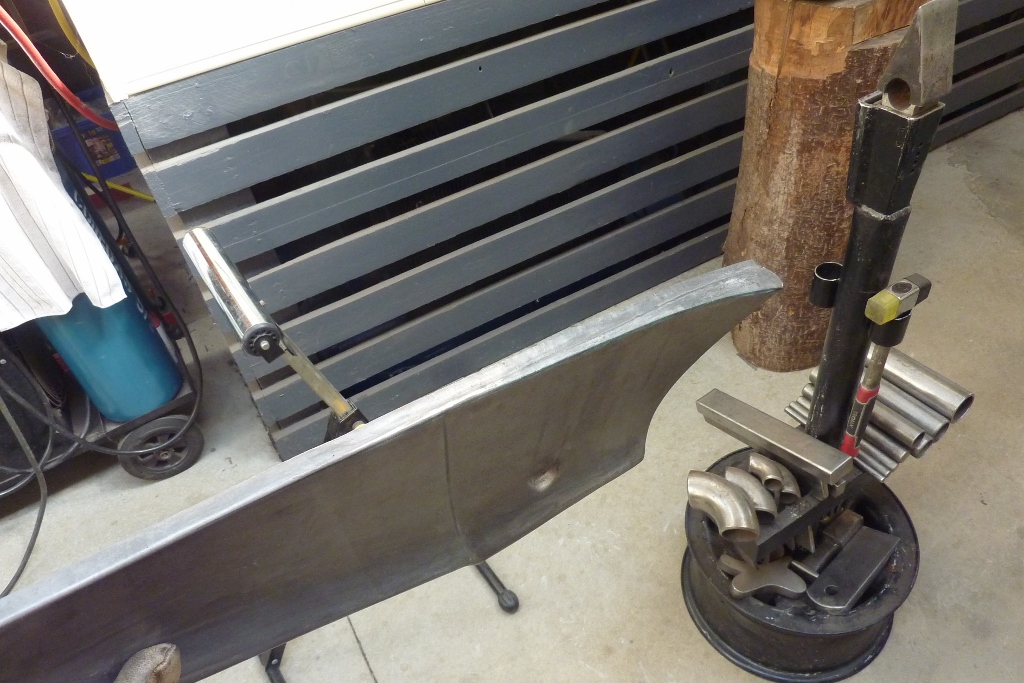

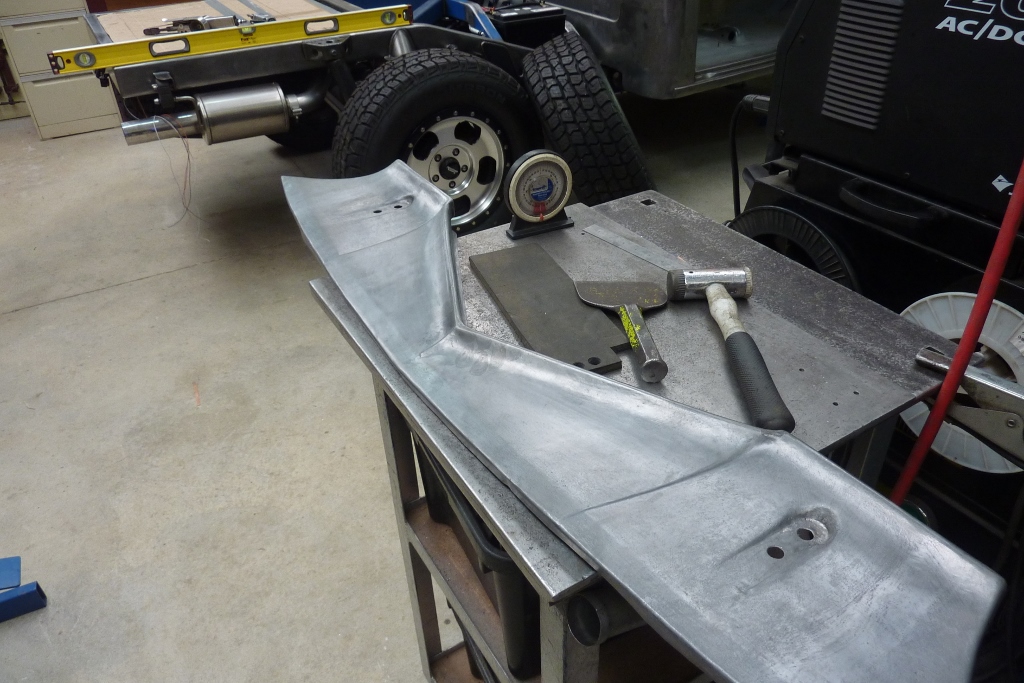
Previous tension in the panel and the tighter curve towards the end, has made it bend. Some of this will straighten once I cut the excess material away using a cutoff wheel due to its heat shrinking it. Once I cut the flange to an even width again, I used a chaser to hammer along the bend line to crisp up the fold. This also causes some stretching to further straighten the flange. Using a shrinker on the edge rather than the fold line will also straighten it. For straightening this flange, stretching at the fold does the same thing as shrinking along the edge.

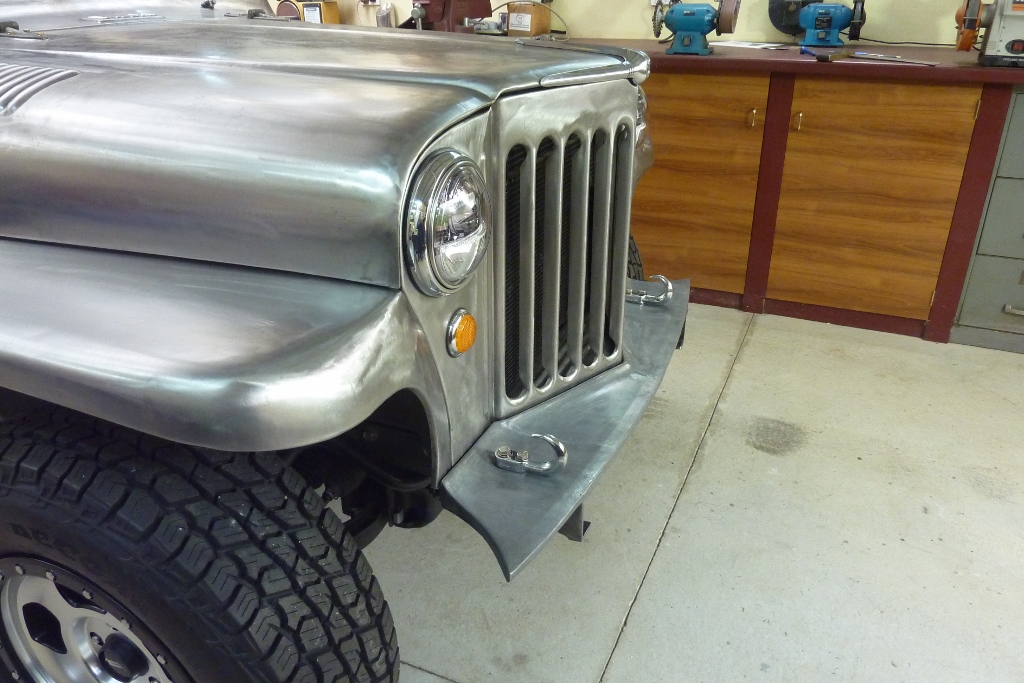
Overall the tray is narrower than stock by 20mm-3/4" to compensate for the extra depth of the grille and width of the tray. Mock-up with the hooks in place in front of the grille.
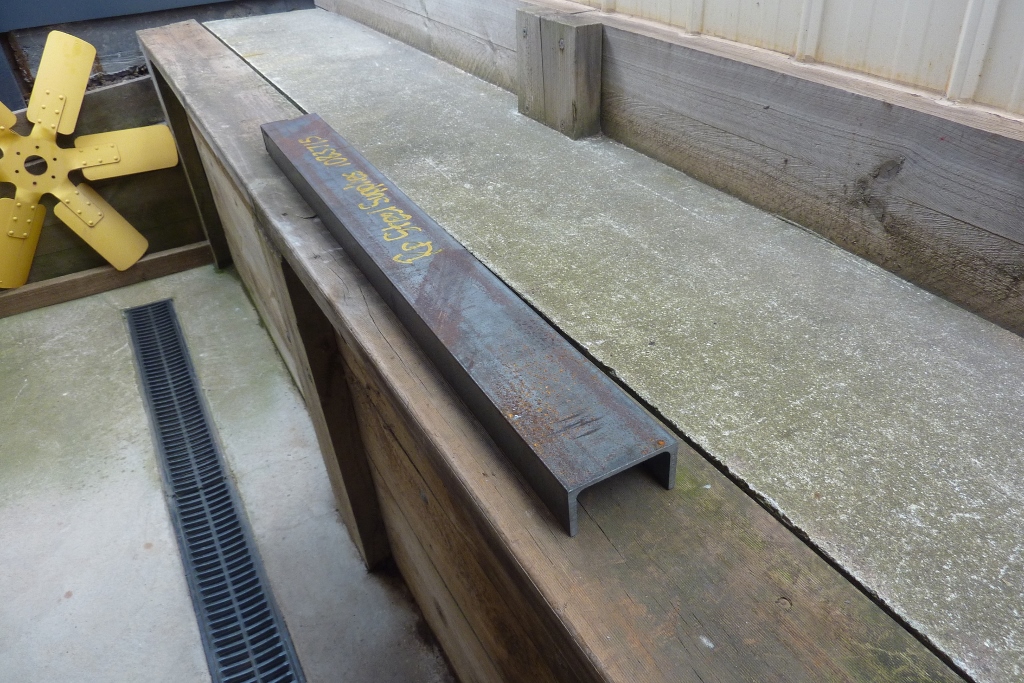

Now to make some brackets to support the tray, recovery hooks and bumper. I bought some 100x50mm-4"x2" C channel. I prefer C channel over U channel as the flanges are parallel rather than tapered. I couldn't have any bolts through it without making a levelling wedge first with U channel. I could not buy angle in the size I wanted and got the bonus of thicker flanges too. The very ends have been tapered to 6* to match the bumper flange angles as they will be bolted through them. I left the flange as long as I could to give lateral support from any off centre pulling on the hooks.

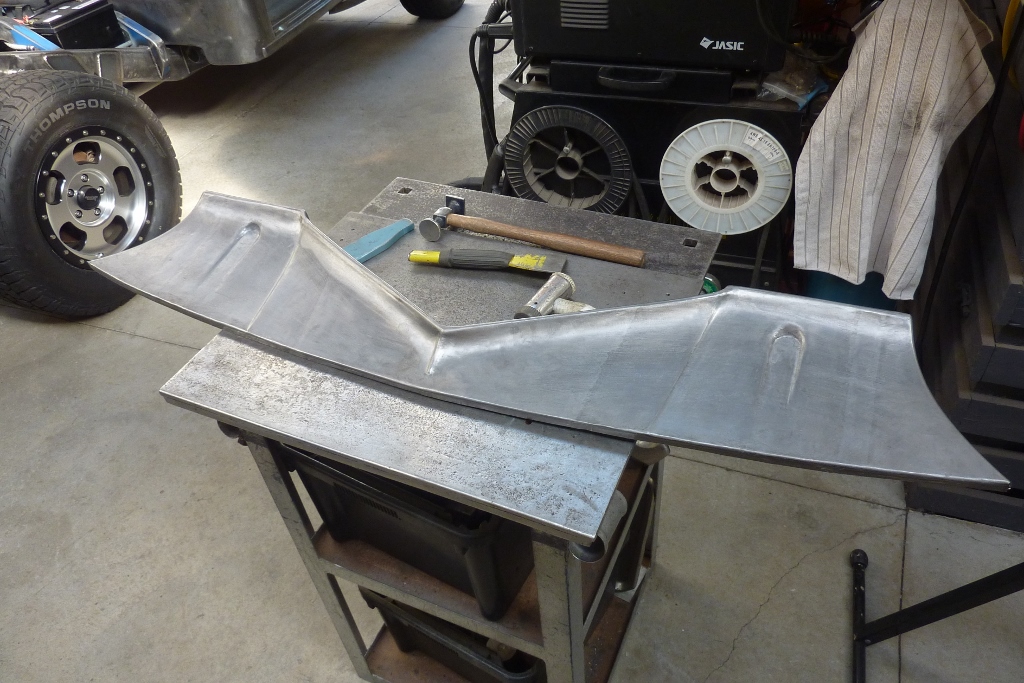
Back in 2012, before boxing the chassis, I had welded some 10mm-3/8" thick bar in place ready to accept drilling and tapping of the bumper brackets! There is a total of three M12 10.9 bolts holding each bracket onto the chassis. As I have made the tray level so the hooks are not on a downward 6* angle, I needed to bend down the tray edge where it tucks under the bumper flange. After shrinking the tray flanges at each end, I hammered with the bolster along the line with the tray upside down and over the rubber mat.

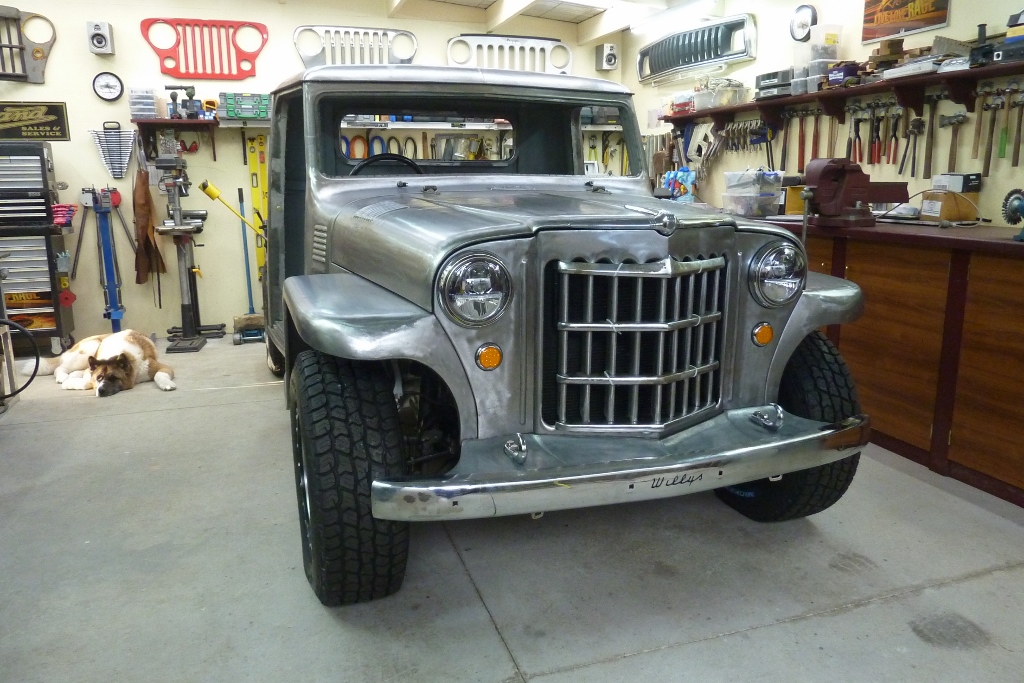
All bolted in place for the first time. Technically the bumper is 40mm-1.5" further forward than stock as that is how much I moved the grille forward. But I think it looks just right at that distance.

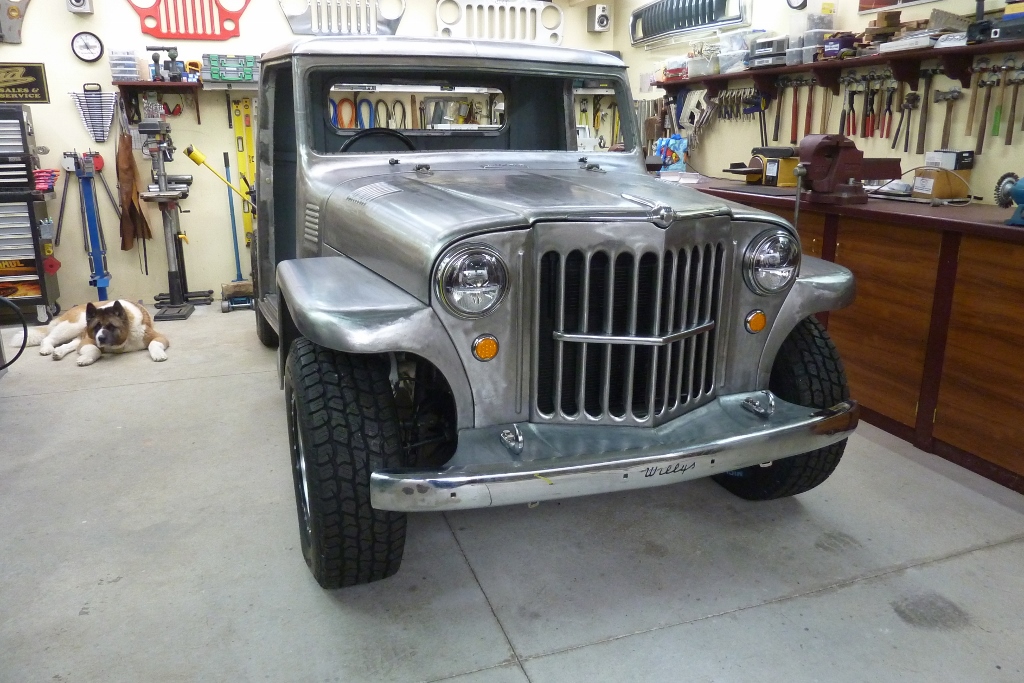
Bumper is just clamped in place at the moment and still have to drill and bolt it on. Well now that it is all together, I don't know if I like the no grille bar look. Looks a little vacant or naked. Even one doesn't help even once extended to across all slots like stock.
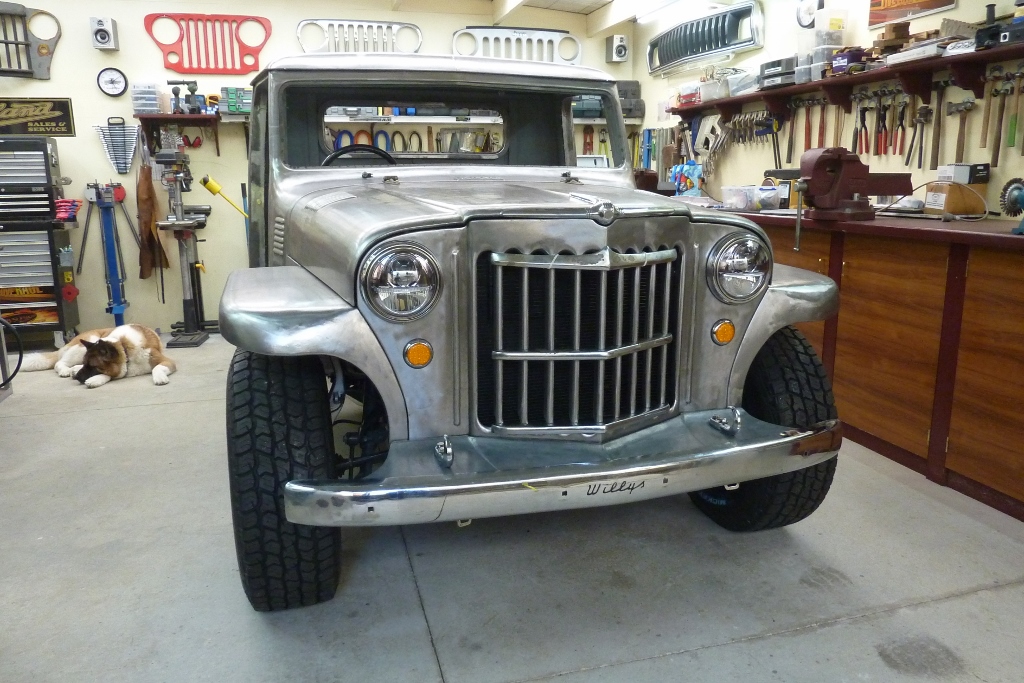
Three is what came on my 58 donor Willys. Obviously the top bar sits a bit higher than this. Five is what the 52 grille that makes up part of the panels had. Maybe too busy?
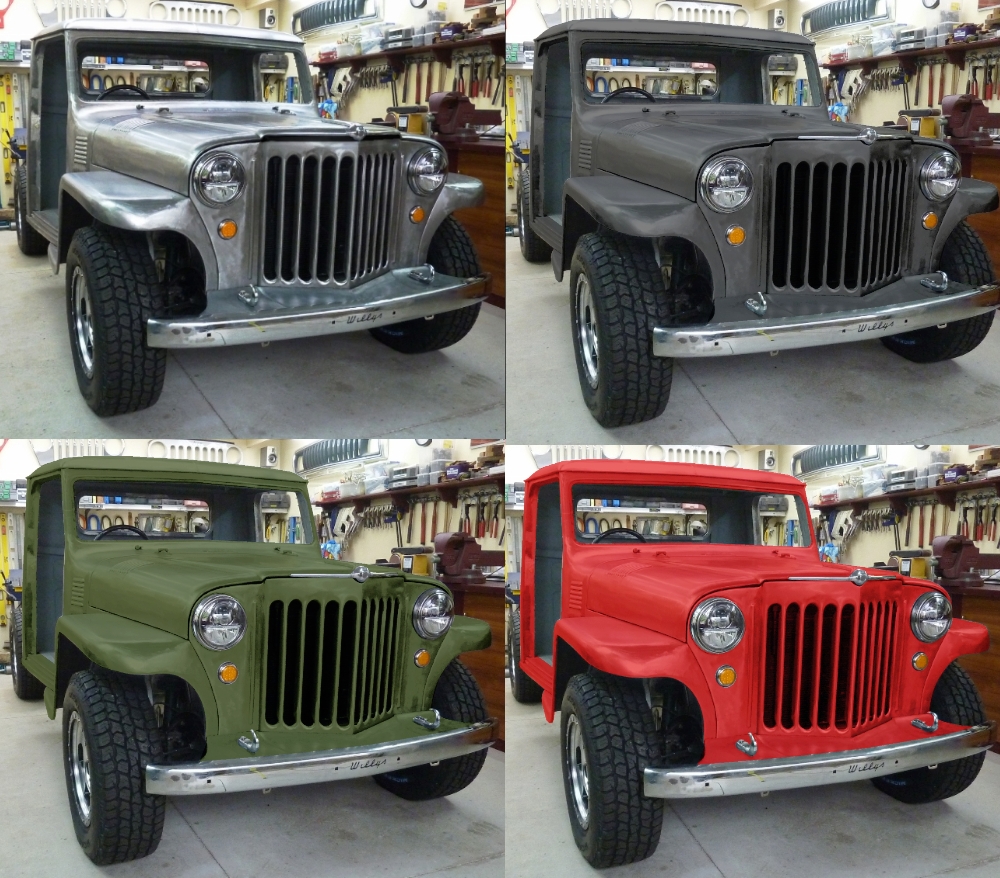
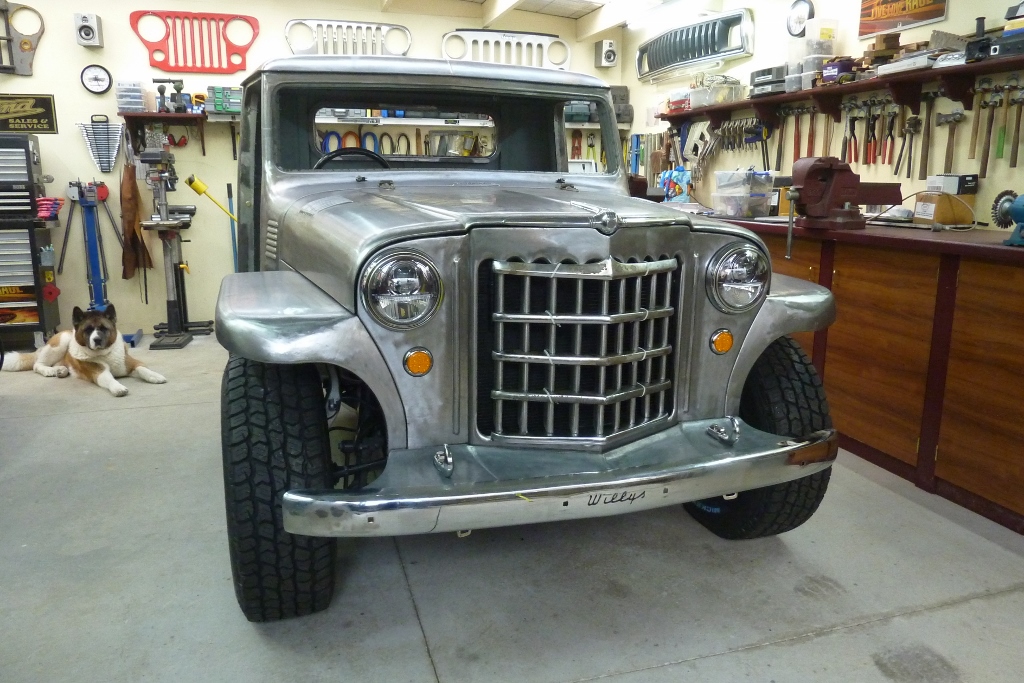
Maybe I should be different and do four which none of the models had? It is Lisa's favourite and don't mind it myself. All bars would be made to cover all the grille slots and the spacing would end up slightly wider once the top is in its correct position. Matt, from a metal shaping forum that my build is also on, threw up some quick colour options to see how the grille looks then. Does show that the darker the colour, charcoal, the less of a statement the grille slots have.
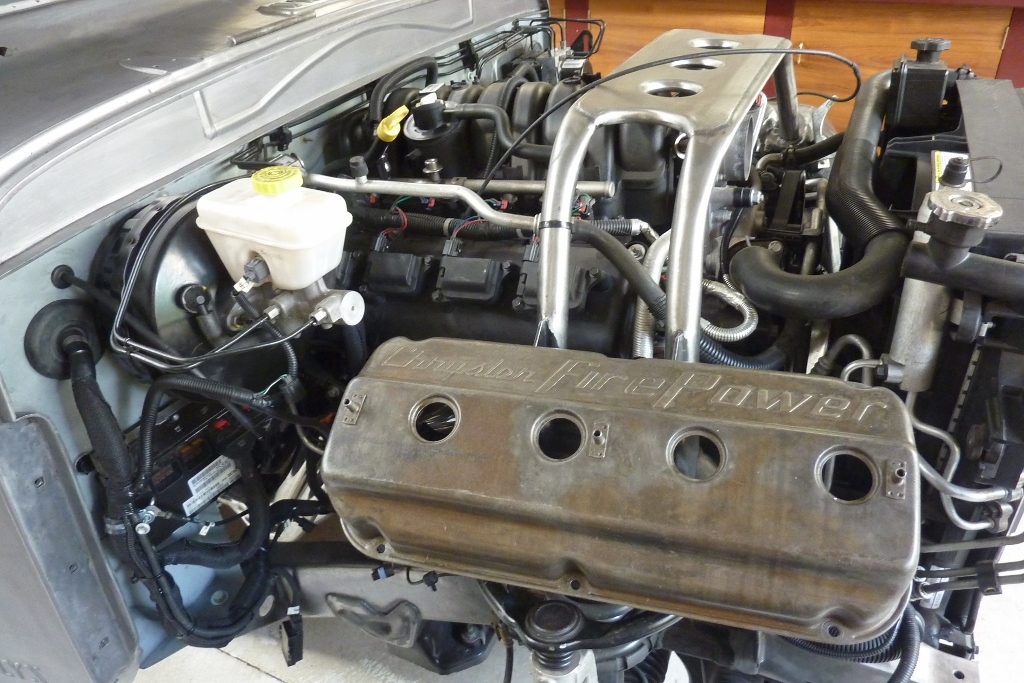
5 years ago I bought a pair of original early HEMI covers as thought they would make cool coil covers. Would break the 2008 OEM theme I have been doing under the bonnet now though, except for the WWII horn. Would it clash too much or could the mix work? It would cover all the existing valve covers as well as the coil and injector wiring as I moved all that already for these. If I wanted to keep the OEM theme going I could fit some covers like these. Might try and build them though as they are rather pricey.
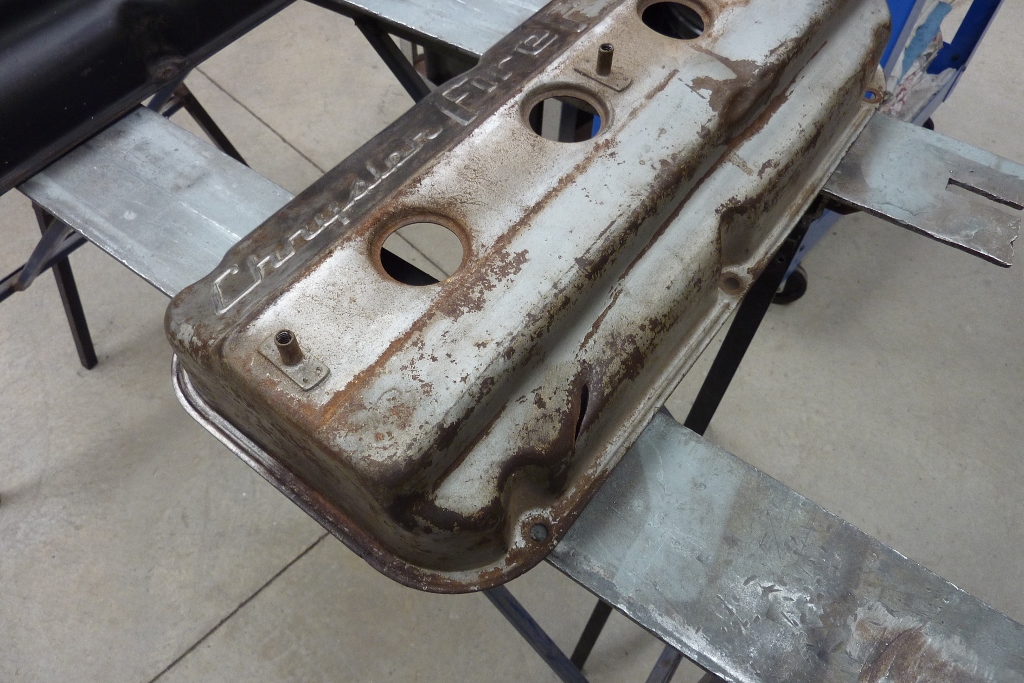
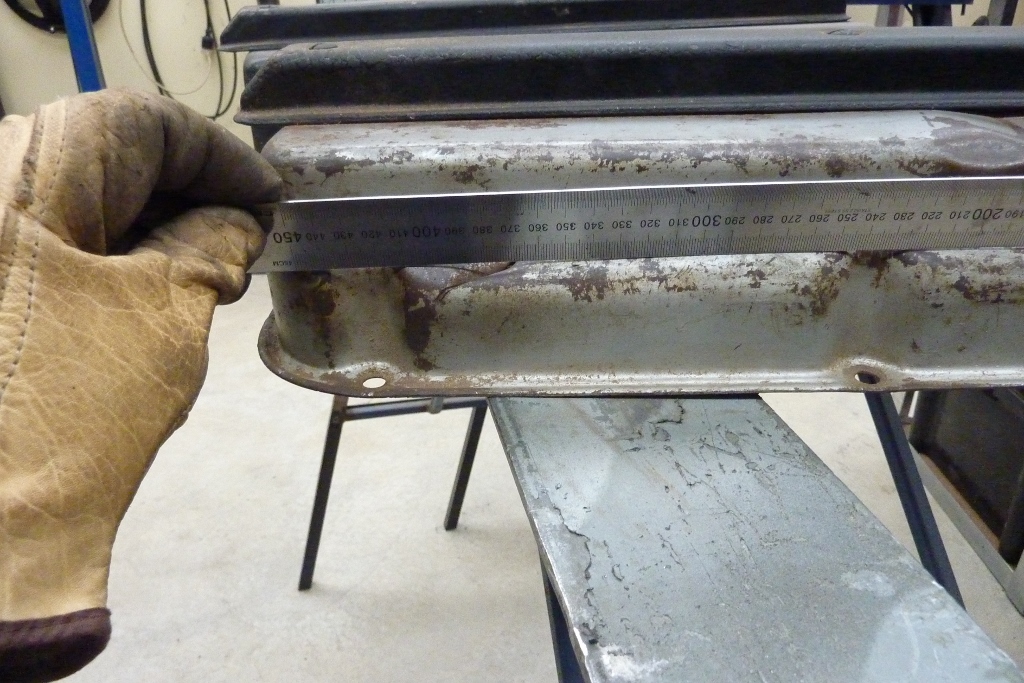
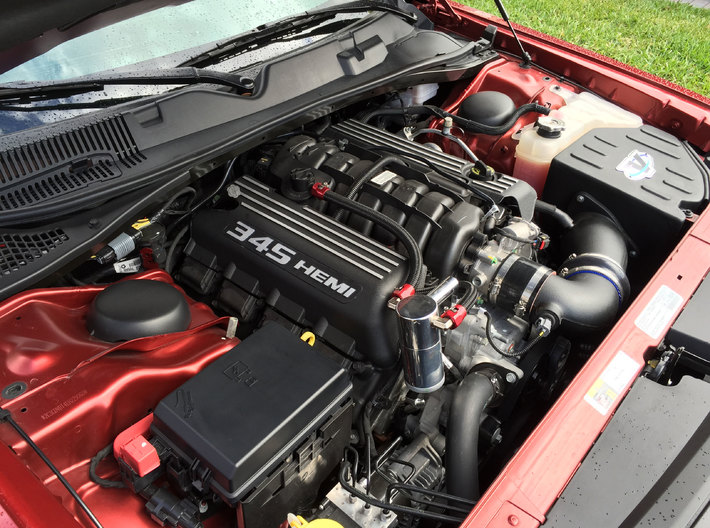
These old HEMI valve covers that were going cheap due to the damage to one of them. Looks like some one pieced it with an axe! If you look under the ruler were the split is, you can see the extent of the damage.
[Index]