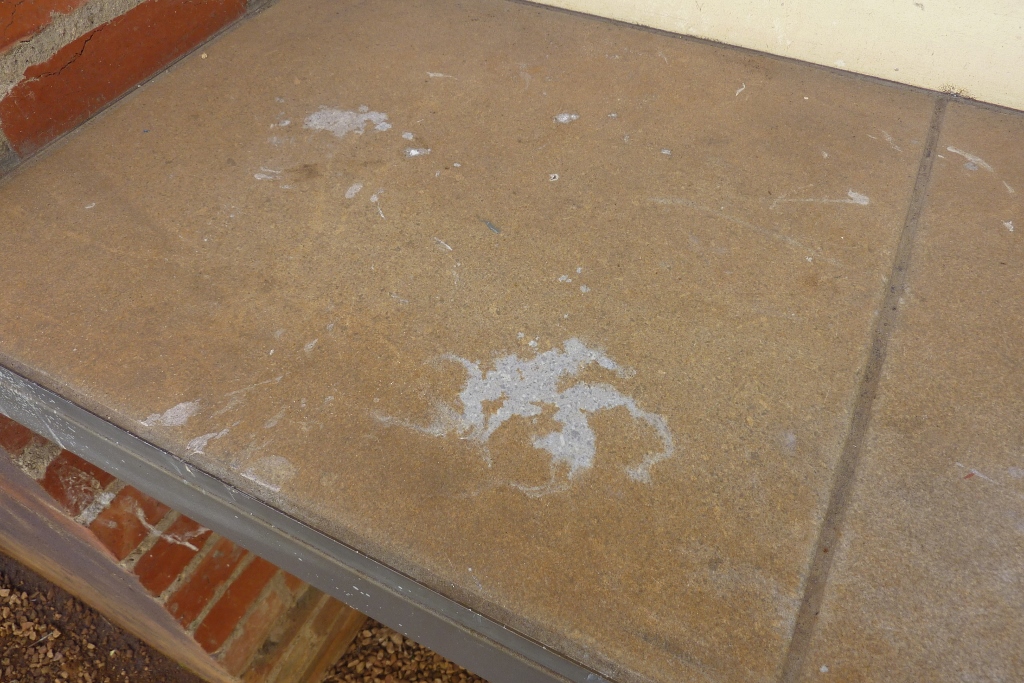

This is my outside work bench I have topped with ceramic tiles. Discoloured over the years with grinding dust that has rusted onto the surface. It would not clean off with scrubbing, but where some of the acid has spilt, you can see the clean grey tiles underneath again. I cleaned the whole bench with it after this as it was listed as one of its uses. https://www.bondall.com/ranex-rustbuster/ To give an extra protection layer, and make the finish after acid treatment better, I am using Ankor Wax which is very popular with the patina crowd. I bought it directly from the importers. http://busnbug.com/sb_clients/busnbug/bin/busnbug_ankor_wax.cfm
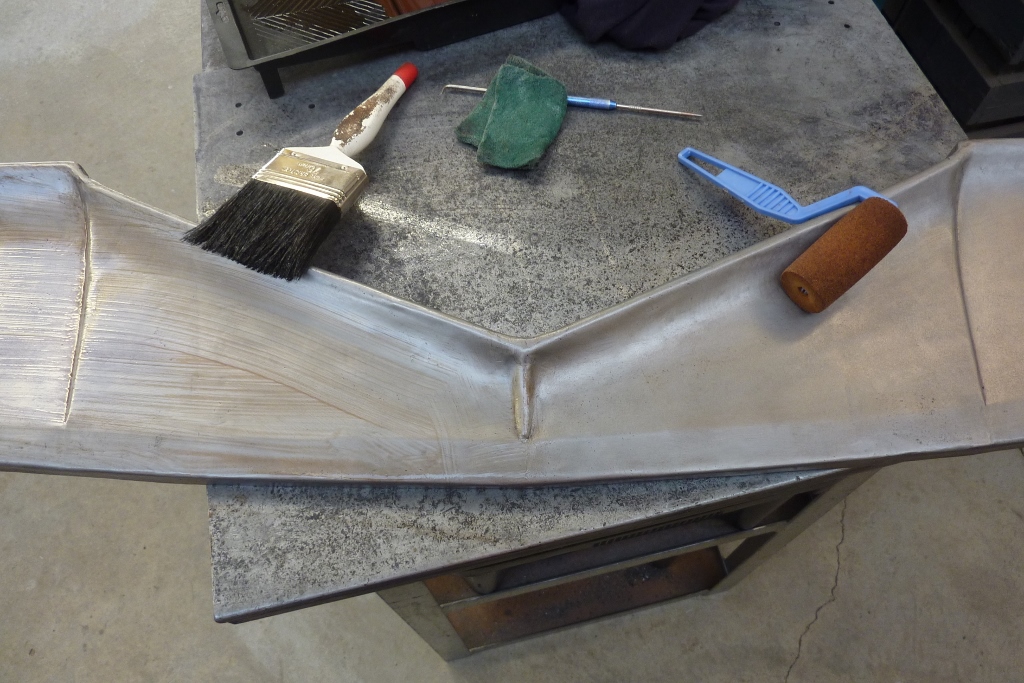
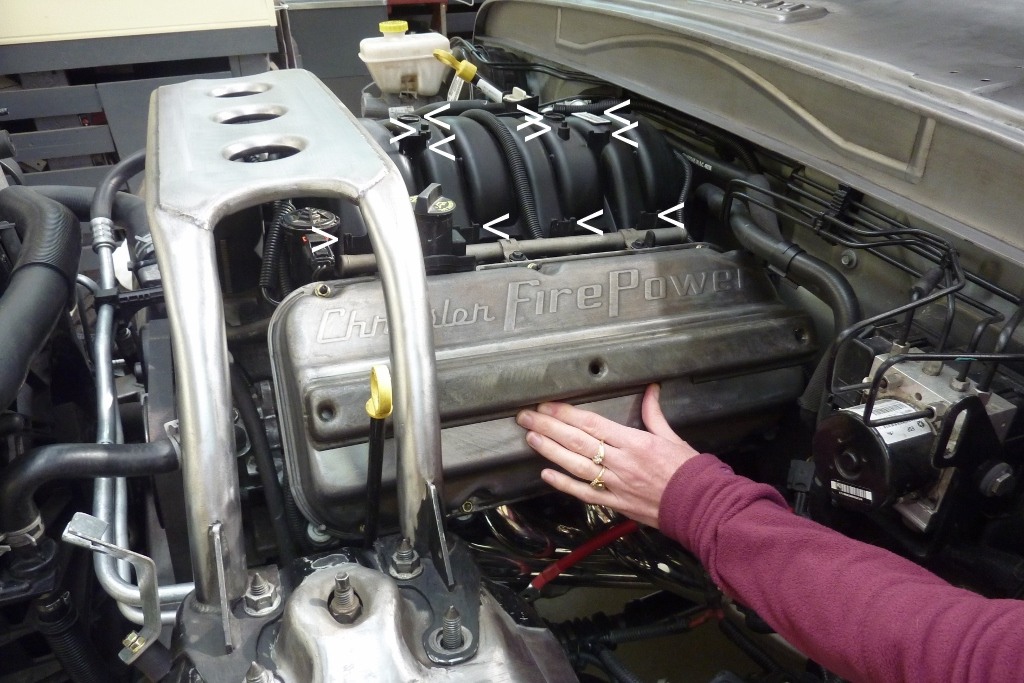
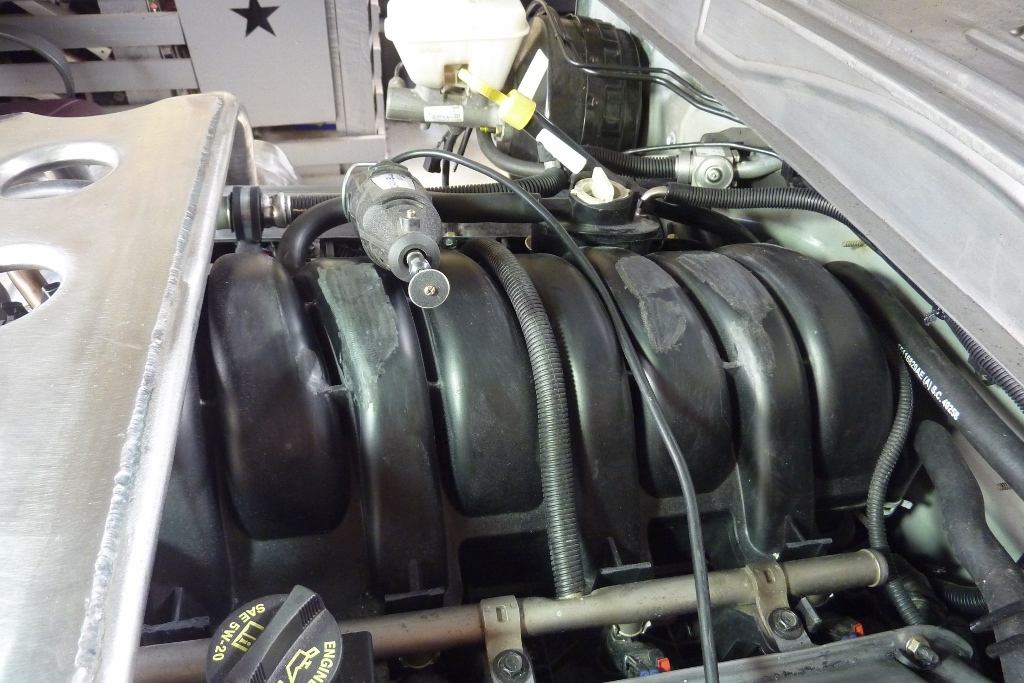
I tried a different way of applying it to normal. I wanted to use a foam brush but was out of them. So used a normal paintbrush but then made the coat even by running over it with a dry foam roller. Just kept working it until it was clear and even. The left side is just after applying it and the right side after running the roller over it straight away to remove the brush marks. I'm leaving it like this and left it to dry for 3-4 days. Normally they recommend buffing it to get a satin or even a gloss finish from it. Water will bead on it and can be removed before painting just using kerosene. Reapply when the water stops beading just like a polish. In storage, up to 2 years before needing to reapply. My plan has always been these old HEMI covers painted black and painting the intake manifold a aluminium colour for contrast. So I have arrowed all the bits moulded on the stock intake, plus some on the other side you can't see, that I want to remove.

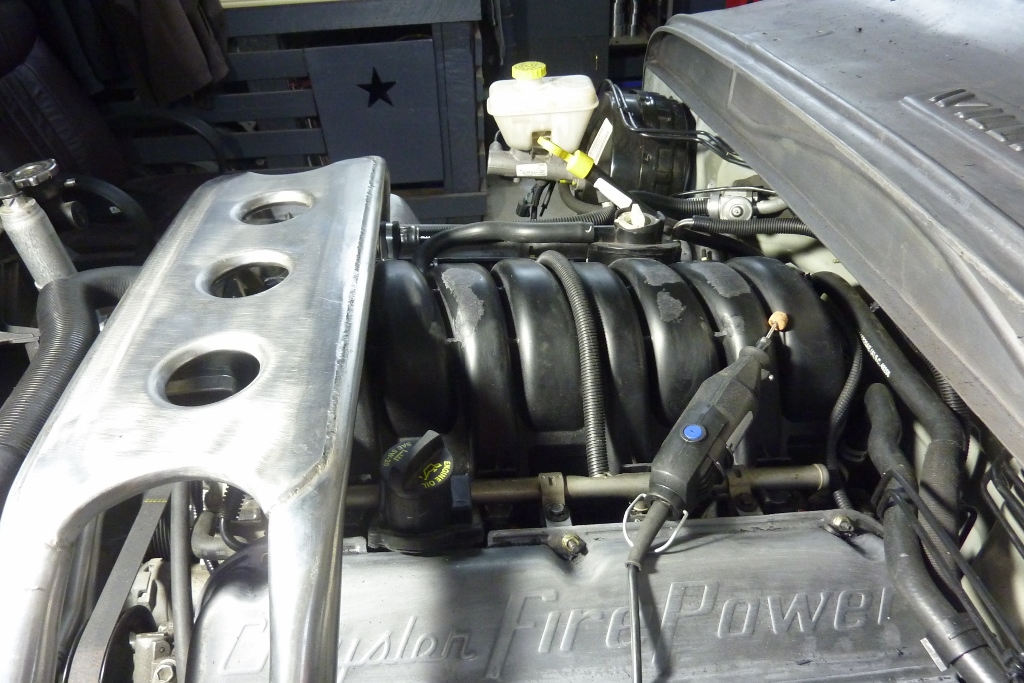
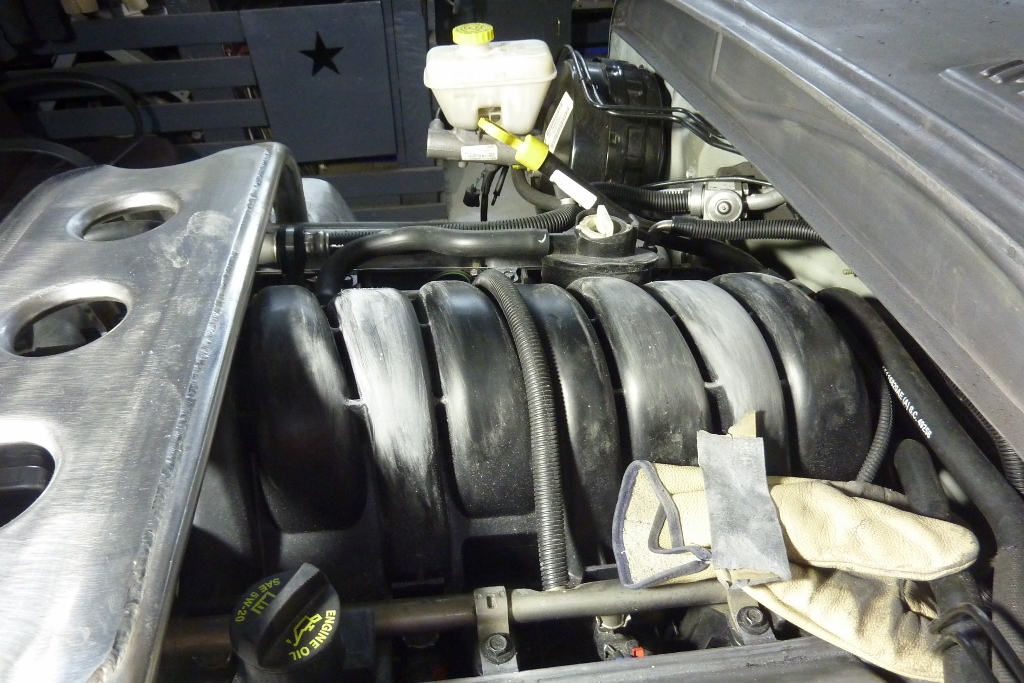
I started just with a cutoff wheel in the Dremel. The switched to a grinding stone.
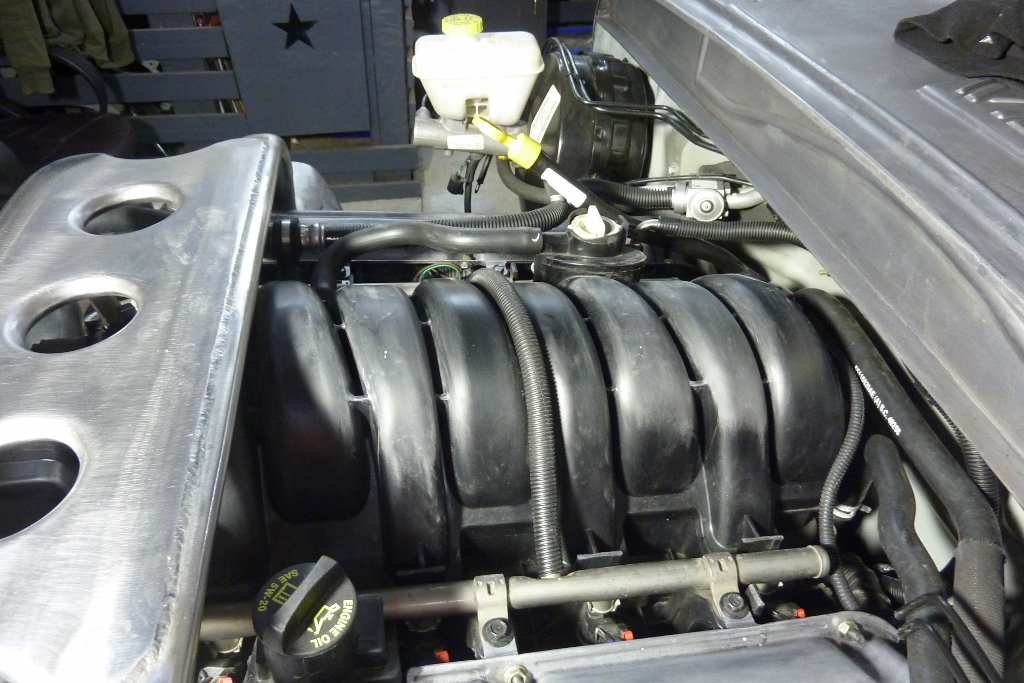
Even a tiny sanding disc. Then the hand sanding going up through the grades. Starting at 180, and you can see the third runner from the left is up to 600.
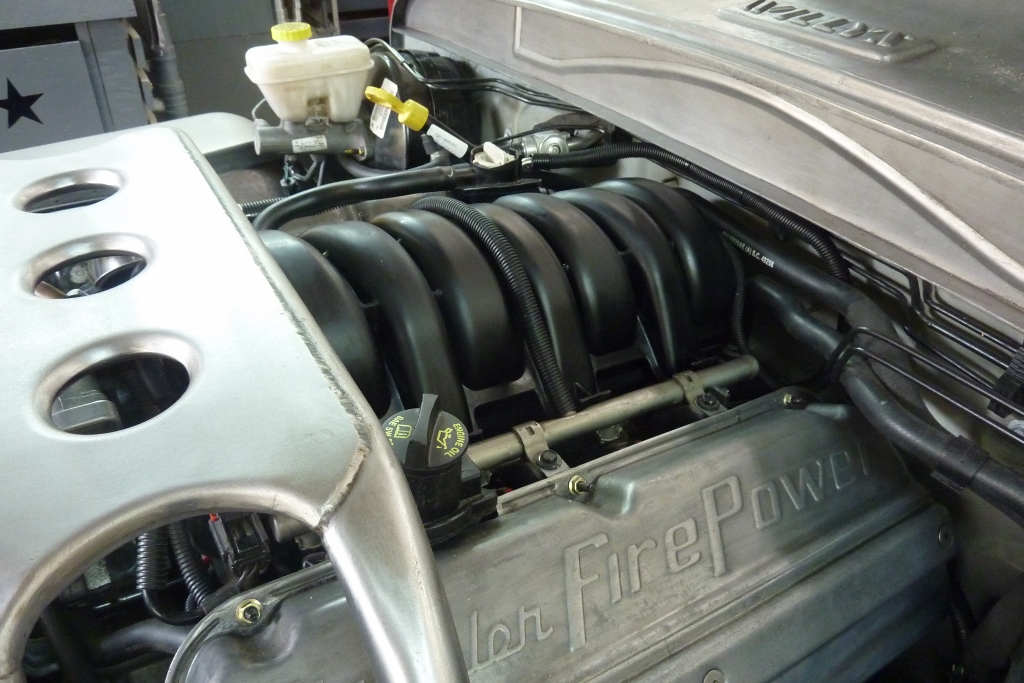
Even used some 1200. Further than needs to go for painting, but not sure when that will be yet. Even used some cutting compound by hand and then some headlight restorer. Just cleans it all up a bit.
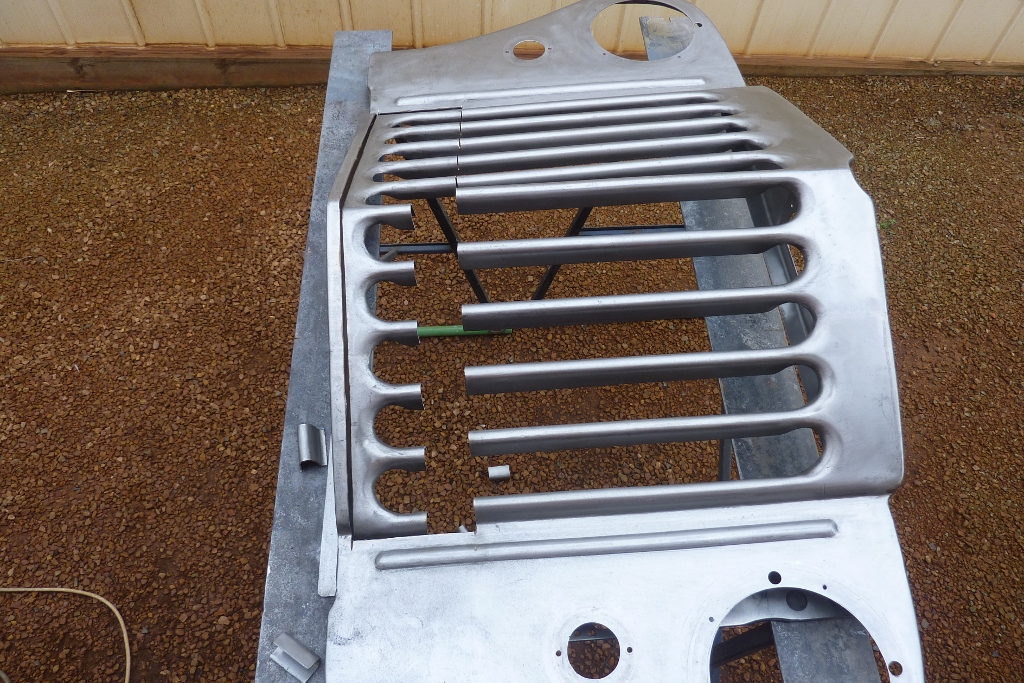
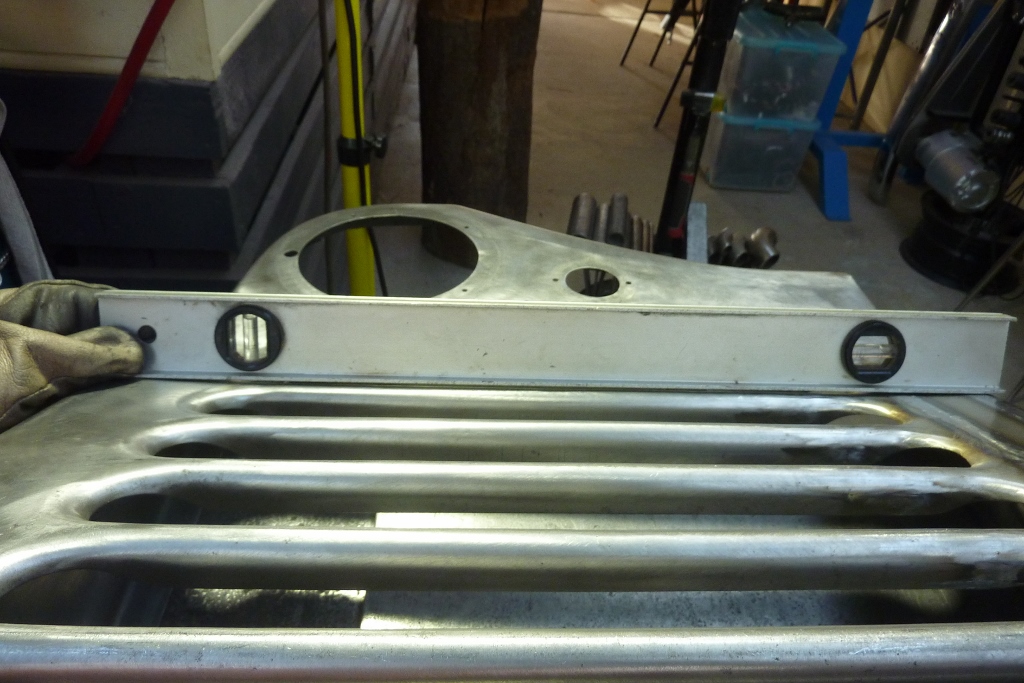
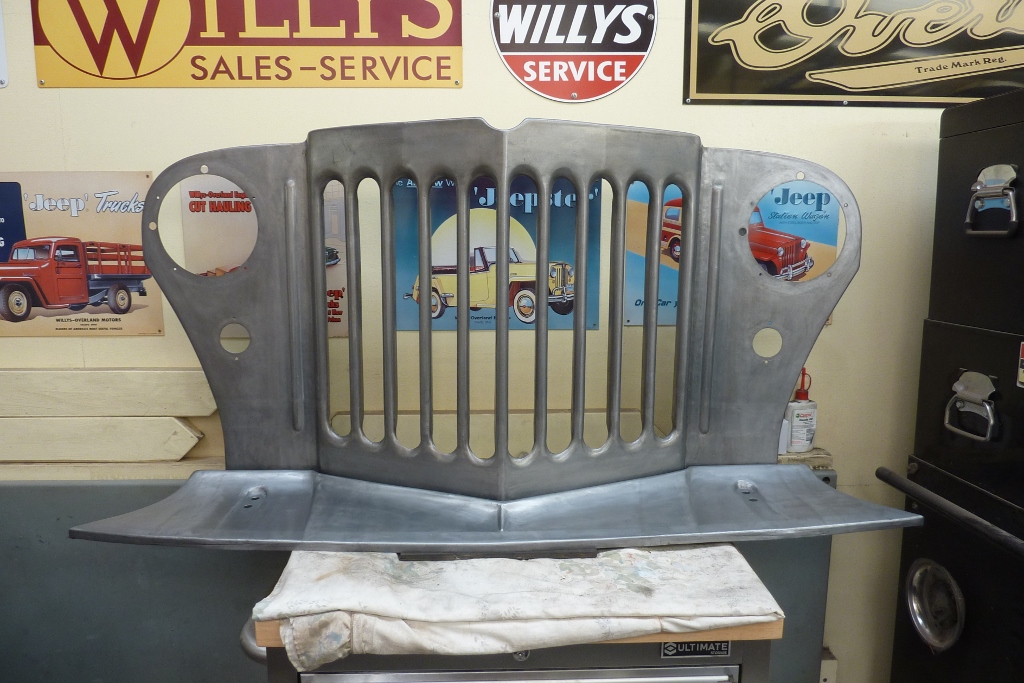
Let the cutting begin! As I was not happy with the length of the slots, I am shortening them 50mm-2" back to the stock length. I am leaving the rest of the grille longer as need that to fit my radiator size. Gives you an idea how the sectioning is going to work. I cut along the splice lines of the original extension that I had done.
I would have preferred to section the bead along with the grille slots, but the grille mounting bracket on the back gets in the way of doing it. So cut a slot up the middle of the bead, flattened it, and then rounded the end again with a sectioned piece of pipe. Filler piece tacked in ready for welding.
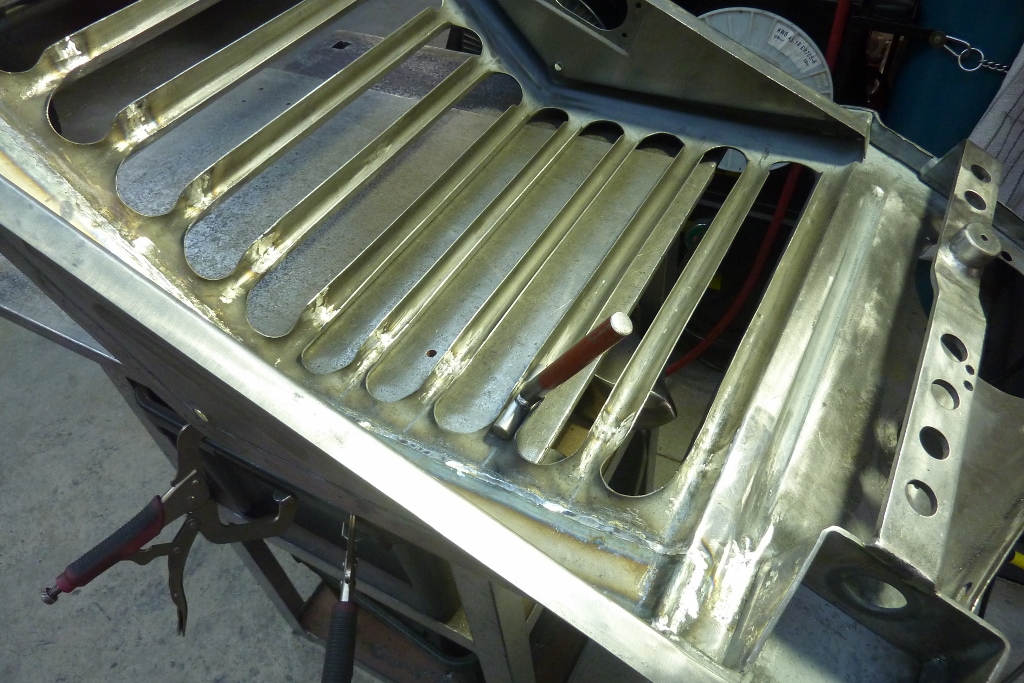
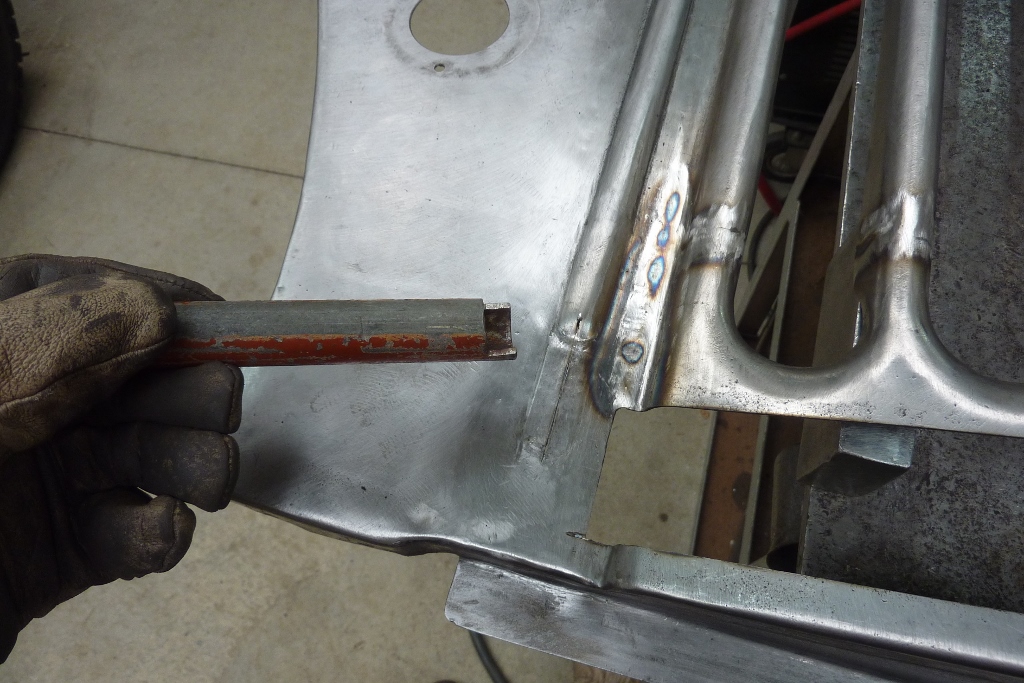
As usual I checked to make sure each part of the grille was flat after welding. Can just see it drip down a fraction at the ends of this grille bar. Made up a dolly from some bar stock and hammered down onto the table to stretch it out.

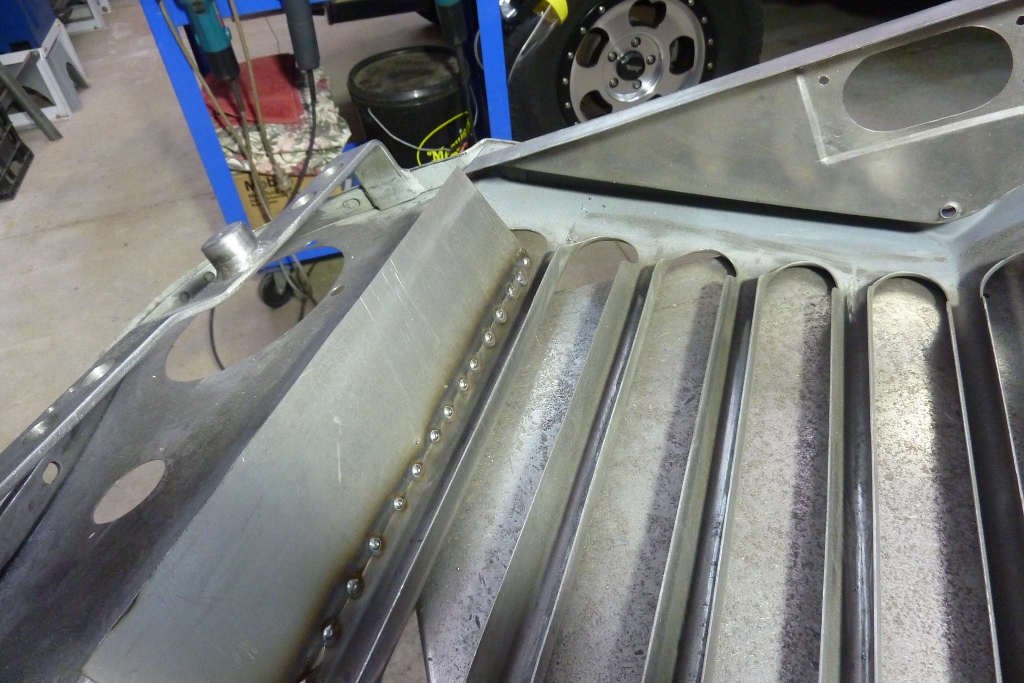
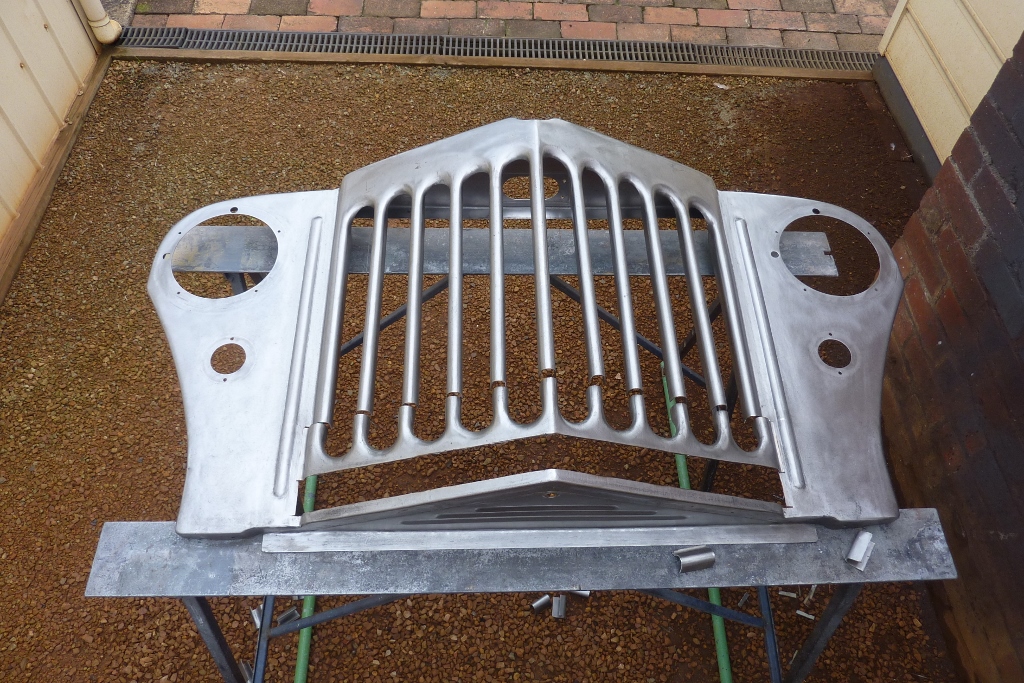
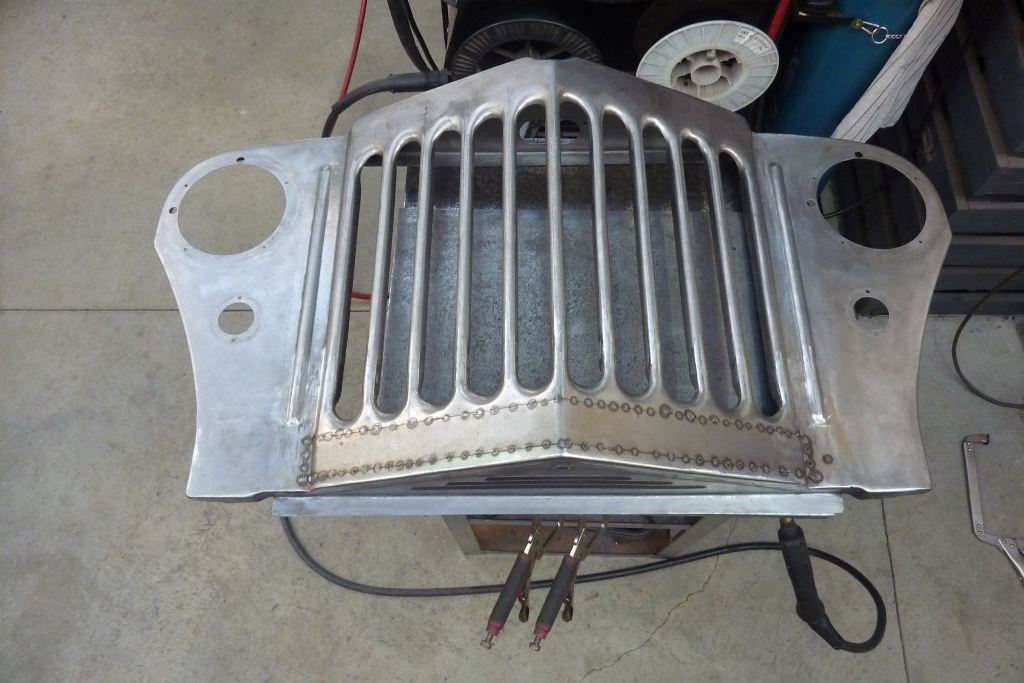
Now nice and flat again. All of them were checked of coarse. From the factory, one side of each grille bar is longer than the other making it flat across the back to compensate for the grille angle. As I planned to fit some mesh behind the grille, I need to take care of the fact that the factory didn't press the last bar at each end this way as well. The reason is they needed the material on the opposite side of the slot to mount the radiator cowling. Rather than just adding a thin strip, it is better to add a wide piece, fully weld it, then cut it back to the right width. This controls the welding distortion far better.
The distance above and below the slots is close to the same now, 5mm-3/16" more on the bottom. Not the look I intend to keep though. I can now adjust the height of the gravel tray until I like the proportions.
[Index]