

I'm using my TIG for all this as I want to keep it soft so it doesn't stay proud from being hard when I get down to fine sanding and polishing. Just using some 1.2mm mig wire as the TIG filler, or even a coat hanger for the bigger deeper pits! After filling every rust pit I carefully ground and sanded the welds smooth keeping the original bumper thickness. Looks fine but can see the profile has flattened from the welding heat. The old DD hammer on the bench will be used to stretch the area back out again.
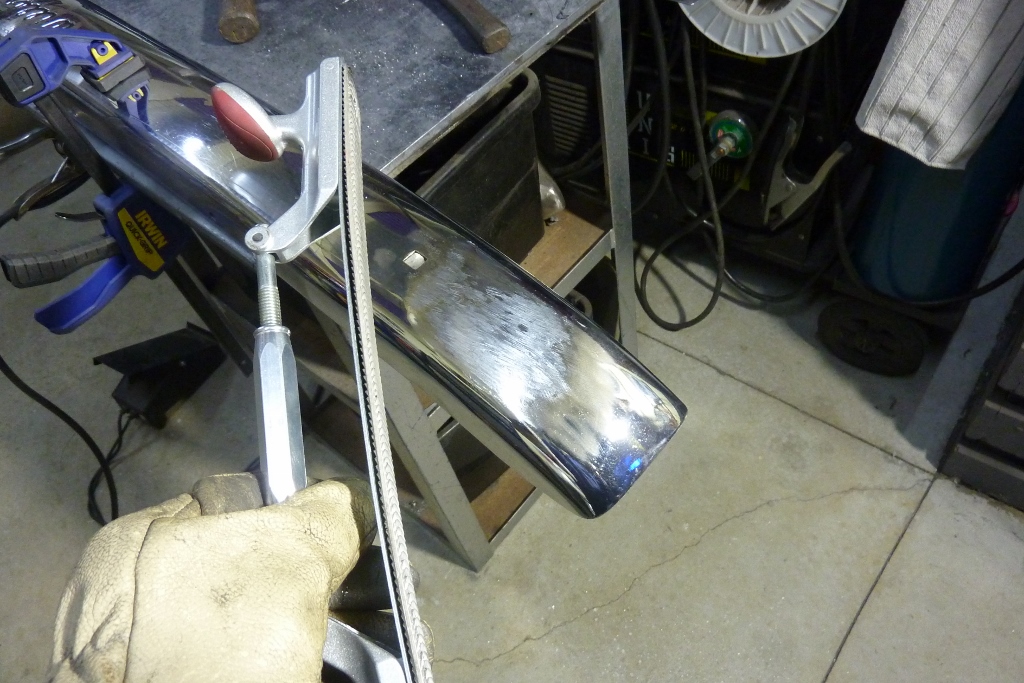
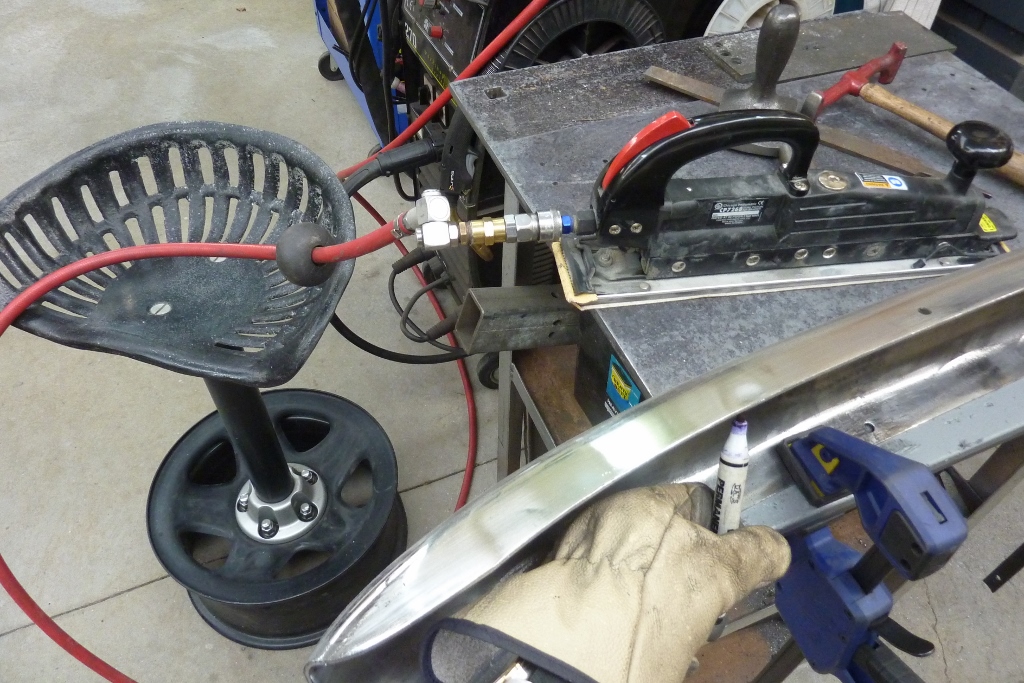
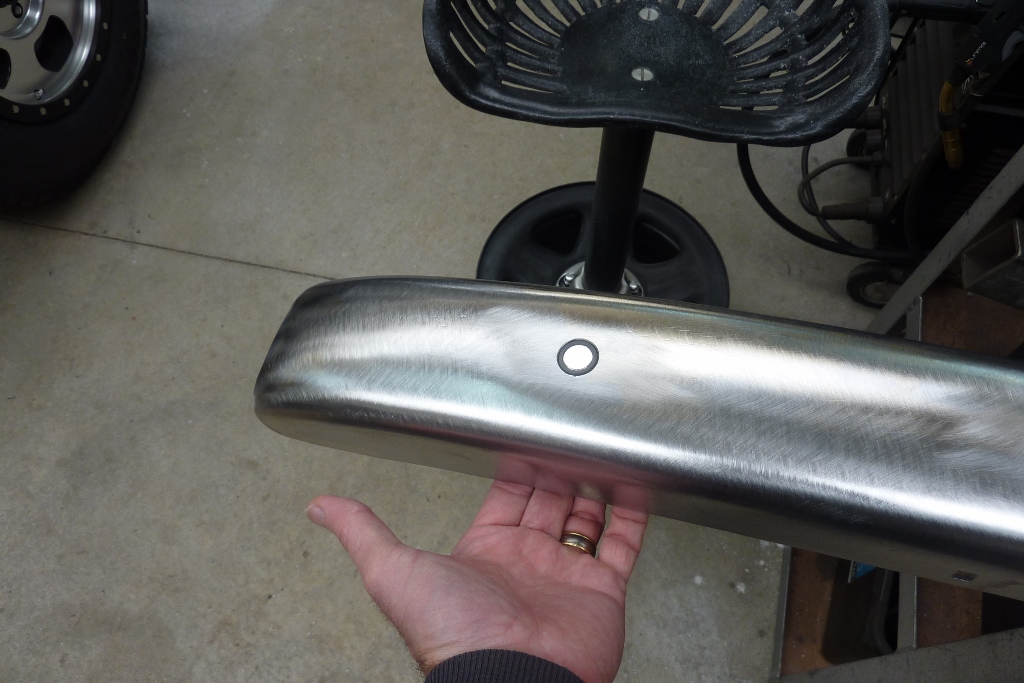
Used a profile gauge to make sure the shape was back again and then carefully filed just enough to show the low spots that you can see. These were then hammered up until all gone rather than just keep filing. Where I had filled the rust pitting on the flanges, I used the long board sander to show any low spots. Can see one of the dull spots above the marker. I mark the spot so when I flip it over I know exactly where to hit the dent up.
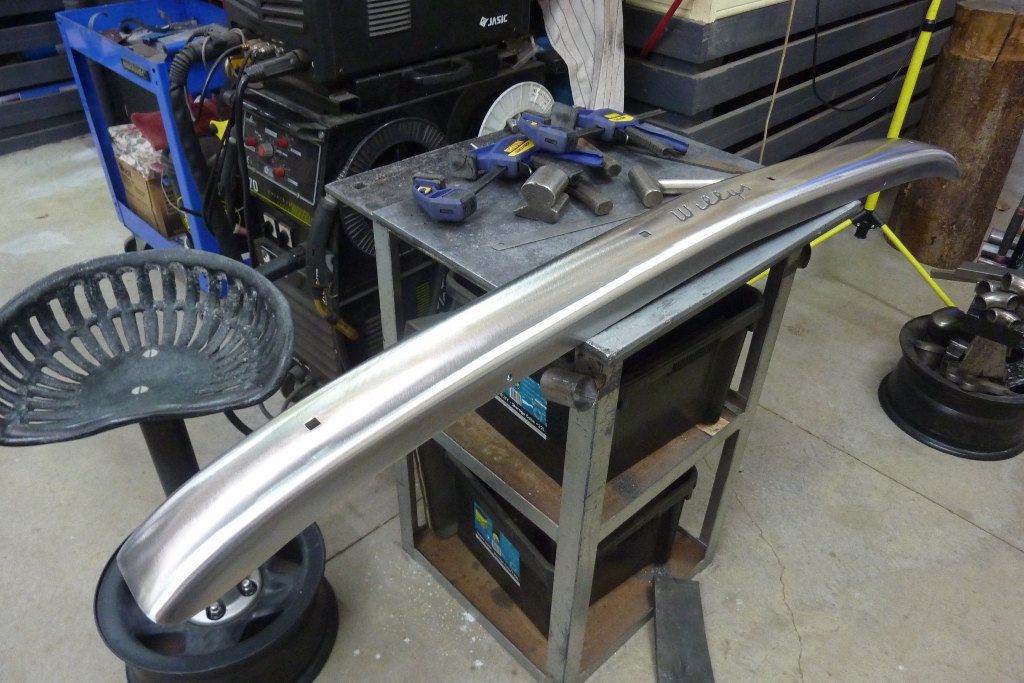
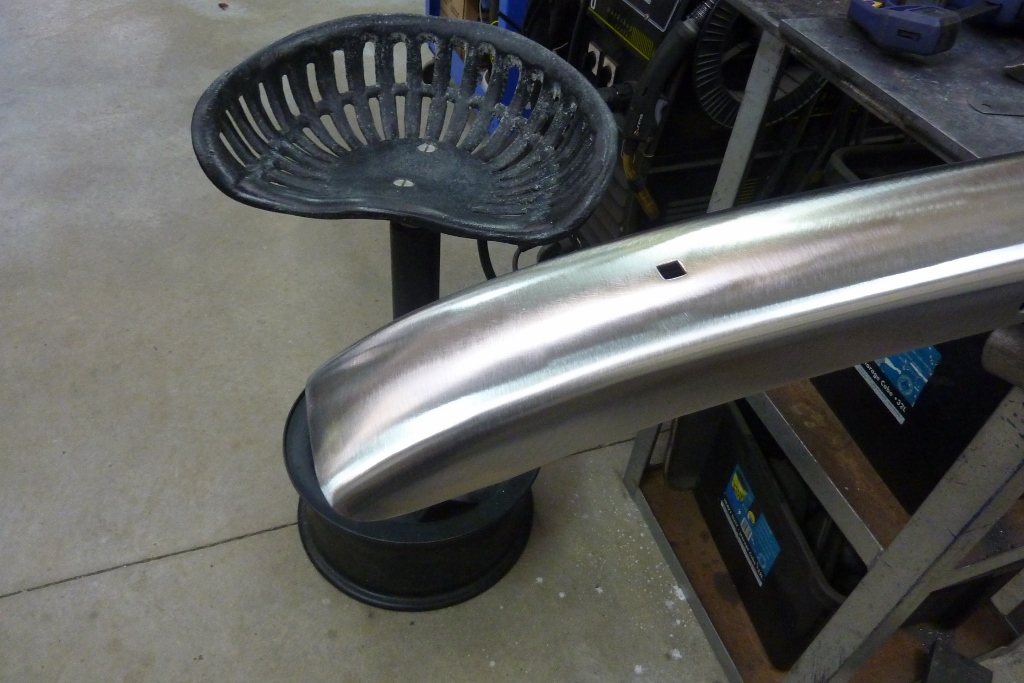
Using a 7" disc sander and going through the grades I have removed most of the chrome but there is still a lot of nickel left. Even though it was OEM, there was no copper under that. Can see the profile is much rounder in the welded area now, like the rest of the bar, than before the stretching was done. This is far enough now to show me I have hammered out all the dents and filled the chips and scratch damage gathered in the last 70 years! The big dents I hammered out already a number of years ago.
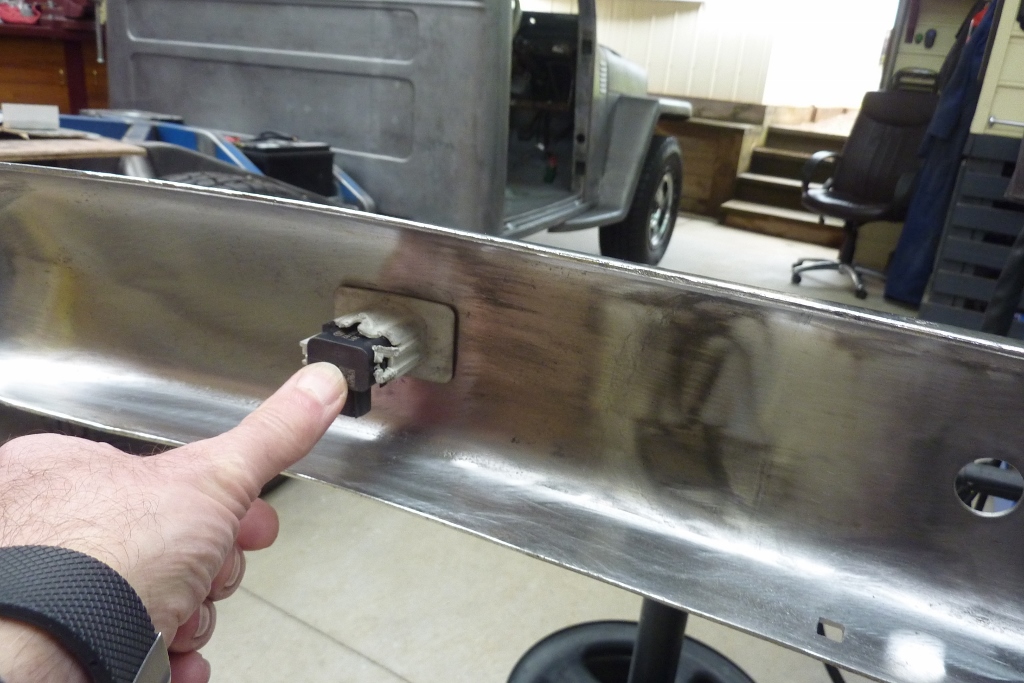
I drilled out the original mounting holes to take the front parking sensors. I removed the holders from the trashed donor bumper 10 years ago. This one was is damaged though so wouldn't mind some more if anyone has a 2005-2010 Grand Cherokee with a damaged bumper. I can not find anywhere that sell the holders separately for the front of the Jeep. To the left of the sensor is where I repaired the rust damage and has come up fairly well. The rear sensors are chrome so will use those on the front bumper so it blends in better. Just need to get a couple more as there are only 4 sensors on the back and 6 on the front.
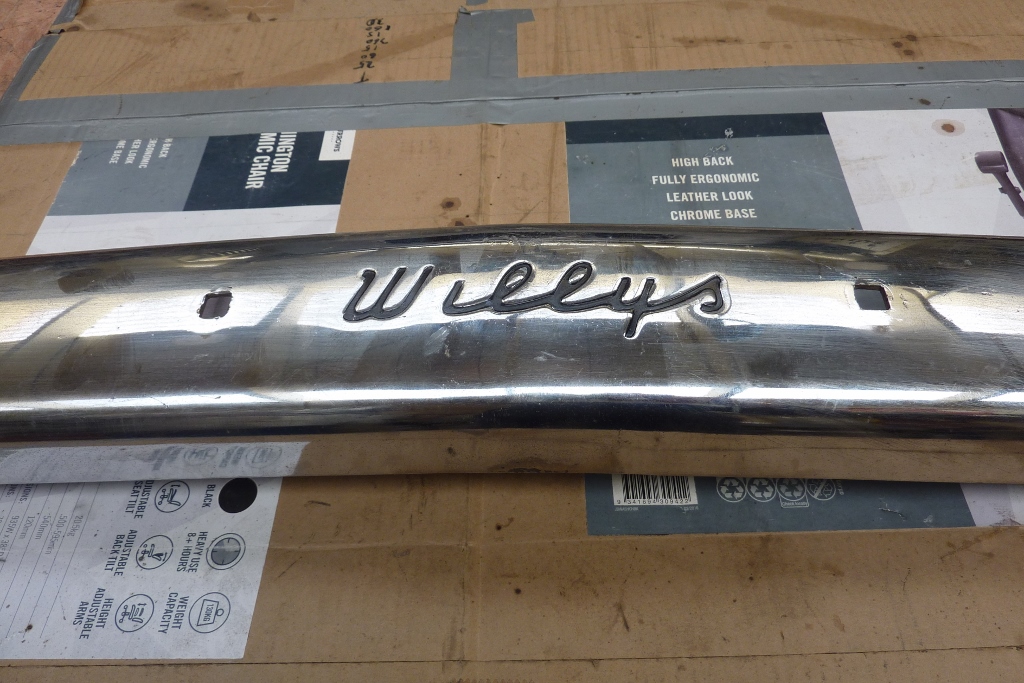
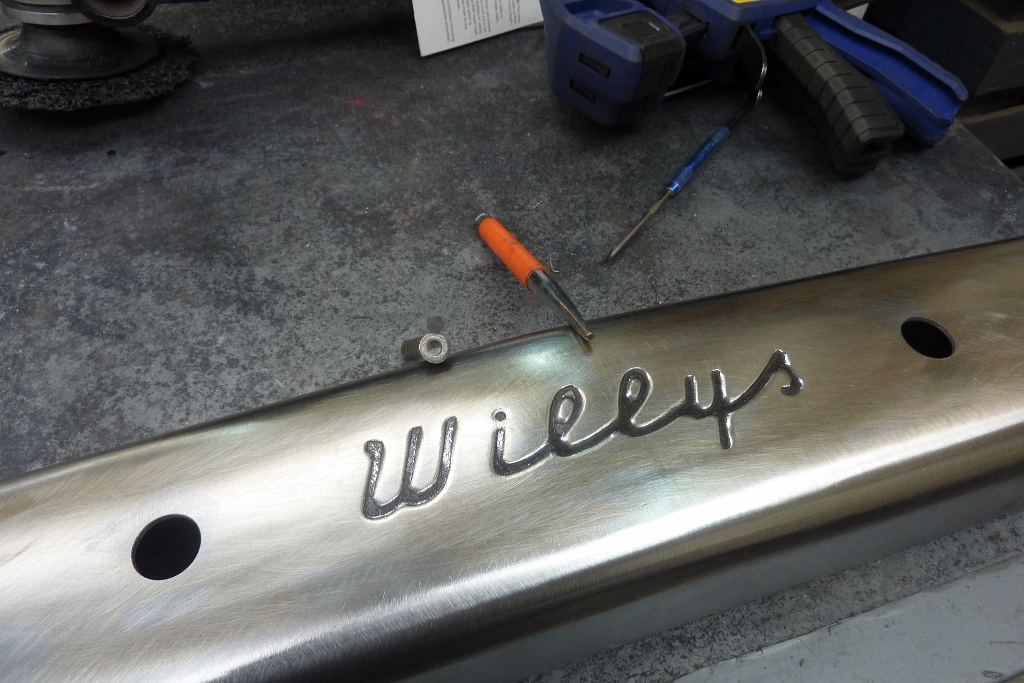
Has always annoyed me that the 'I' wasn't dotted! So I put some conveyor rubber over the top of a matching crown stake and hammered the punch into the surface. I then hammered around the dot using the drilled rod from the back so only the dot was sunk in. Hammering the punch directly over the drilled rod from the start would have been better, but keeping it balanced in the right spot was too hard to do on my own.
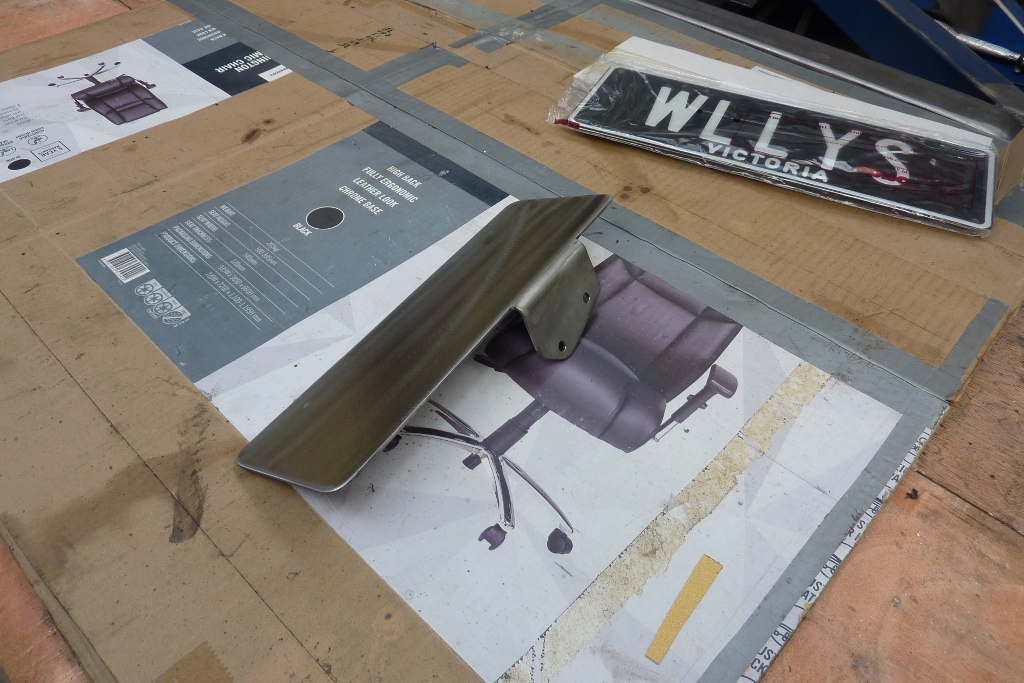
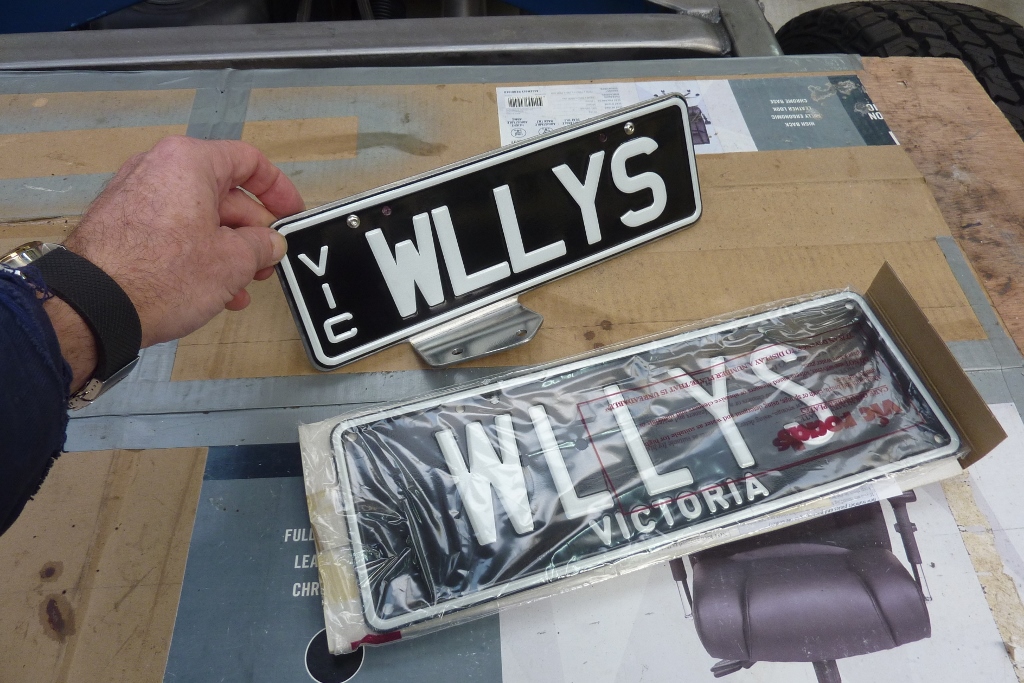
Whipped up a licence plate holder out of some 3mm-1/8" plate and bent the tab in my press. The thickness allowed me to drill and tap the holes for the button head retaining screws which were sanded flush at the back. The rear plate I had ordered full size.
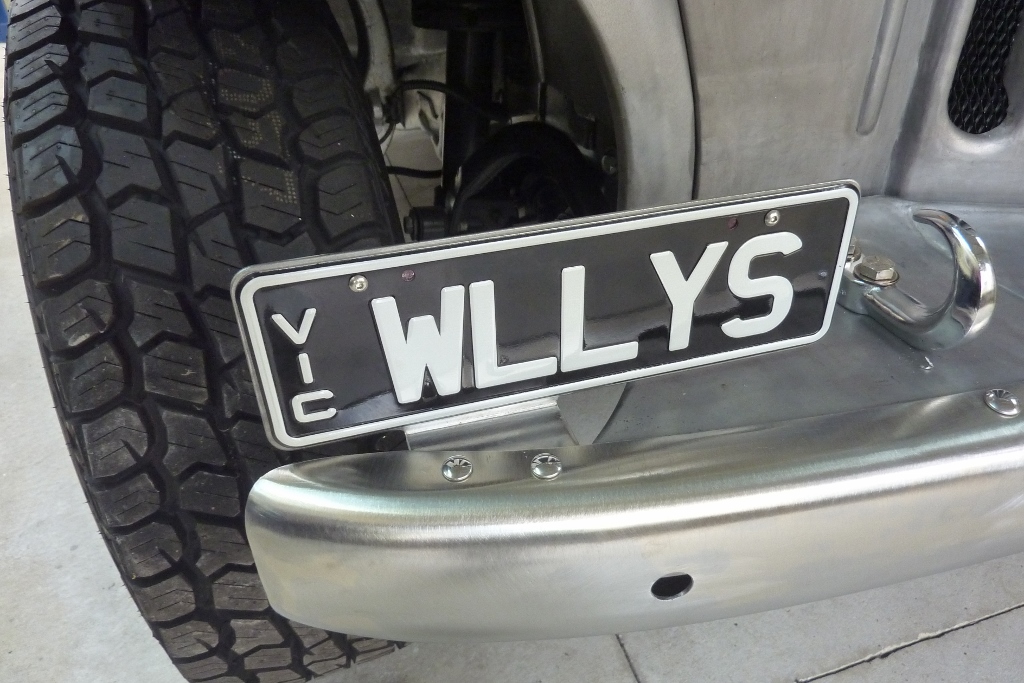
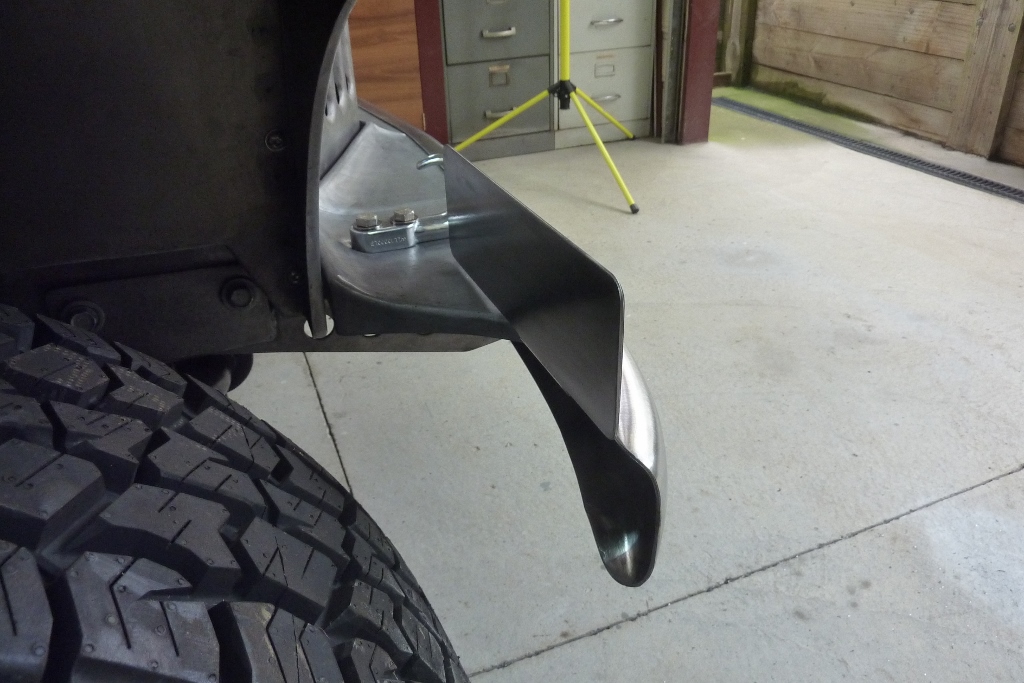
I decided on fitting it in the factory drivers side position. Held in place with some Holden HQ bumper bar bolts. I'm wondering if to buy some stainless plate and remake it. Worried stones coming off the tyres will chip it badly.
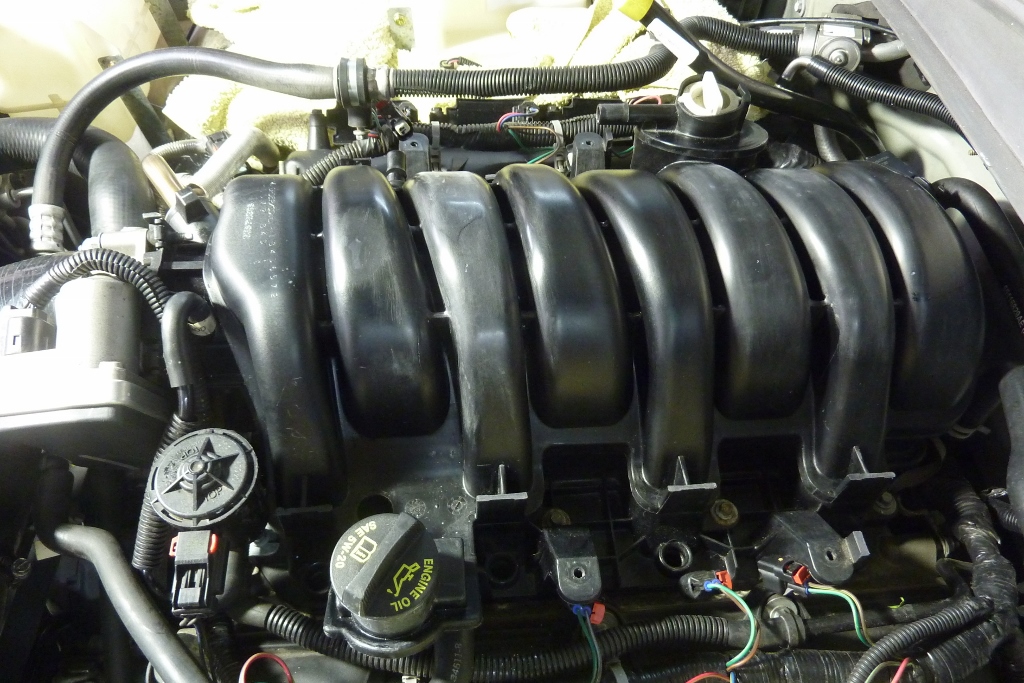
Bumper now finished and have just dropped it off at the chromers. They said all my repairs and preparation means no extra cost to get the chroming redone. :) I been trying different things like baby oil and trim restores etc. to keep where I have removed all the plastic protrusions the same as the surrounding areas. Like the first runner which has never been touched. But after a while they all fade again.
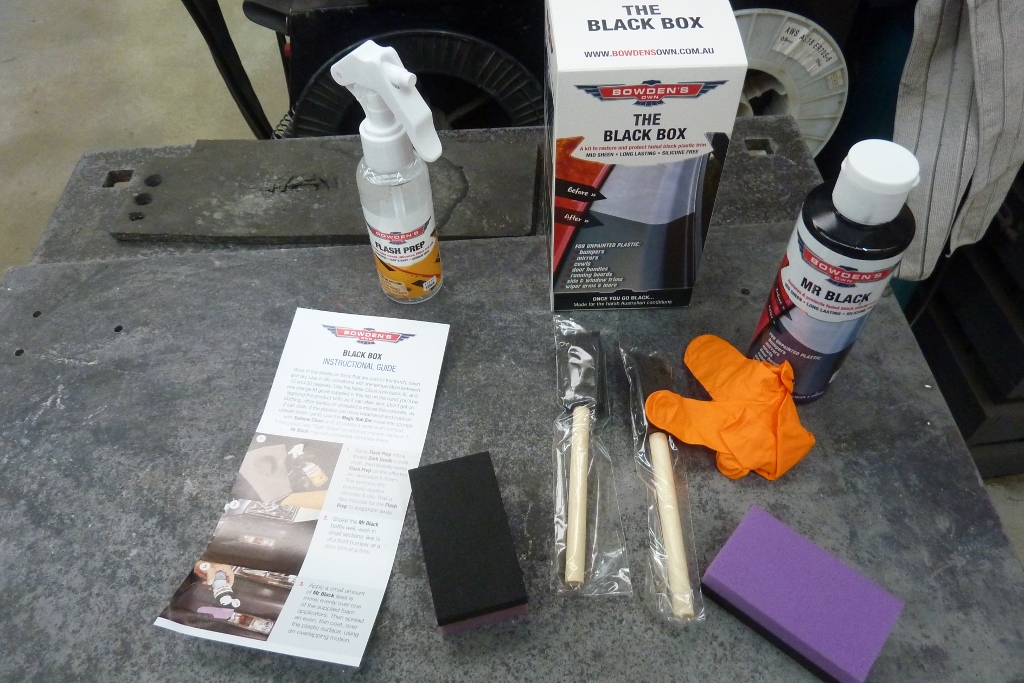
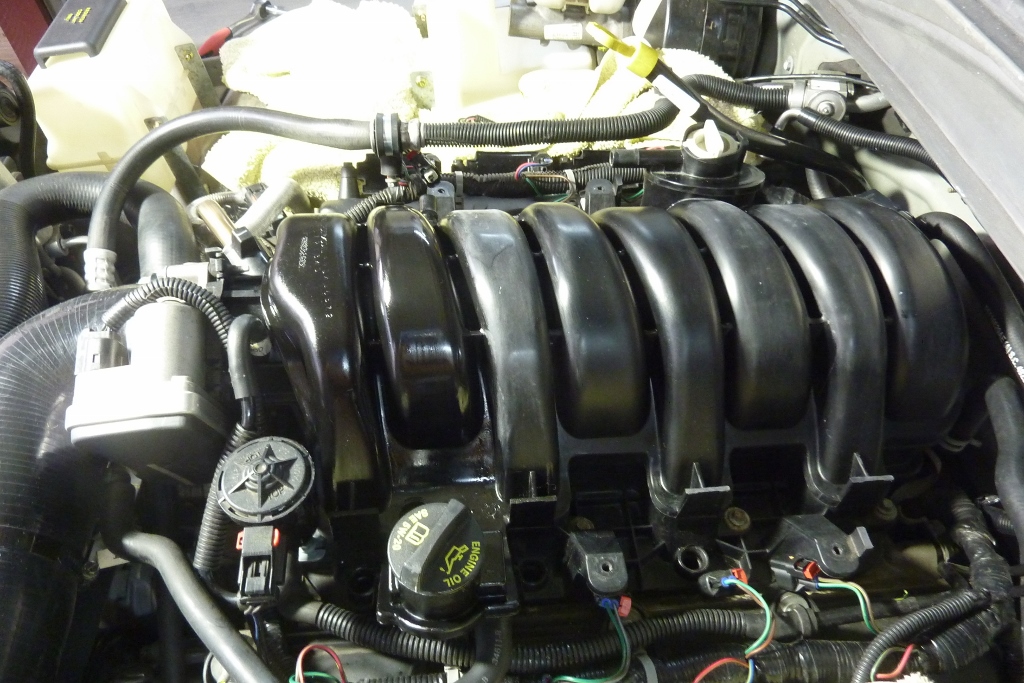
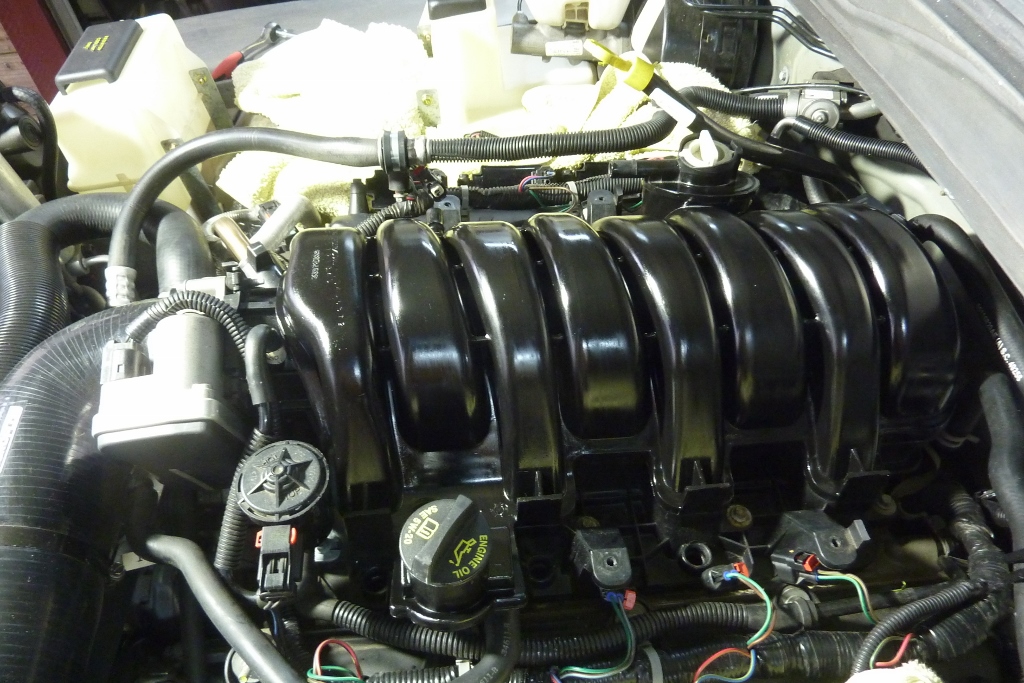
After watching many youtube videos and reading forum posts on it with people using everything from peanut butter to heat guns, nothing lasts for long or it makes them brittle. I saw good reports though from an Australian product that is actually a die like printers ink that I will give a go. https://youtu.be/YmkazRFrV_s Pretty clear to see that I have done the first two runners. You use only a few drops to load the foam brush each time.
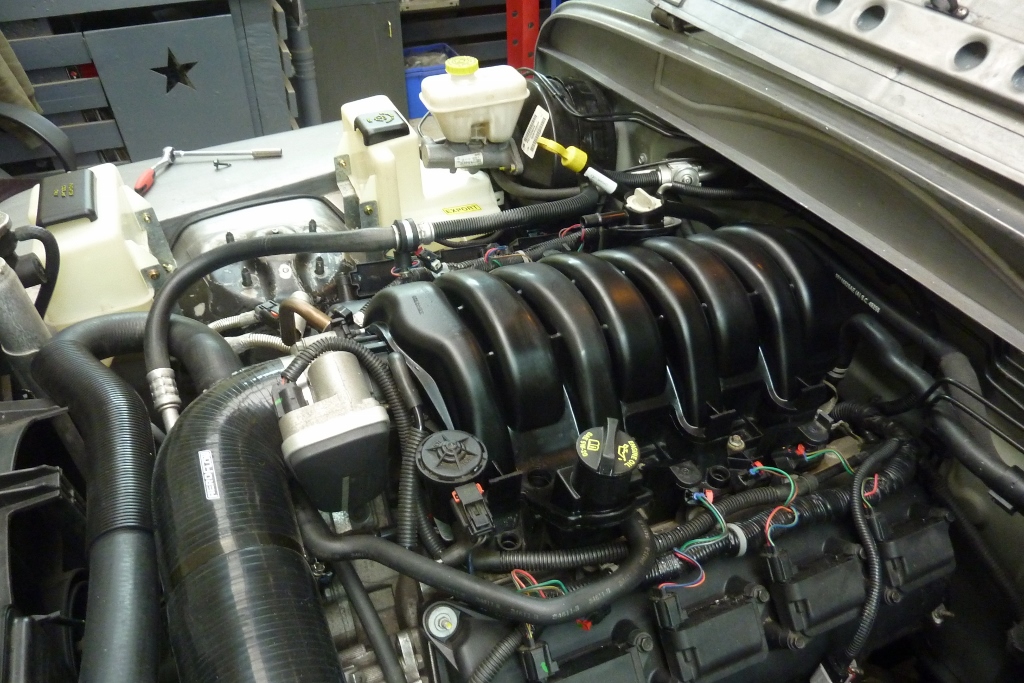
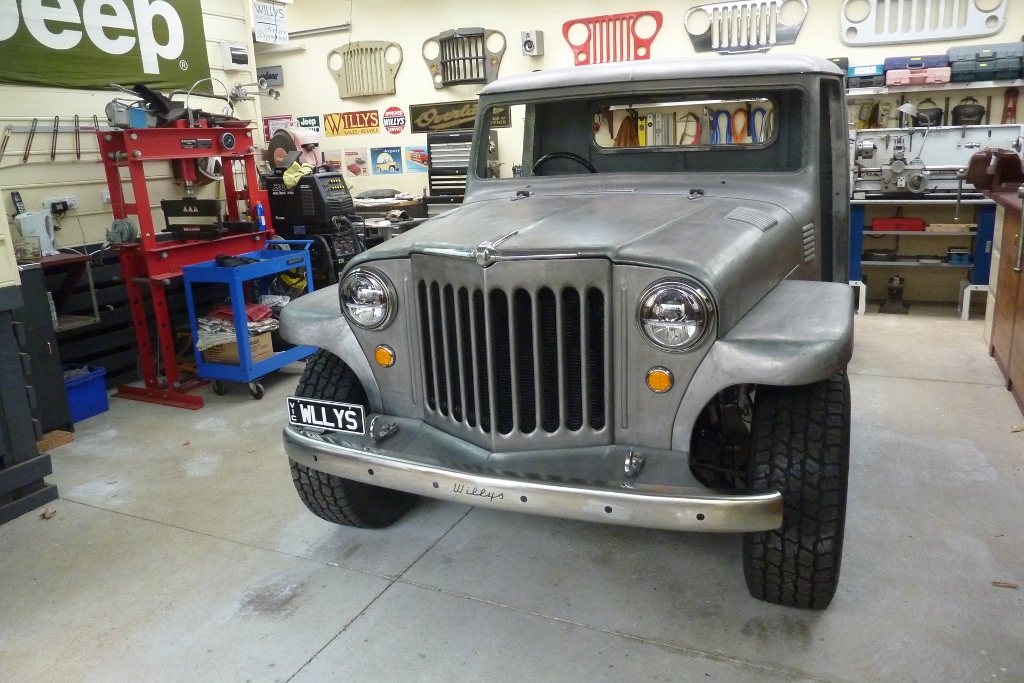
Done them all now and you have to leave it for 24 hours while it dries and you must not allow it to get wet. Was pretty cold so was still a bit left wet the next day so rubbed it with a cloth to remove the excess which dulled it down back to a stock look. Looks patchy in the photo but that is just from the lighting. I also used it on my Jeep which had some greying plastic and works really well there just like the video. Seems better on the textured surfaces. I'll report back over time to see how it holds up.
[Index]