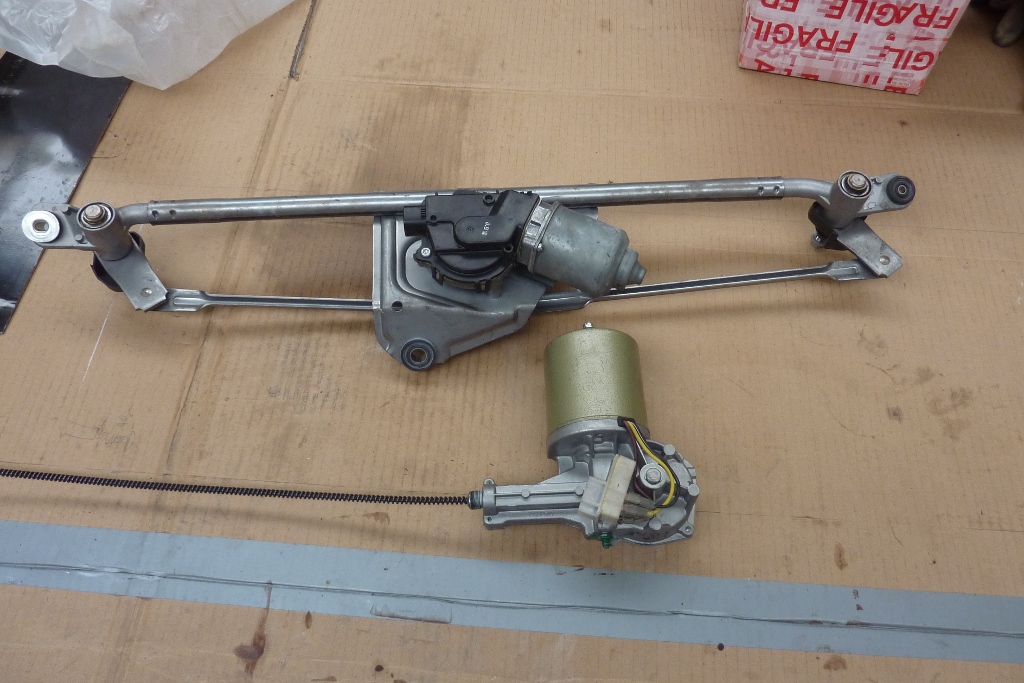
I have always wanted to run the original donor wiper motor to keep it plug and play with the factory harness, but couldn't come up with a way to run it. So went with the cable system instead. Now that I have started on the cabin wiring, I ran into a problem that the donor wiring and motor has 4 wires and the cable motor 5. The cable motor runs three brushes with a different pair for the 2 speeds. The donor, according to the diagnostics section, runs at 5 volts for low and 10 volts for high. It is all controlled by a computer as well and there is more monitoring of its position other than just park. They work the same way drive wise with a worm on the motor shaft driving a gear wheel, but are a mirror image. No easy way to swap one with the other in this configuration.
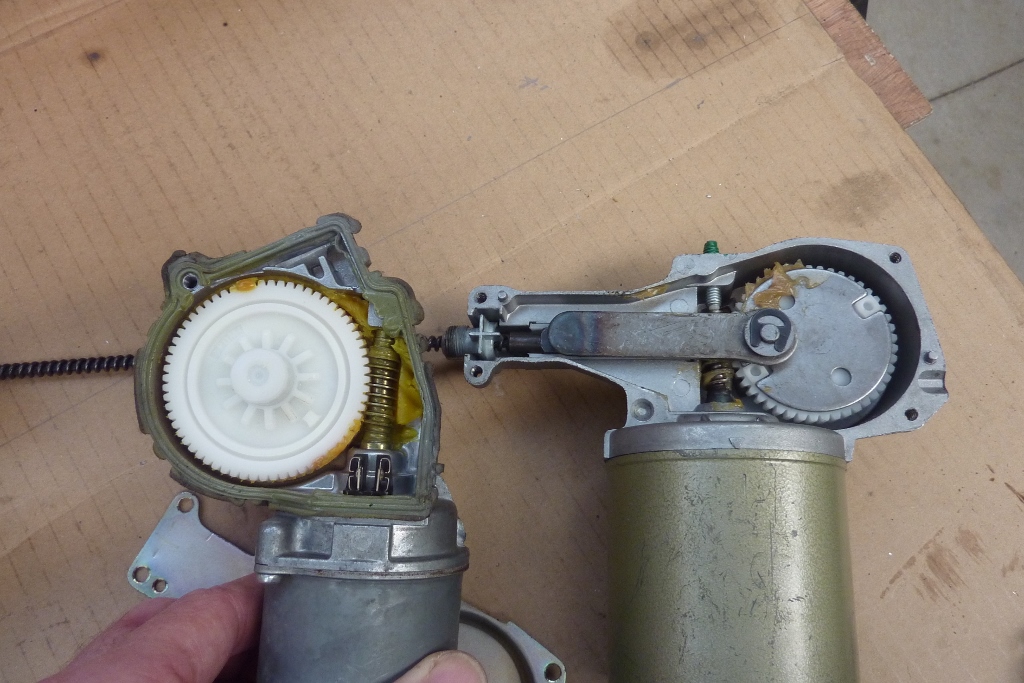
Stripped the cable system down to nut out way to adapt to the donor motor. The electronics in the donor is part of the gearbox, so no way just to try and swap the motors over. Then I thought why not drive the shaft of the cable system directly from the donor gearbox output shaft. Just got to figure an easy way to do it as the cable shaft sits flush on the outside of the cable housing.
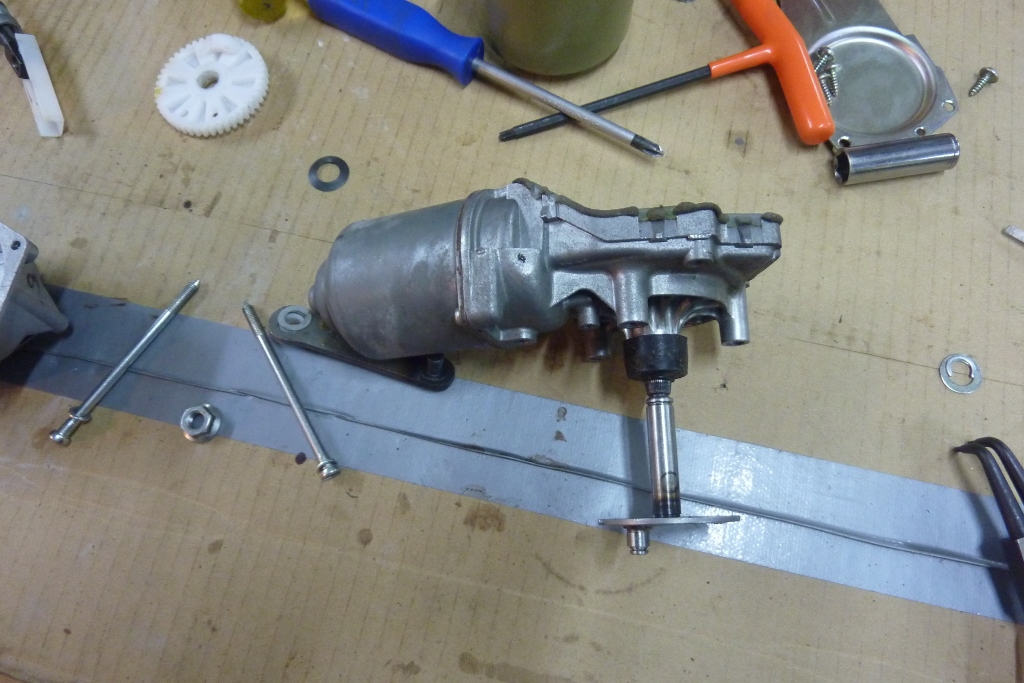
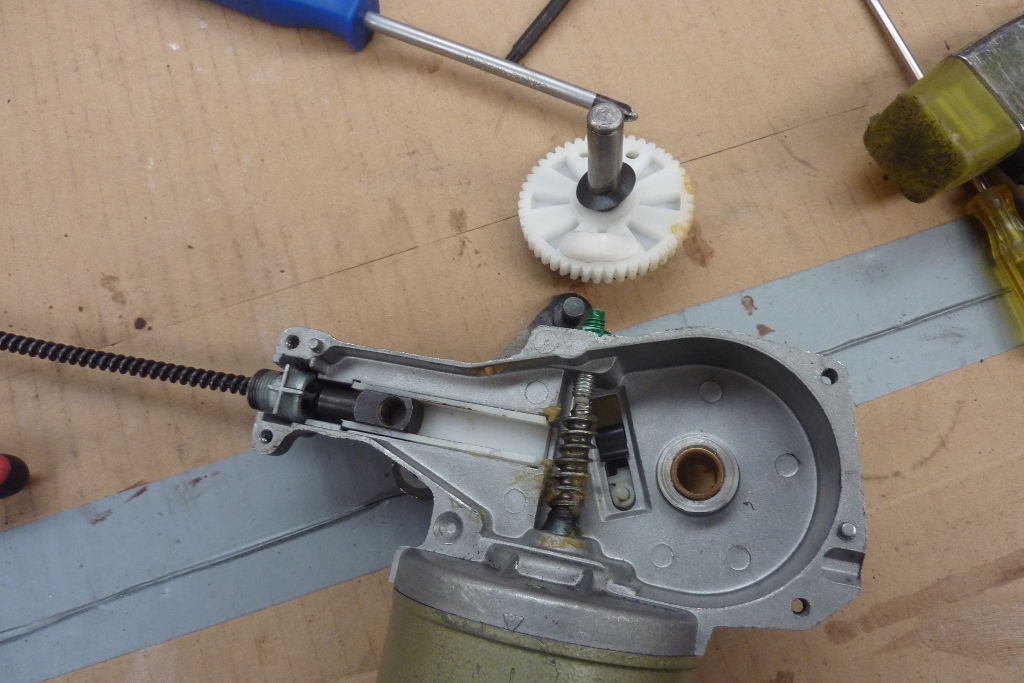
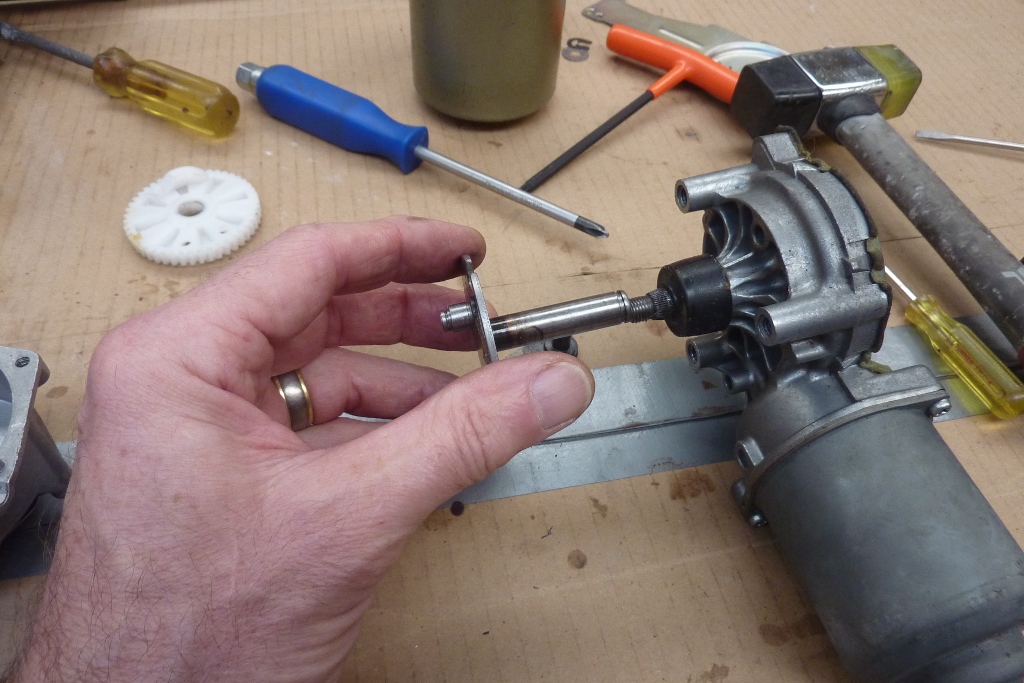
Popped it into the lathe and drilled and taped the end of the shaft to the same thread of the donor shaft. I could just just thread it on. I also cut the original nut down to make a half nut to lock it in place. The half nut also allowed me to fine tune the park position between the motor and the cable drive. I cut away everything I didn't need from the cable motor mount to give me room under the dash.
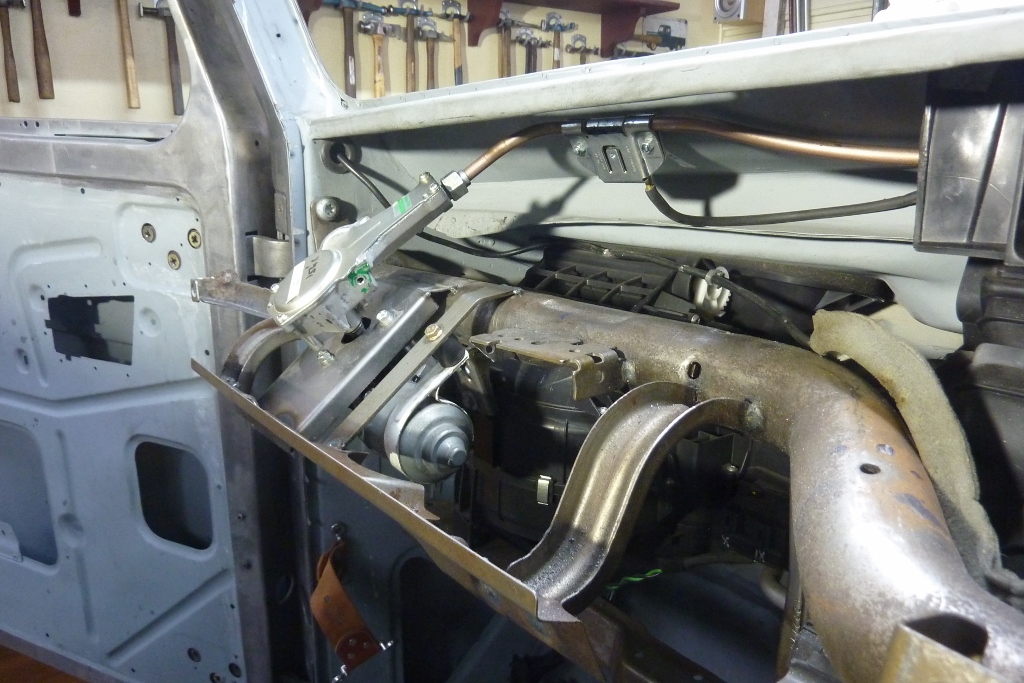
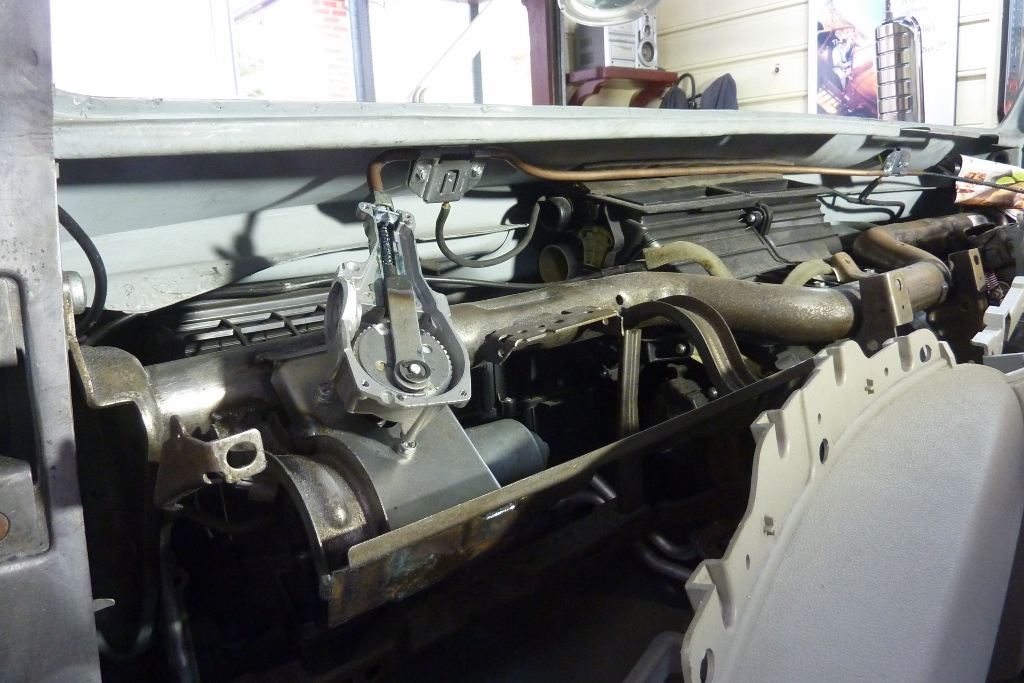
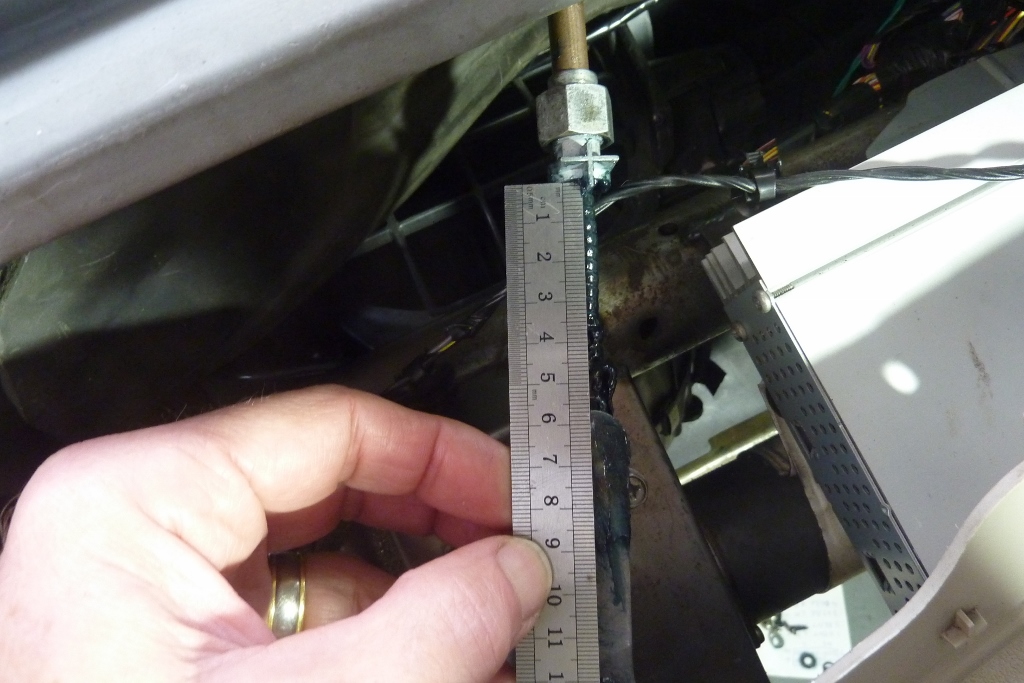
I made a whole new mount for it and had the benefit of now it not pressing on the air duct and transferring the noise through it. The duct now can go under it and the motor is above the glovebox. It sits on 4 rubber isolators instead of the three it had as these rubbers are much softer than the factory ones. I had trouble bending the 3/8" steel copper coated tubing and needed a smooth outer radius as big as possible to ease cable strain. My flanging tool needs the end to be straight so had to add the bend right to the end afterwards. Put a bolt in the end of the pipe so I could do this.
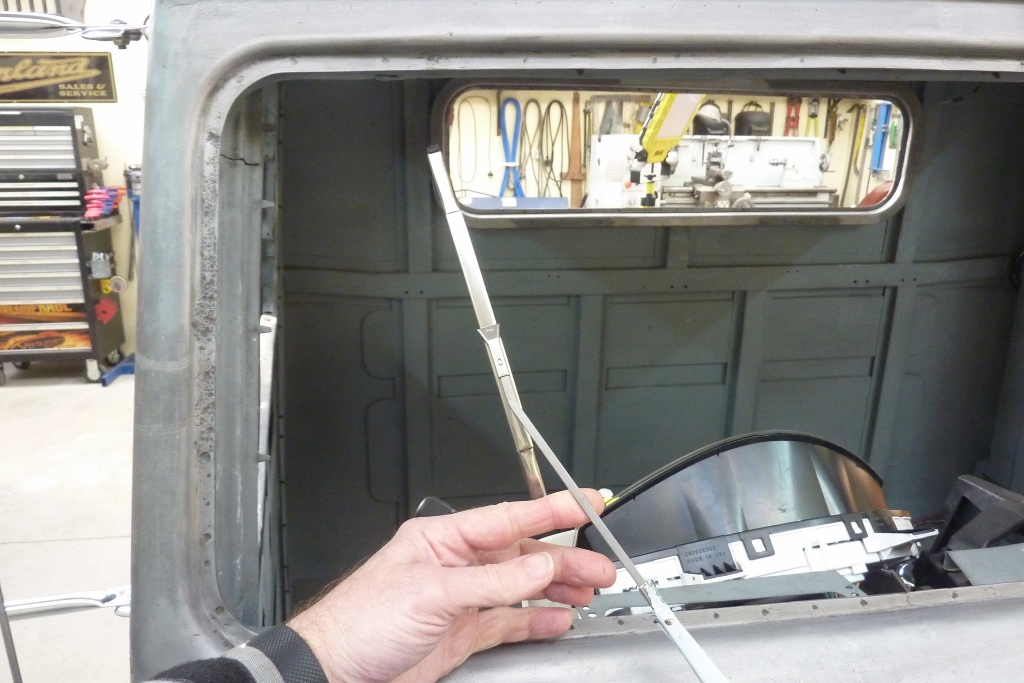

I knew the wiper sweep would be too short when I ordered the wiper motor as it came with a 110* drive gear. This is where it stops if started from perfectly inline with the bottom of the screen. I measured how much the drive rack sticks out in this position. 51mm or 2".
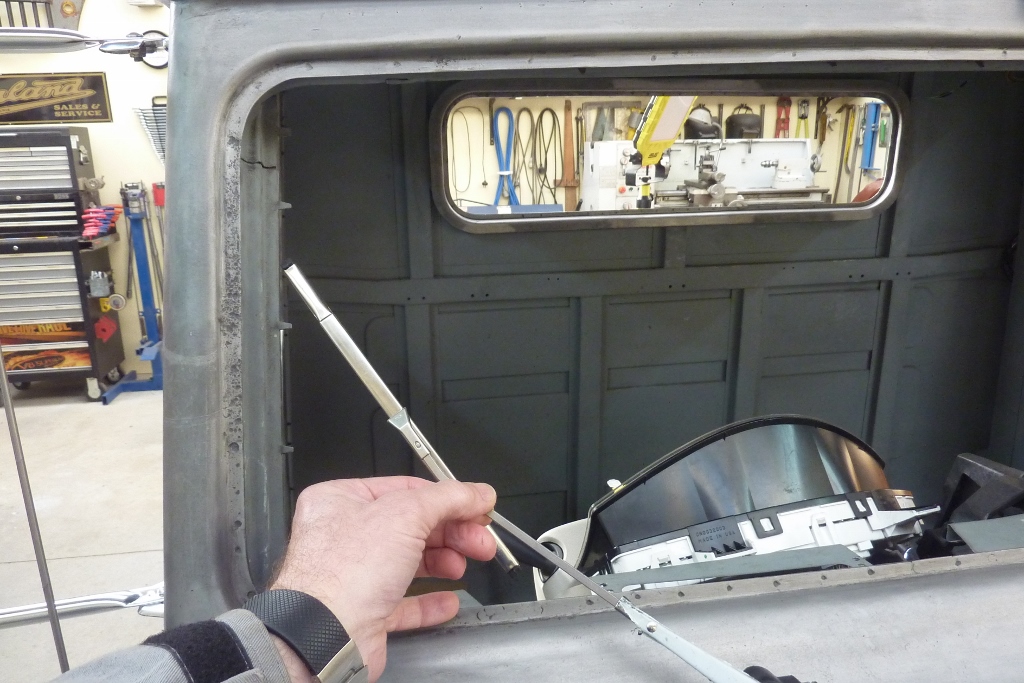
With the rack disconnected from the drive gear I could move it to where I would prefer it to stop. This was a total of 125* of sweep. Now the rack sticks out 56mm or 2-5/32"
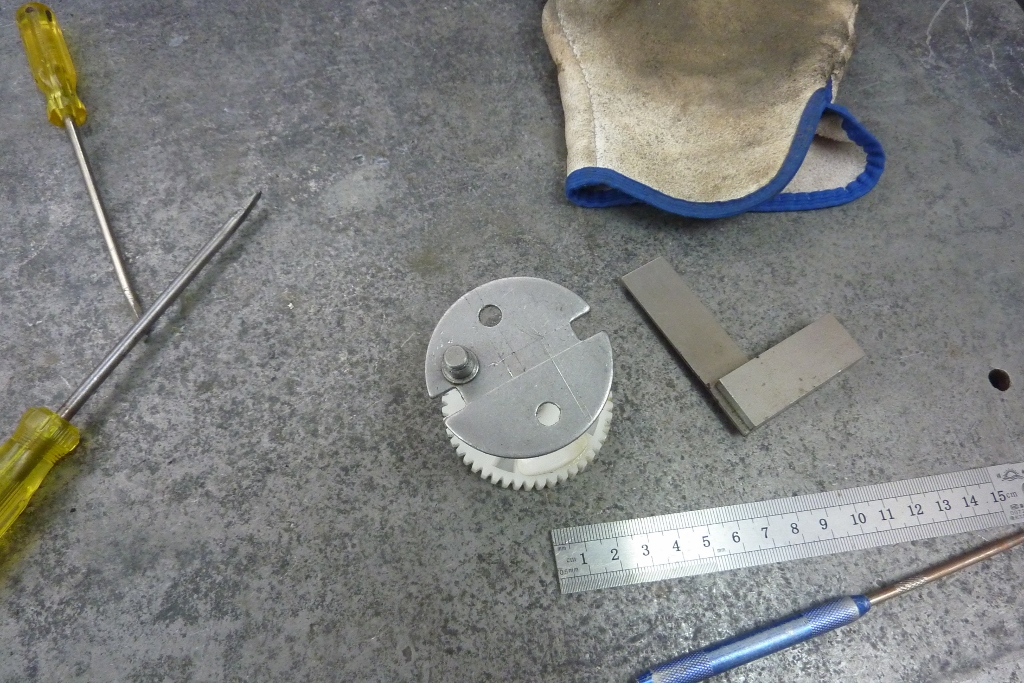

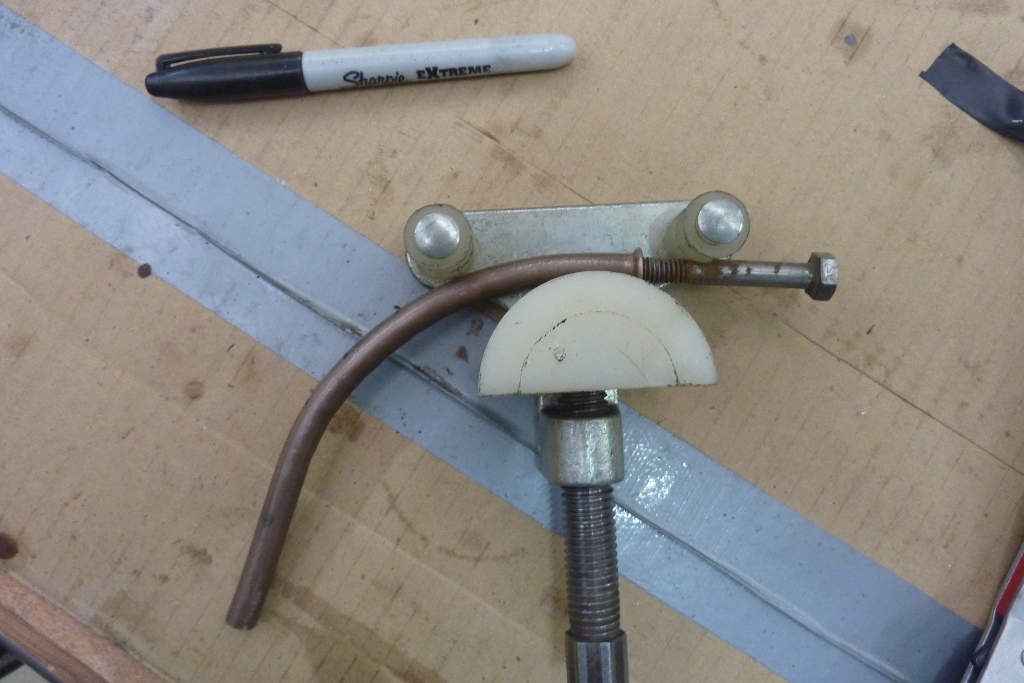
Now you can just go out and buy a 125* drive gear and swap it in as they come in 5* increments from 90*-130* for the 14w motor. https://www.s-v-c.co.uk/product/14w-wiper-drive-gear/ But to save some money, and a lot of time waiting for a gear to come from the UK to Australia during the COVID-19 pandemic, plus I like to do things myself, I thought I would move the pivot point instead. Now I need a total of 5mm-3/16" of extra movement of the drive rack. So that means only having to move the pivot half of that as you gain movement at each end of the stroke. I thought it was easier to cut a piece of the plate out with the pivot point and rewelded it further out. I also moved it to the other side of the plate as it worked out better getting an extra half turn on to my donor wiper motor shaft adaption. No need to do this with a standard 14w motor setup.
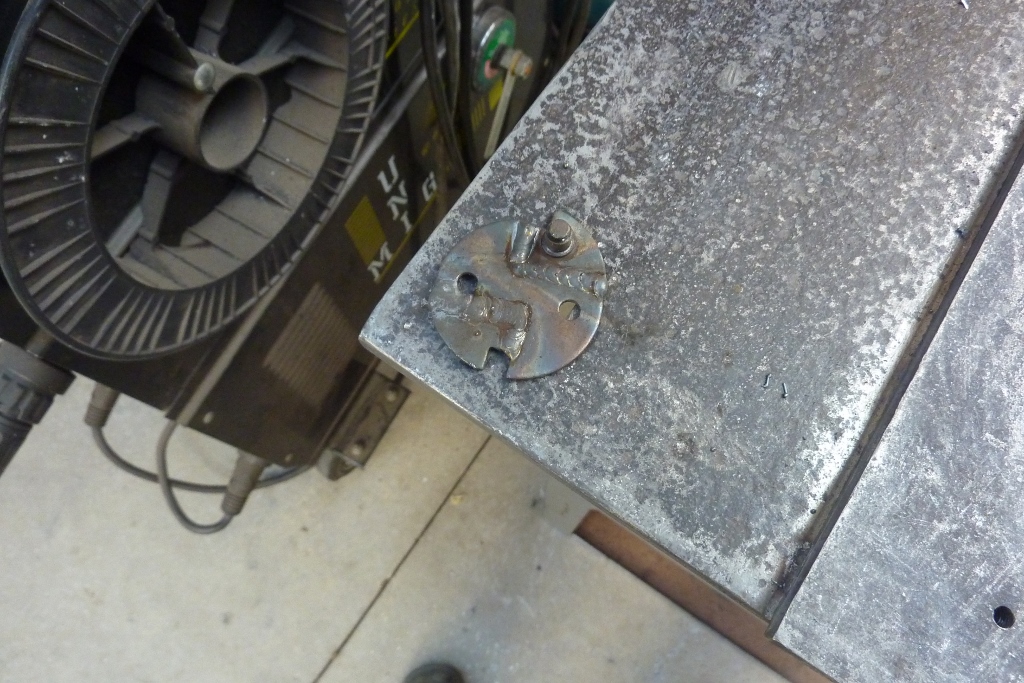
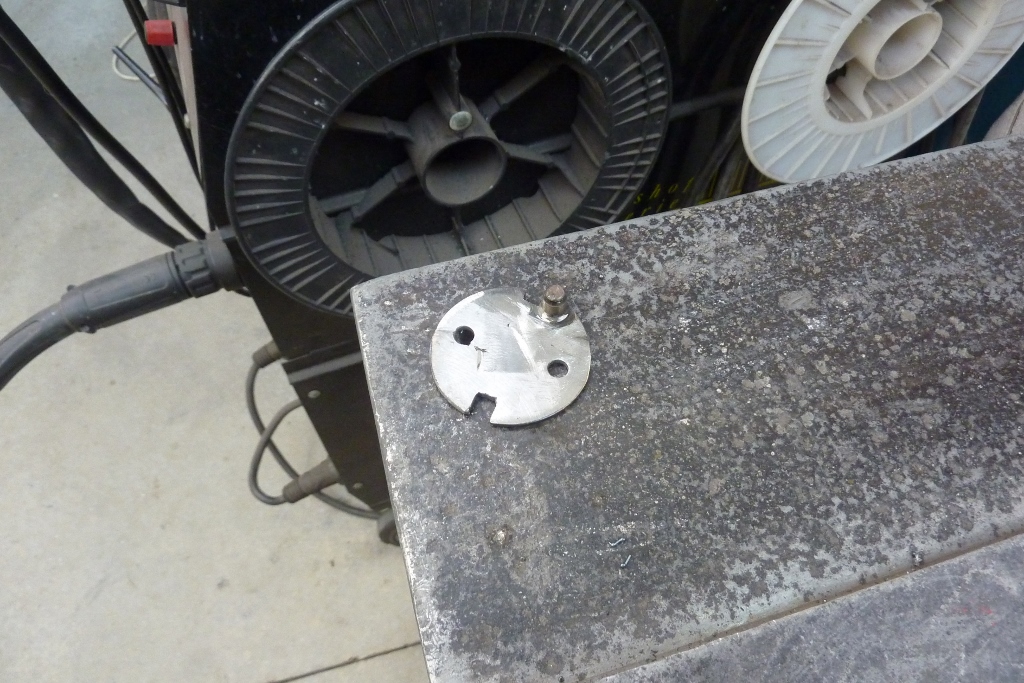

Placed some copped plate under it and filled in the gaps with weld. Cleaned up the welds and took away the excess radius around the pivot point. All back in place with the extra sweep I wanted.

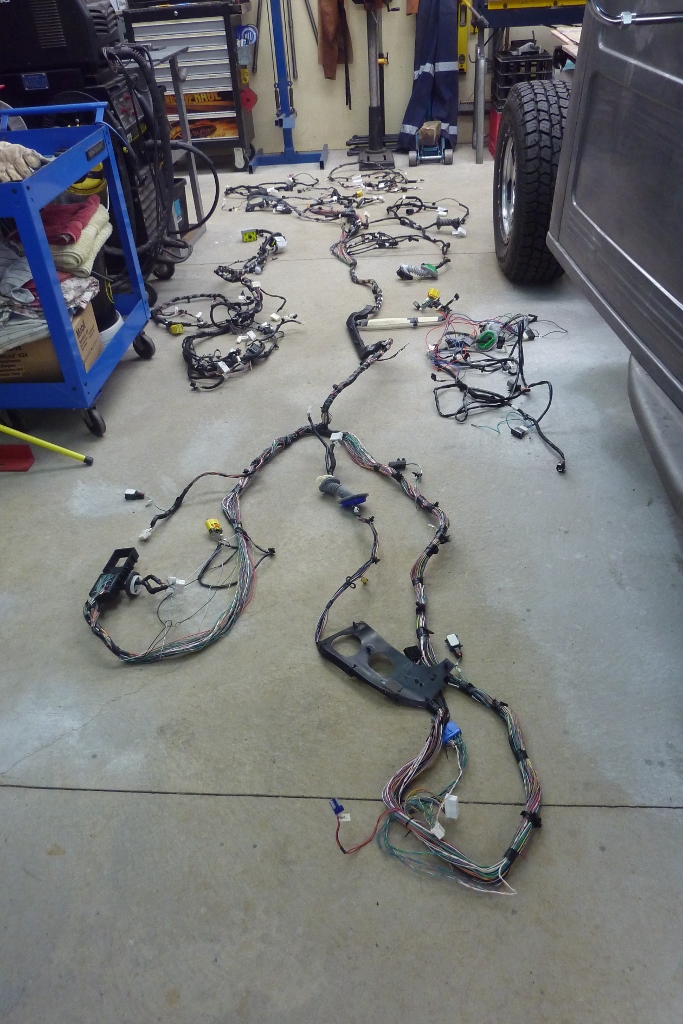
Time to get started on the body and dash wiring harnesses! Laid them out to sort them into their groups. I started with the dash harness first as I will be using that completely. It all plugged back in to where is was before and even the same holes for the harness ties etc. Big advantage of using the donor firewall/floor and dash support.
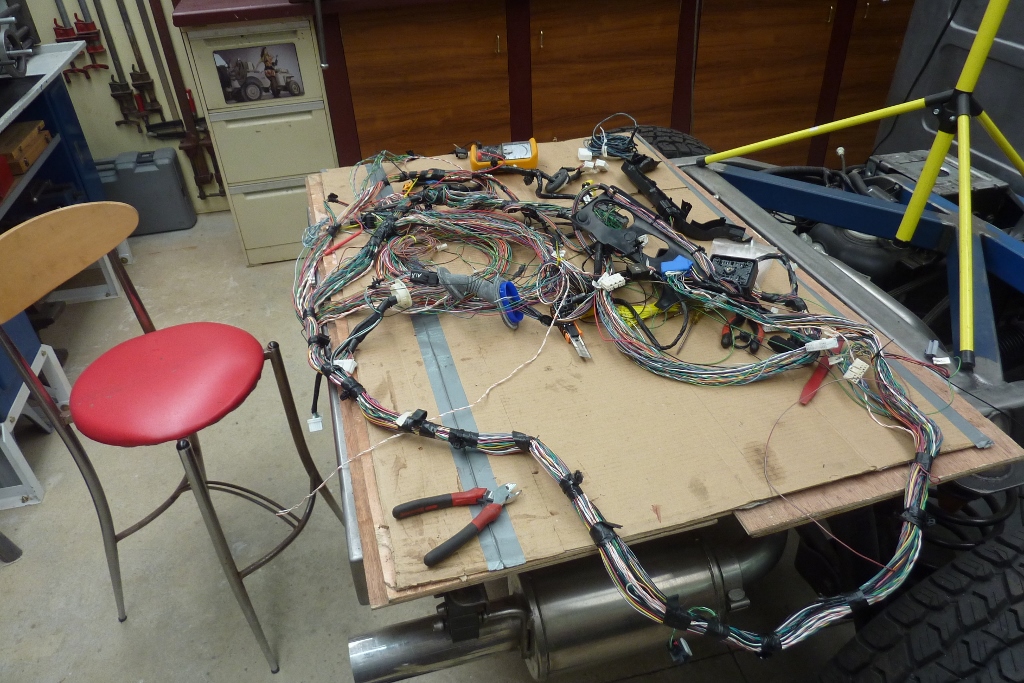
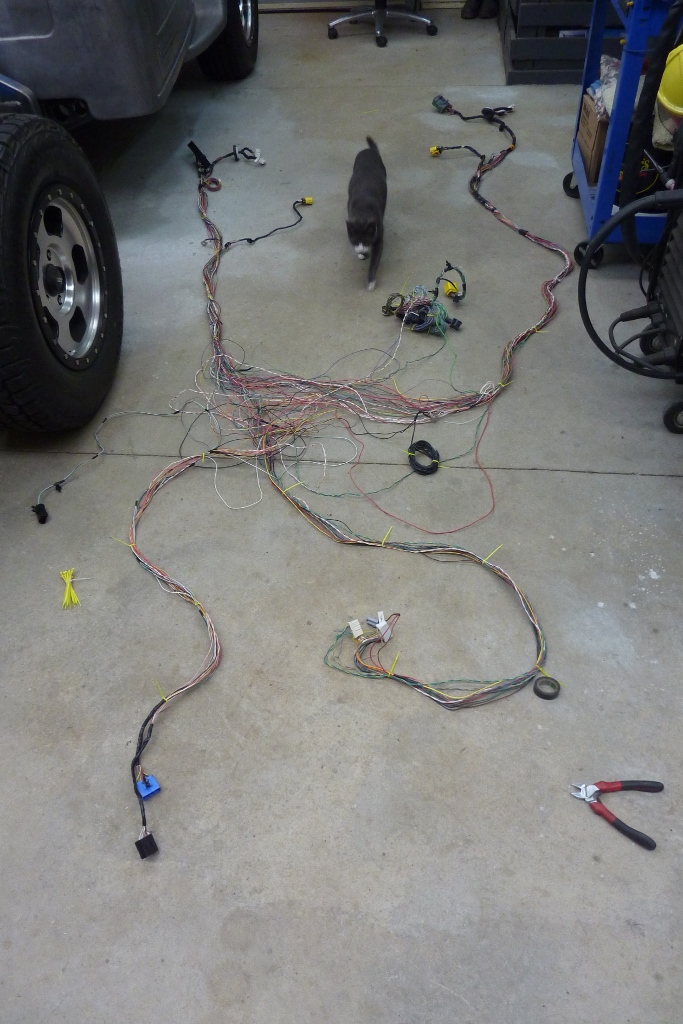
Now the surgery begins on the body harness. Lots here I won't be using so have to un-tape it and take out one wire at a time in most cases and trace them back to their source. Can't just cut both ends and pull it out as often the factory had other wires spliced into it with something I do want to keep! I always left enough wire from a major junction plug just in case I made a mistake or want to tap into it later on for something else. The inspector has arrived! Starting to tidy the wire back up into groups again as they were laid out in the donor. Working the bundles in from the ends towards the middle. Fortunately I had labelled everything as I was stripping the donor in the first place. Also the unused plugs. I started with removing those first and often ended up at another set of used plugs. Nothing was plugged in or attached to the harness along the whole way. Most likely for things like optional DVD player and satellite radio etc.
[Index]